
 My previous article on airbrushing was more in an attempt to humorously illustrate how I hid the cost of airbrushing and added a bulky new hobby toy into my work area without getting too many probing questions. This week I’ll go over the breakdown of the tools I actually picked up to make my skin tone project a reality.
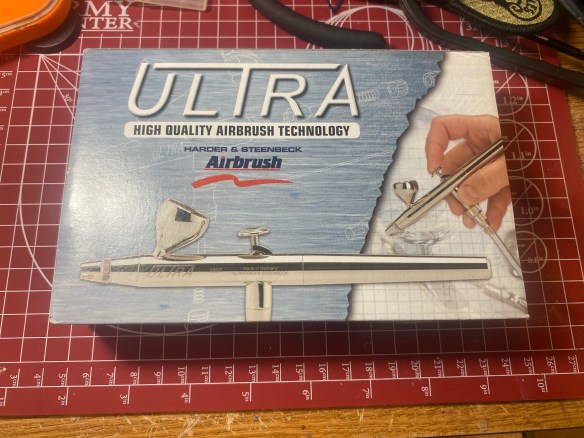
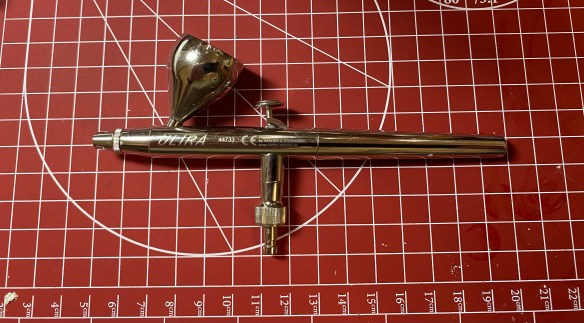
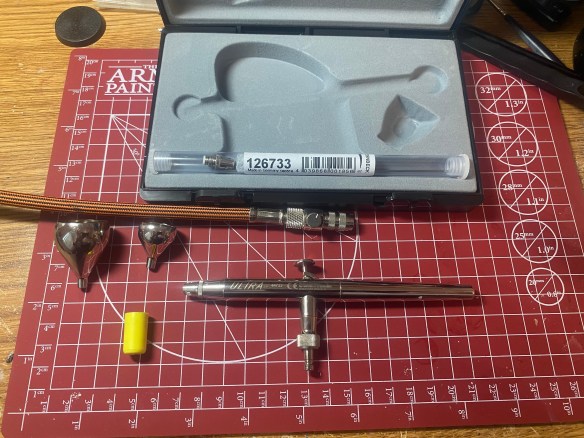
An airbrush is obviously required if one wishes to actually try airbrushing. I decided on the Harder and Steenbeck Ultra 2 in 1. The ‘2 in 1’ refers to the fact that it came with two different sized needles. I don’t see myself attempting delicate airbrushing techniques so the smaller .2mm needle has remained in storage while the .4mm has been in constant use. I did add a couple of accessories. First I made sure to get the larger of the paint cups to go with the airbrush as I plan on priming models exclusively with the airbrush moving forward. Additionally, I added a quick release to the bottom of the airbrush so it can easily be removed from the hose. It gives me a way of limiting airflow into the airbrush if I want to do some light shading and don’t trust my caveman dexerity.
I purchased a couple of caps to enable me to mix paints in the paint cup. The prevent paint from leaving the brush and instead have the air go up through the paint reservoir. This technique seems to be a rather controversial practice in the world of airbrushing, but so far it has treated me well and I continue to use it.
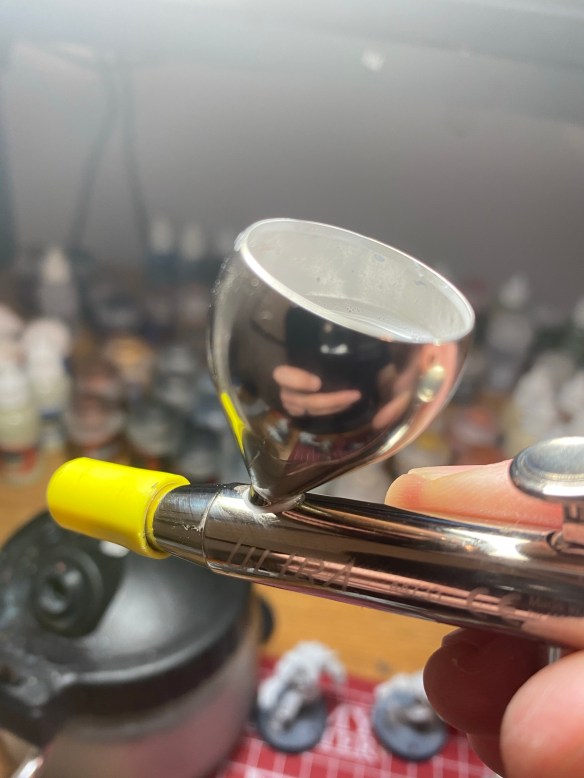
Overall I have been pleased with the airbrush. I’m sure the vast issues and clogs I have encountered are entirely my fault, but I do have one complaint. Often I’ll get a bit of paint leakage where the paint cup connects to the airbrush. Often this happens while I’m mixing paints with a paint brush in the cup. Perhaps if paint cup just didn’t slide in it wouldn’t happen? Either way it rarely causes any issues besides a bit of cleanup when I’m done painting.
The next critical piece and what ended up being my most expensive purchase was the compressor. I don’t know what the answer is as far as how nice of a compressor you need. I watched a lot of videos and took a lot of notes and decided on going with Sparmax. It was not cheap and easily cost more than all the other accessories combined.
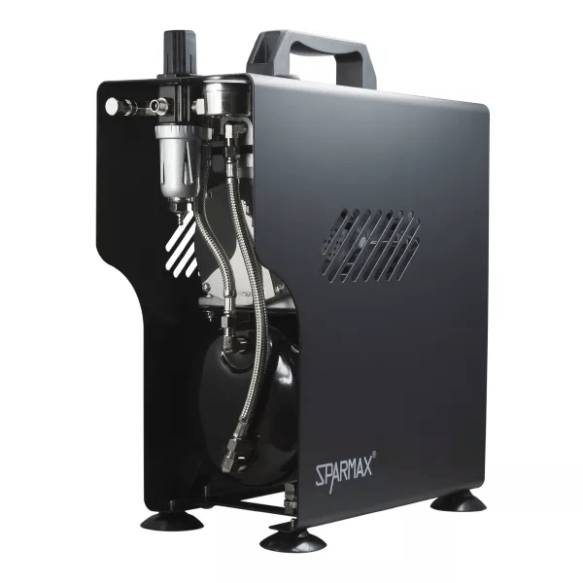
I am usually moving every three years so I was looking for something that was rugged and would standup to the usual rough handling that my household goods go through. Overall I have been pleased with this compressor. Being in the room with it while I work it certainly isn’t a Whisper brand aerator, but I don’t get any complaints from the bedrooms adjoining my work area. It also came with a braded hose which was nice. Again, this guy is not cheap. Perhaps I went with too much muscle for what I actually needed, but it was deployment money that I was throwing around. If does come with two airbrush holders on top of it so I have a safe please to store the airbrush when not in use.
I know some people don’t use them, but the next component I was looking for was a spray booth. I suppose the right answer would be to use this setup outside of the house, but that isn’t very convenient especially during the arctic months. I also wanted to get a booth that would offer some light so which is always welcome. The one I settled on is a cheap one that can be found all over Amazon from a variety of sellers.

Ideally you would vent this out of the room through a window. I’ll be honest I haven’t been doing that. It does do a good job of collecting the excess spray. I did get a slight bit of spray dust on the wall behind it, but it was easy to just wipe away. Sound wise I also don’t get any complaints from my sleeping family in the adjoining rooms.
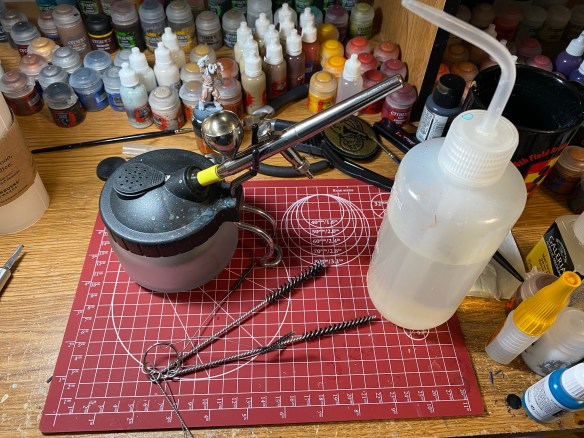
The final pieces of equipment that I got have all been helpful. On the left I have the airbrush cleaning pot. This is useful for when I need to spray out remnants of paint or if I need a spot to hold the airbrush while I’m cleaning. The hook comes in handy when I have the tip of the airbrush off for cleaning and the needle is still in. I’ll put the airbrush perpendicular to how it is normally in the holder and it keeps it steady and gives me piece of mind that I won’t damage the needle accidentally.
The goose-neck bottle is great for cleaning out the airbrush. I’ll hold the airbrush paint cup over my waste water cup and use the bottle to get out the vast majority of left over paint. The bottle is also great for rehydrating my wet pallet if it starts to dry out. I’ll be honest, I’ve even thought of taking a few sips from it on hot painting days.
The cleaning rods for the airbrush see constant use. I was lucky in that a lot of airbrush supply vendors throw these brushes in for free with other purchases. These are critical to own as its amazing how much of mess you can make with an airbrush. I have several varieties but the set I started using have been going the distance.
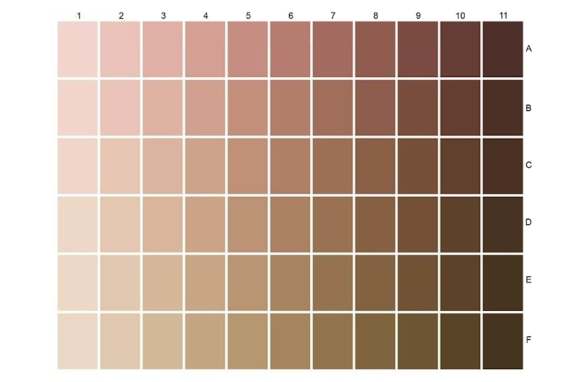
As I mentioned before the intent of this project was to work on skin tones. Before the project officially started though I gave the airbrush a whirl and along with making a huge mess I was able to get one model’s skin knocked out. It was pretty for the first run as I didn’t have any thinner for my paints but I’ll share some shots. Next week I’ll highlight the five+ schemes I went with and show off the work I was able to accomplish.


The conclusion of “Project Skin Tone” can be found here!

Good information! I’m thinking of getting an airbrush myself. I’ll be referring back to this when I finally decide to take the plunge. 🙂
LikeLiked by 1 person
I’m looking at air brushing as a hobby once I retire from painting cars for 45+ years.
LikeLiked by 2 people
Next week I’ll be posting links to some videos that helped me get started. I’ll admit that even after everything was purchased it was intimidating to actually start putting it to use. I’m glad I made the invest though as it’s a good tool to have in the arsenal.
LikeLiked by 1 person
Pingback: Taking the Plunge into the World of Airbrushing | Wyrd Stones and Tackle Zones
Lovely looking set up.
Cheers,
Pete.
LikeLike
This was a pleasure to read. I’ve been airbrushing for decades (started as a kid) and I’ll agree it can be daunting in the beginning. But if you can get through that you will find gold at the end of the rainbow. Currently I own three airbrush based businesses all of which are totally unique. Faux Tattoo Studios- FX tattoos for film/production, Faux Tattoo Stencils – my stencil collection for those tattoos, Tat Bar Las Vegas- Temporary Airbrush Tattoos for the masses and Grace X Originals – my streetwear line that features custom kicks, rollerskates and airbrushed apparel. I’ve been very busy but one thing is for sure if you have the will you can do many many things with an airbrush. Best of luck to everyone starting out! Don’t give up. 🙂
LikeLiked by 2 people
Interesting, I have an Iwata Medea Eclipse, which is a bit different in design. The cup is part of the frame, so I’ve never run into problems like that. I also don’t have a cap for the end. Might be another difference. But I just hold my finger on the end, and shoot a few blasts of air, when I’m trying to clear a possible clog. Also, I’ve never used a brush for cleaning. Though I know they come with most kits. After use, I clean everything with some liquid and then run it through a few cycles in my ultrasonic cleaner. I also use the ultrasonic for cleaning minis, and sometimes removing paint. I bought a second one for removing paint though, as that gets gunky and didn’t want to risk it with the airbrush.
You were smart to buy a good compressor to start off with. I’m not sure how much that one is, but I bought a smaller one at first. It didn’t have a pressure gauge, and I later found out that it wasn’t really suited for priming minis (too little air). After I upgraded to a new one, I’ve been quite happy and run into way fewer problems now.
It’s amazing how much easier priming is, especially if you have crappy weather.
I’ve only recently started using regular paints in the brush, and finding the right way to thin them takes a bit of work. My next step might be to try varnishing as well. Though I did find what appears to be a nice brush on varnish, so I might go that route instead.
Hope you continue to enjoy the new toy!
LikeLike
I don’t think you can see it in my photos but the cap on the end of the airbrush has two small vents so it would take two multiple fingers to stop the airflow. Not too easy to do while using the trigger. The caps make it easy although every now and then when will shoot off like a rocket if I’m not careful.
Priming with the airbrush is great. I’ve had so many issues with rattle cans giving texture or clogging details. The airbrush with Vallejo surface primer has been a dream!
LikeLiked by 1 person
I’d also recommend the Badger Stylnrez primers for Airbrush (made in the US), they are my favorite. Just make sure to order them in the warmer months or pickup from a store. If they freeze, they go bad. The other nice thing, is they have a decent color range. The grey is the best, but I also really like their red-brown, green, and black. White is decent, but probably no different than the Vallejo white from what I remember.
LikeLiked by 1 person
Thanks for the tip, I’ll have to check those out!
LikeLiked by 1 person
Where’s the video
LikeLike
I have linked some tutorial videos in part 3 which can be found at https://wyrdstonesandtacklezones.com/2021/02/26/taking-the-plunge-into-the-world-of-airbrushing-part-3/
Hope that helps you out.
LikeLike
I am really into airbrushing but i just practice i brought 2 compressors lots of paint and have no idea where to start !! Any suggestions for me. I would like to do pictures and nails .
LikeLike
The hardest step is taking the plunge. If you have the compressors and paint then I’d recommend just going with an airbrush that is well reviewed. I use gravity fed airbrushes with the paint cup on top of the airbrush. They give you better control as you press down on the trigger to control your airflow and also pull the trigger to the rear to control how much paint is sprayed. Honestly the best advice I can give is just taking the plunge. Airbrushing is VERY intimidating until you actually start to do it. With a little experimenting it quickly turns from scary to enjoyable.
LikeLike