

Logic would suggest that a person should start with the basics of a game before they start adding extras into the mix. Being a less than speedy painter I can never keep up with the Games Workshop production line of new products. This typically results in me having making a hodgepodge collection as I move in and out of the collection stream. This time around instead of starting with the core released box set of the game I have instead gone with roaming beasts that are not even part of the core rules.
The Tome of Champions: 2019 offers a wide variety of rules from roaming beasts in Warcry beyond the furrys and chaos-chickens that are in the core box. Looking to add some spice to my Warcry collection I turned to some old classics. Mordheim is one of the core games that got us all together as a group of friends and the first game I ever played against Mike. My collection of Mordheim models has waxed and waned over the years and alas I conducted a rather huge sell-off a couple of years ago. While I made a huge amount of scratch selling off the metal pile, there where some items on the “pry from my cold dead hand’ stash that I refused to part with. Along with fully painted Marienburgher and Beastman warbands I kept a good amount of orcs and goblins. Part of the my beastman warband was three very old metal chaos hounds. These models are not the Mordheim official models (which are some of the weirdest hounds out there) but are metal much better metal ones available before GW moved them to plastic. Being fully painted it was a simple task of rebasing the models from the ancient cavalry bases to the new ovals. But how to get the ‘Blood Wind Spoils’ look on the base?
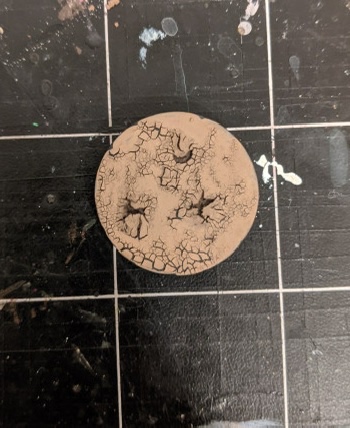
Casey created a great tutorial on this site awhile back that I wanted to copy. Using the two different types of texture paint you can really turn up the tortured earth look. I made several attempts to replicate Casey’s art but it wasn’t coming out the same. Despite using the same paints mine just had a different tint to them. On closer inspection it appeared that our paints had the same name but different shades.


It appeared that I was going to have to go with a different style base than Casey. I ended up simplifying the process and created something that I liked.
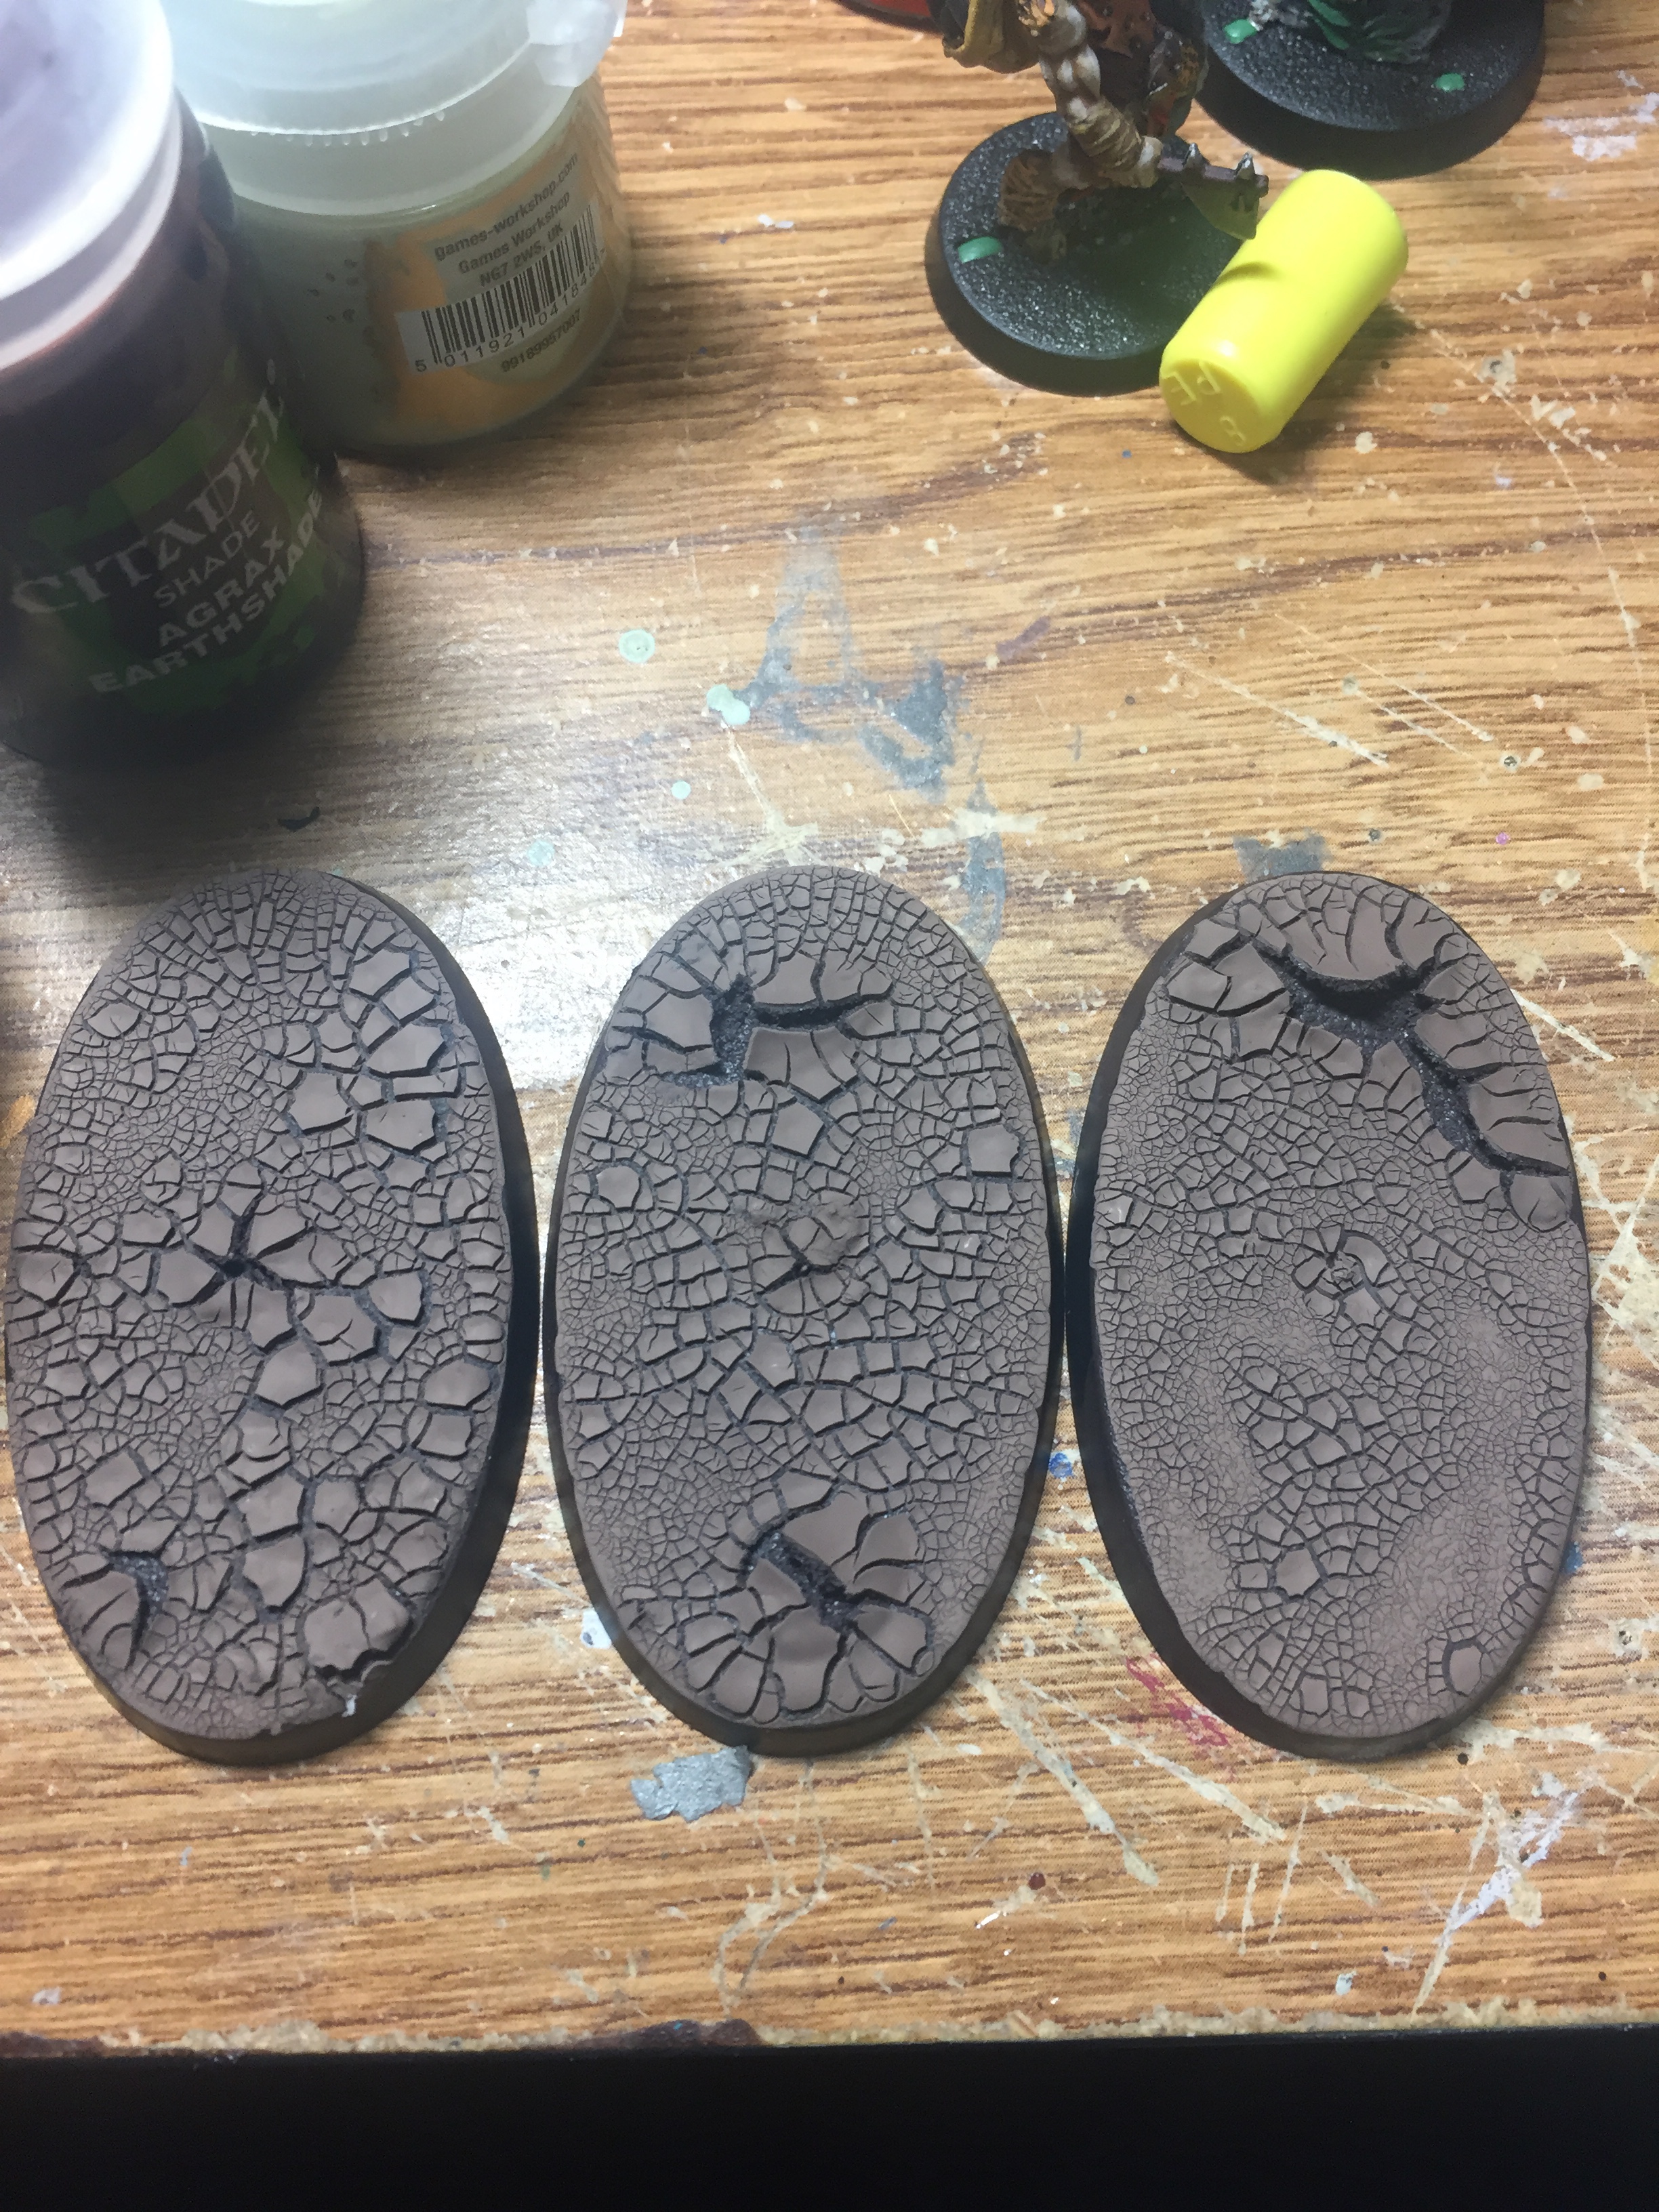
Considerably darker than Casey’s original design but I was able to create those massive cracks in the soil. After saying goodbye to the old bases it just took a bit of pinning on the feet and the Chaos Hounds of old were ready to explore the cursed lands of Warcry. On to the squigs!
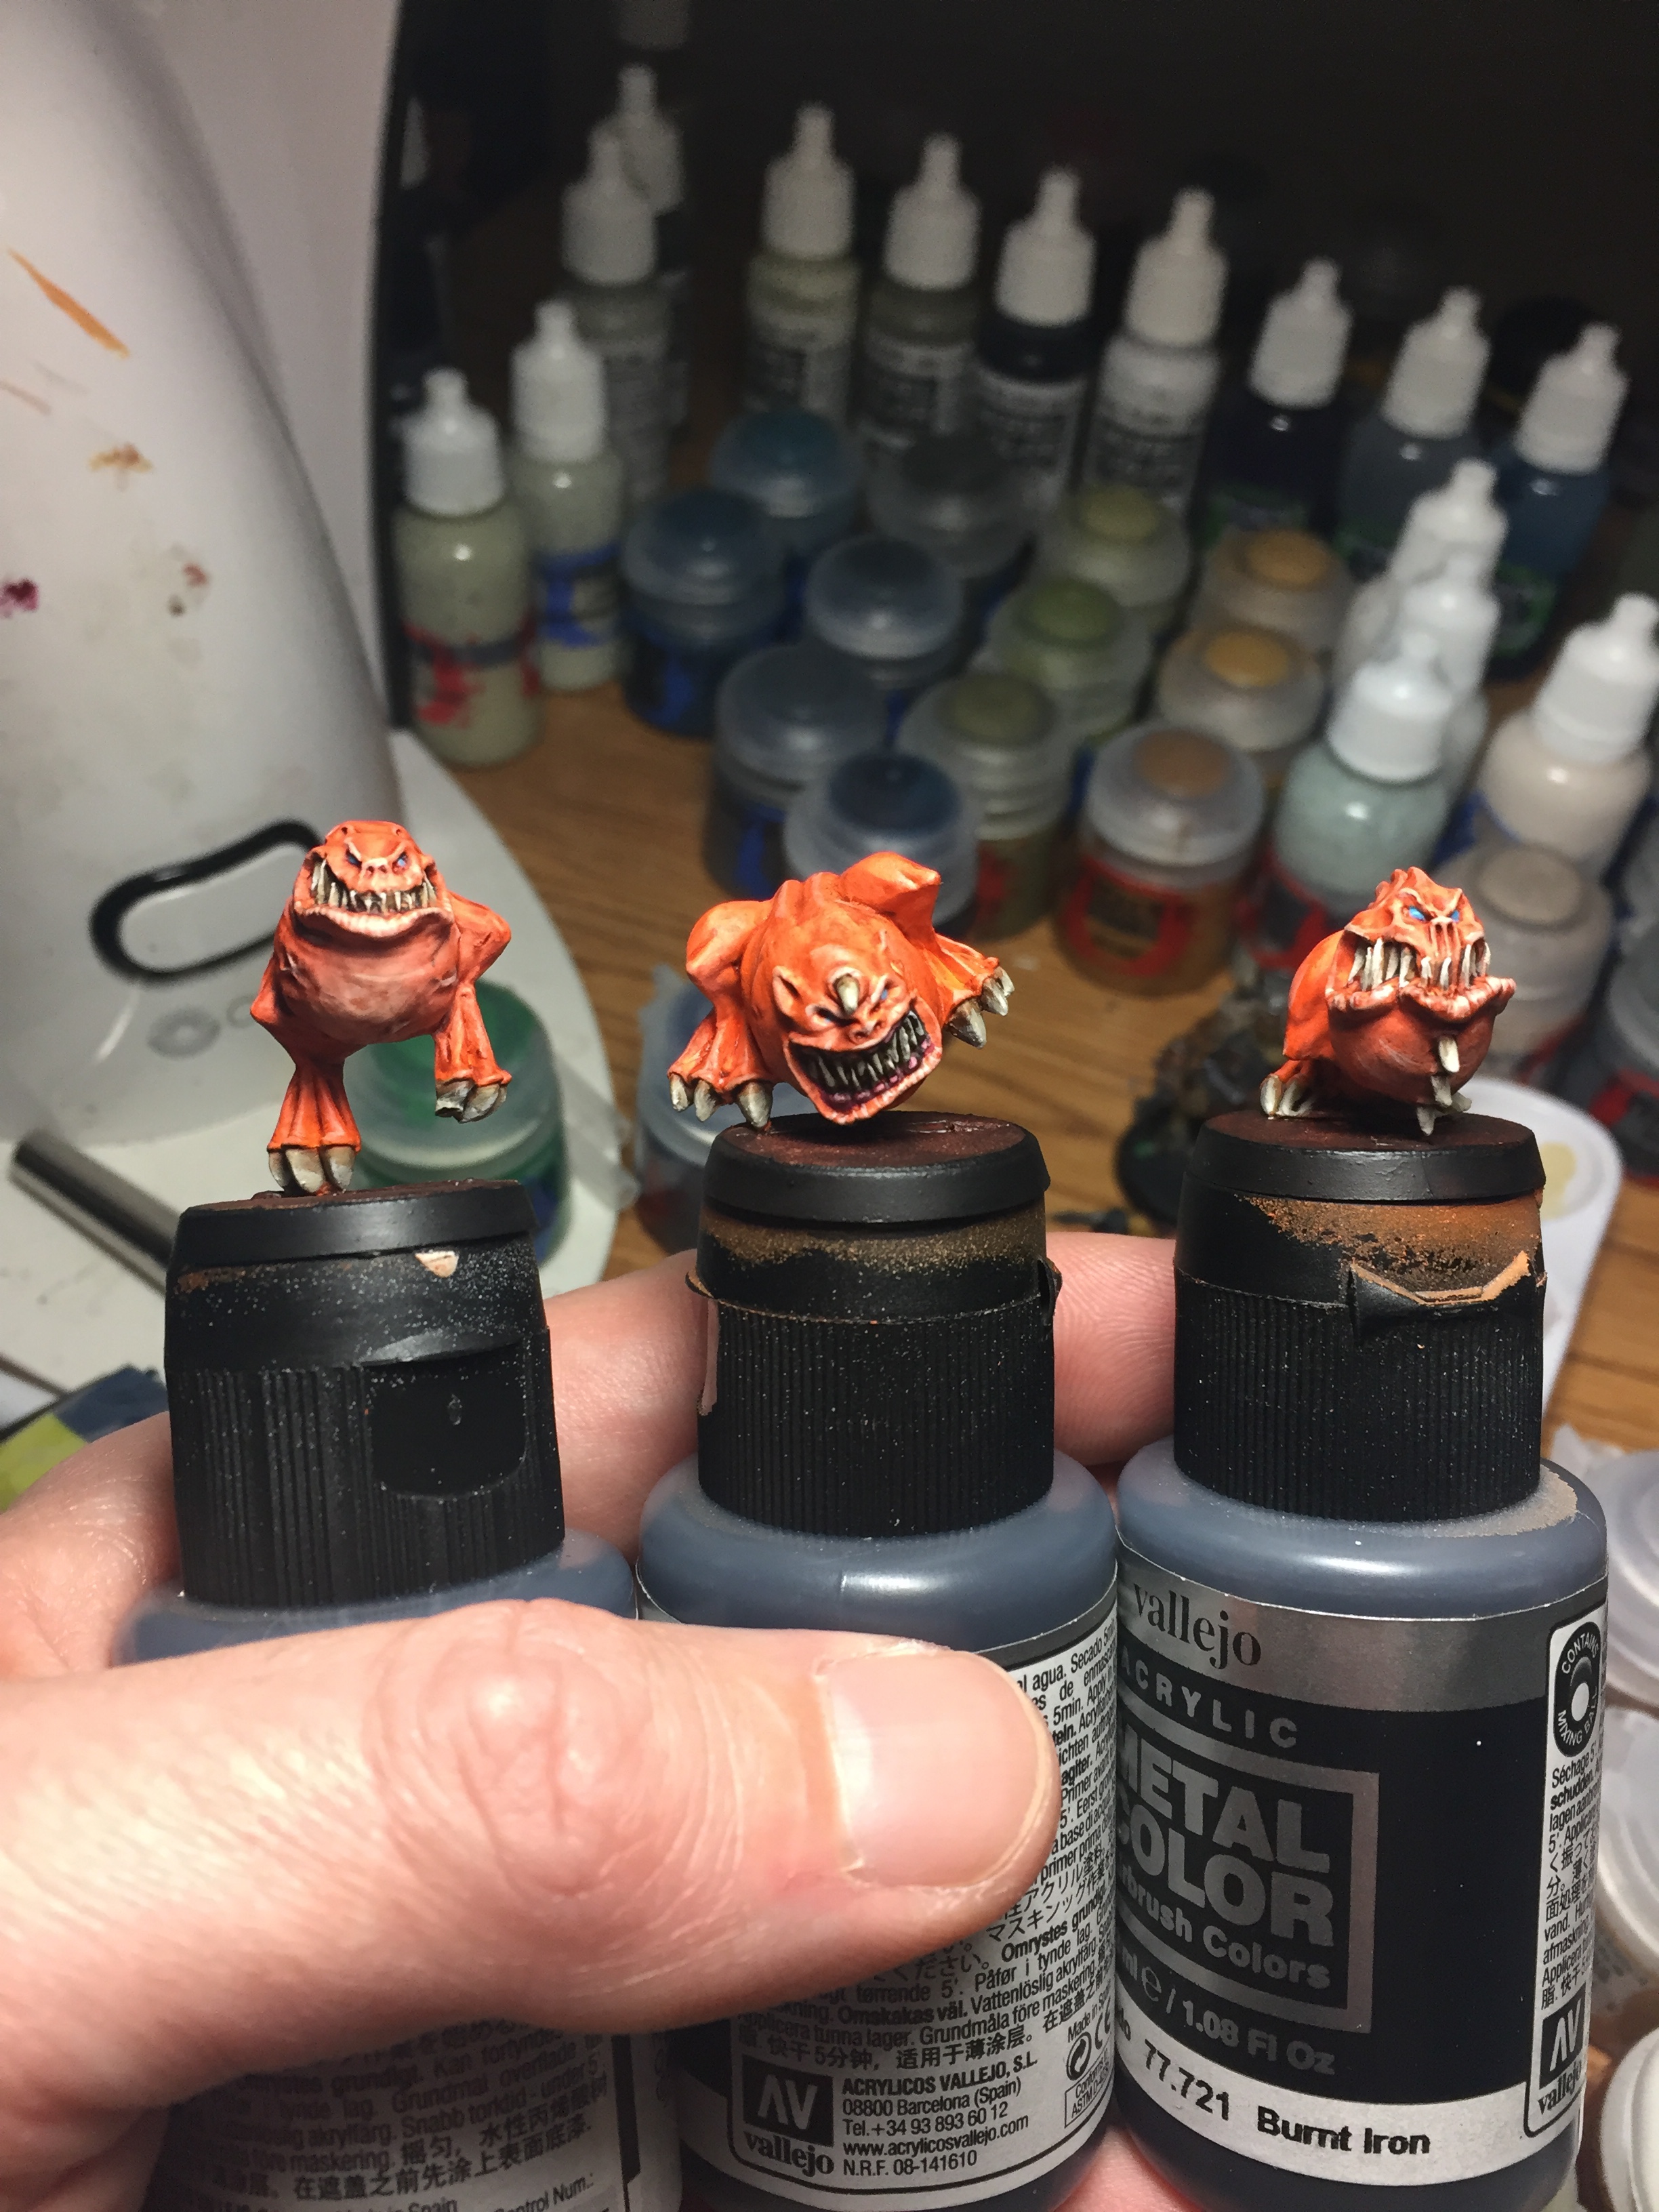
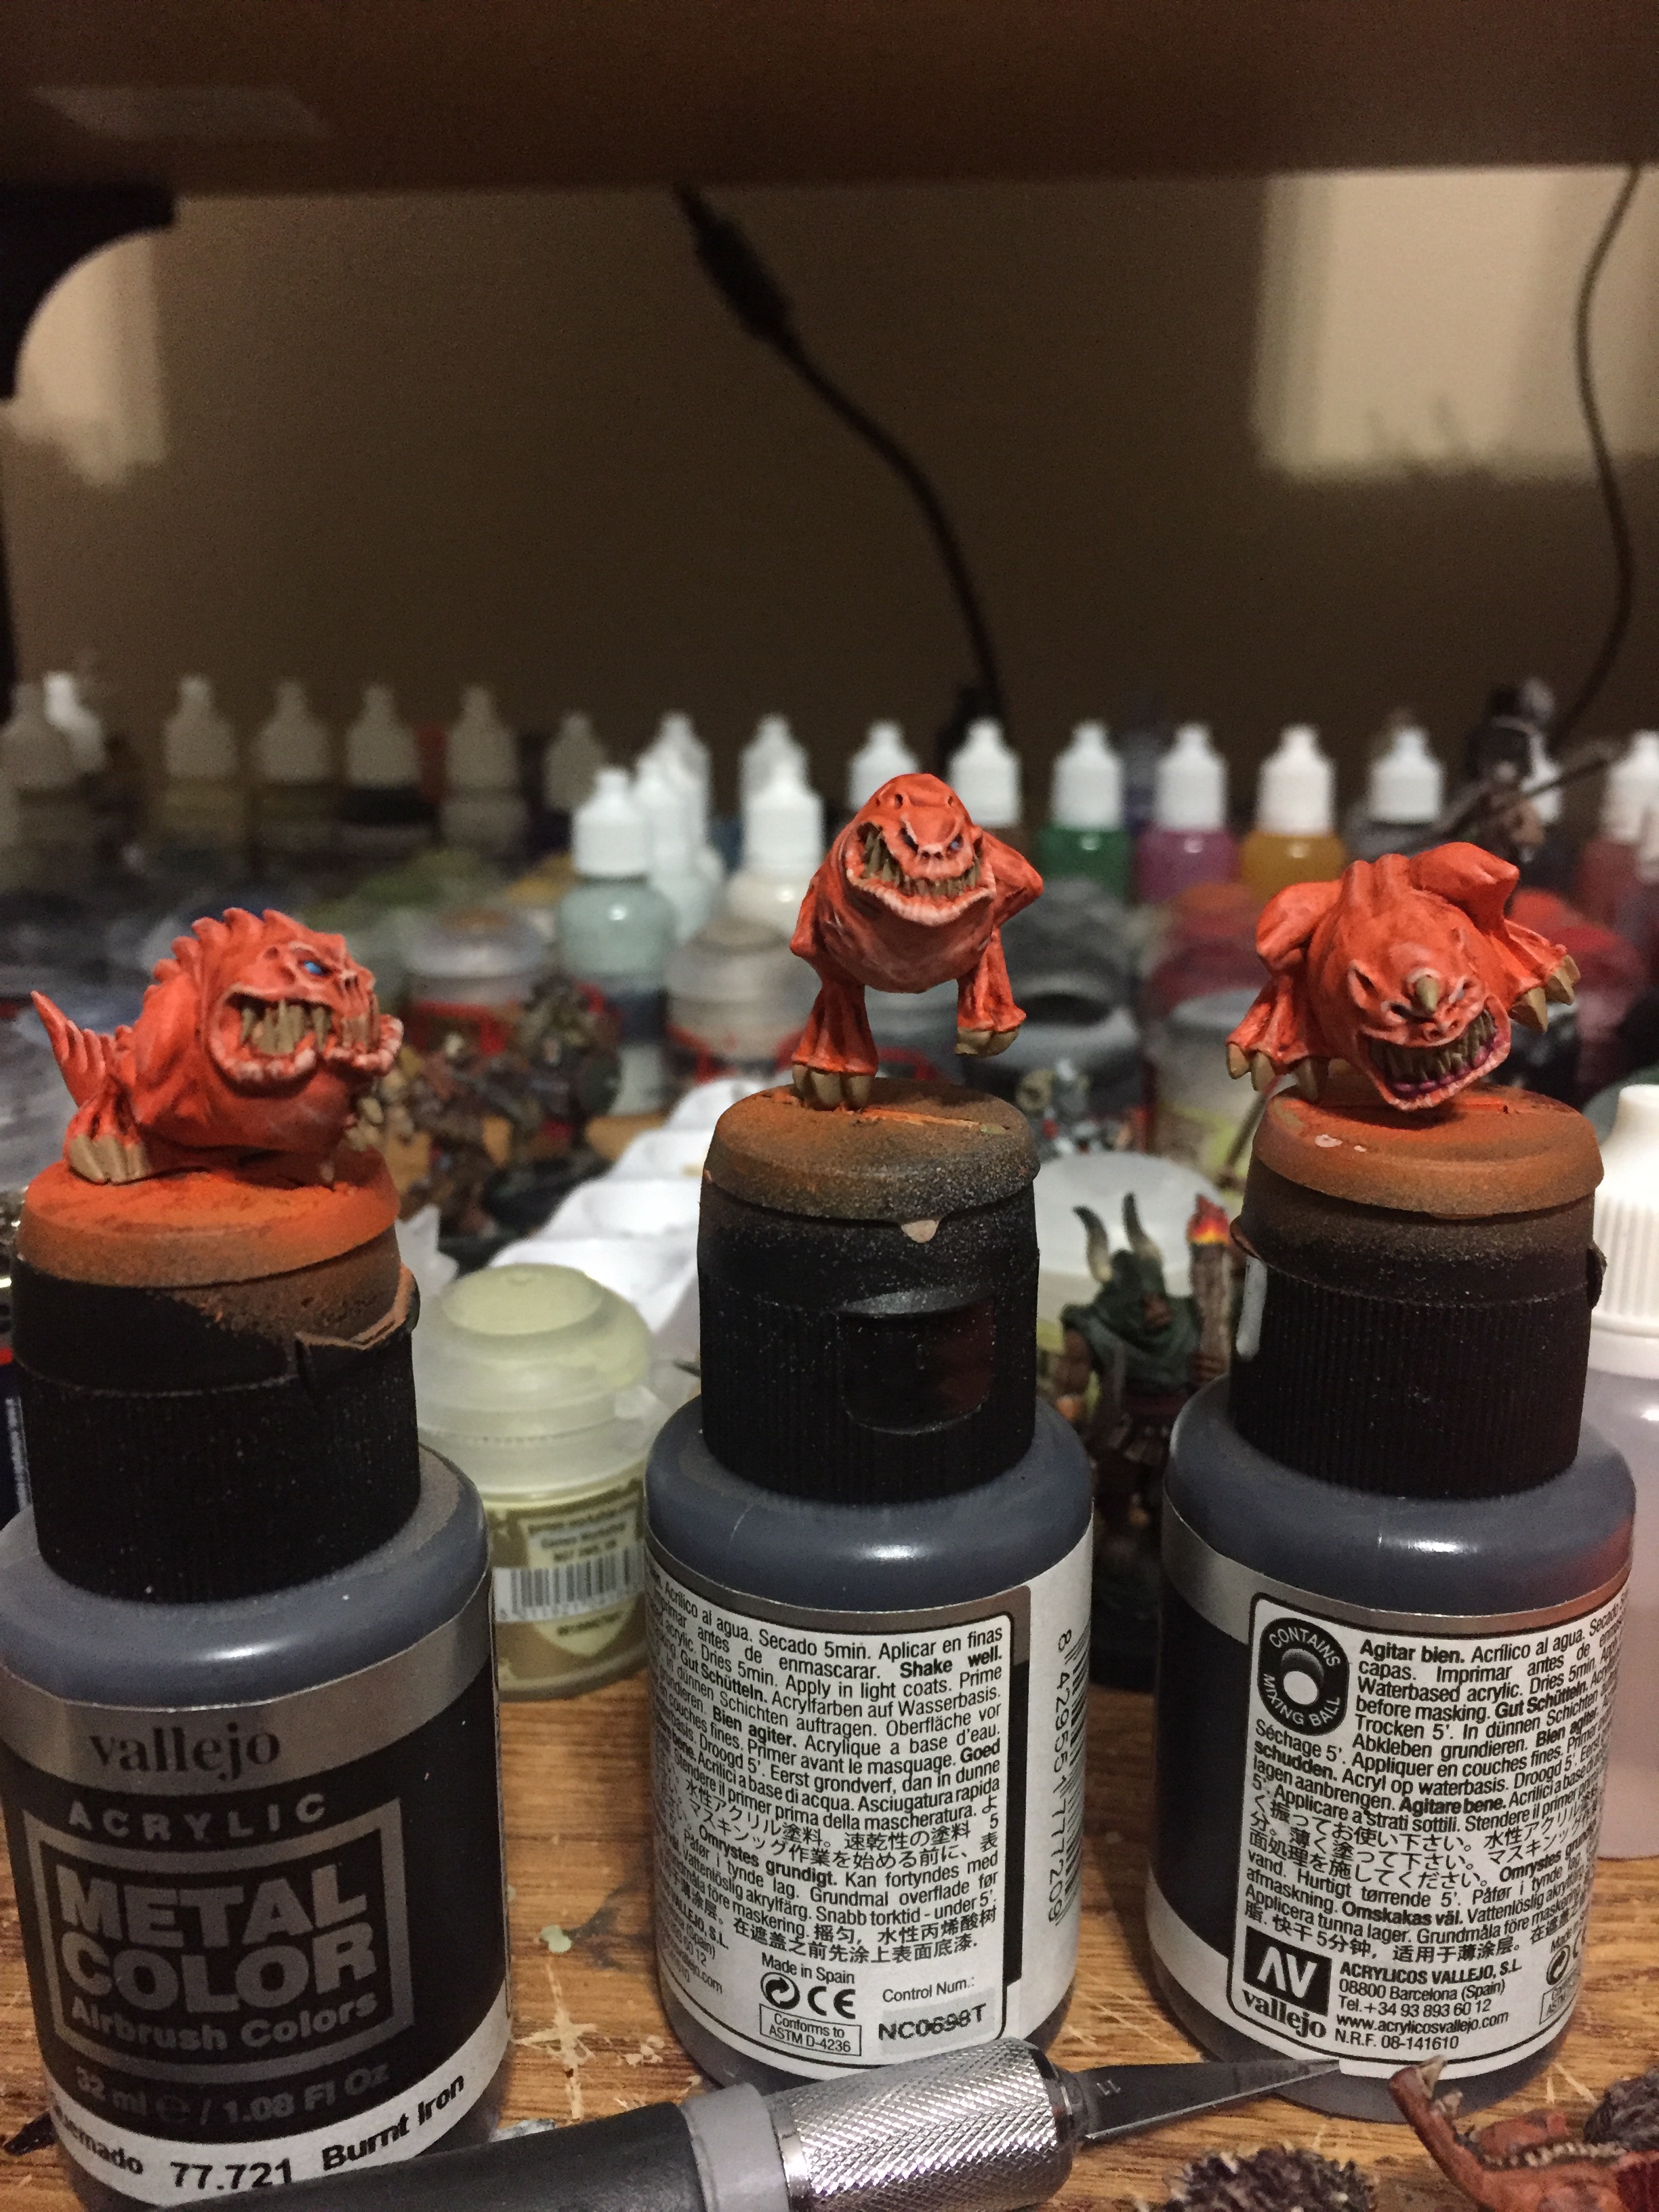
I’ve always wanted to paint a squig, but surprisingly after so many years as a GW fanatic I’ve never actually tried it before. Continuing my talentless-hack trend I once again fired up the airbrush and did my best to emulate RobPaintsModels from youtube. His video kept the classic orange color of the squig but added some cool flesh tones that really brought the creature to life. I did my best to emulate this techniques as much as I could. For a first attempt I think I captured the spirit of the paint scheme but certainly fell a bit short of mastering it. Overall I’m pleased with these guys and Made it a one shot go affair. Unlike the hounds I wasn’t able to base the squigs with them off the base do to them being on slots with very small contact points. This resulted in their texture paint being very thin and made some of the slots in the base very noticeable. To camouflage these issues I turned to a variety of shrubbery I picked up from http://www.tajima1.co.uk. While these didn’t quite give the blasted hell scape I was going for, I think they will work for the time being. So without further ado, I give you some sexy glamour shots:


This was a fun little project. I didn’t do much to the hounds besides adding some bone color to the horns and claws to freshen them up and the new bases have brought them into the new Warhammer AoS style. The squigs where fun to paint and I learned a bit about adding some texture on the lips, claws, and teeth. I probably could have gotten more mileage out of doing an actual Warcry warband, but I needed an easy win after a rough week painting skulls. I hope you enjoyed this little orange guys as much as I did. Not sure which project I’ll bounce around to next, but in the mean time I hope you all get some great hobby time in.

Great looking collection of critters! Both sets of them look great. I may have to dig my half-painted hounds out of storage and get ’em done earlier than originally planned.
I just need to find some ovals for them first….
LikeLiked by 1 person
I follow Casey’s basing tutorial as well and don’t seem to get the great results you both do. How’d you get those large cracks?
LikeLike
I put big dollops of stirland mud and wait till it gets tacky. I then do the crackle texture over it and the unstable stirland mud base makes the huge cracks appear.
LikeLike
Lovely work there. How hard wearing are the cracked bases when dry?
Cheers,
Pete.
LikeLike
So far no issues with the super cracks. I don’t know if the stirland mud acts like concrete to them in place. I have had issues with the normal cracks flaking off but that is more of the exception and not the rule.
LikeLike
I’ve done similar bases for some of my 40k models using the two texture paints. I give them a coat of thinned PVA after the paint has dried to help “glue” it all down and keep it firm/safe.
LikeLiked by 1 person
Good to know. I’ll have to give that a try. Thanks!
LikeLike
Those squigs look great!
LikeLiked by 1 person