
A few months ago, Games Workshop showed of the 3D modeling images of the new Deathroller mini. I have to admit, I really was not very impressed. Then not too long ago, they started showing off the finished mini painted by Jonathan Taylor-York. Again I have to admit, I really was not very impressed. Jonathan’s paint work was fantastic as is all of his work, but when I looked at the new Deathroller, all I could think of was the Christopher Nolan “Tumbler” Batmobile. It just looked like way too modern of a machine to be on the Blood Bowl pitch. With all of that in mind, I had actually decided to not buy the new Deathroller, but then the Deathroller went on pre-order and I have no self control… so here we are with another box from Forge World sitting on my desk.
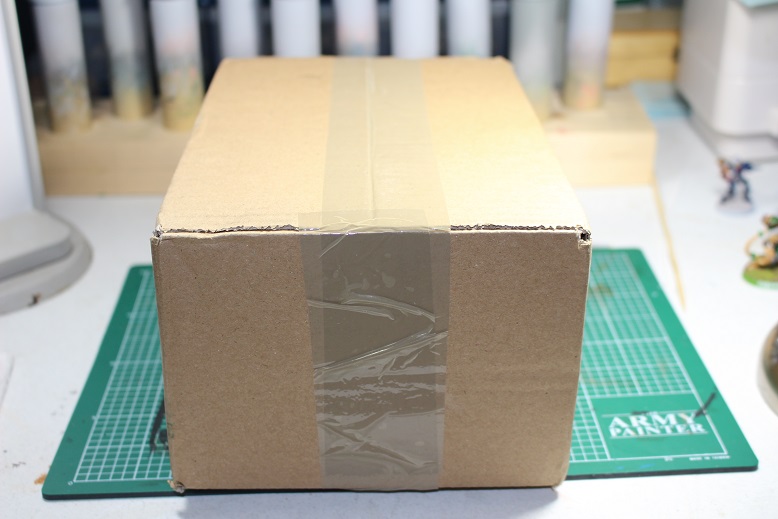
The first thing I noticed about the box is that it was a bit bigger than the previous boxes that I had received from Forge World. That was not completely surprising as I knew already that the Deathroller was going to be ridonculous big. Since this mini cost me in the ball park of $80 after shipping (this is the most expensive mini I have ever bought, by far…) I immediately set to opening the box.
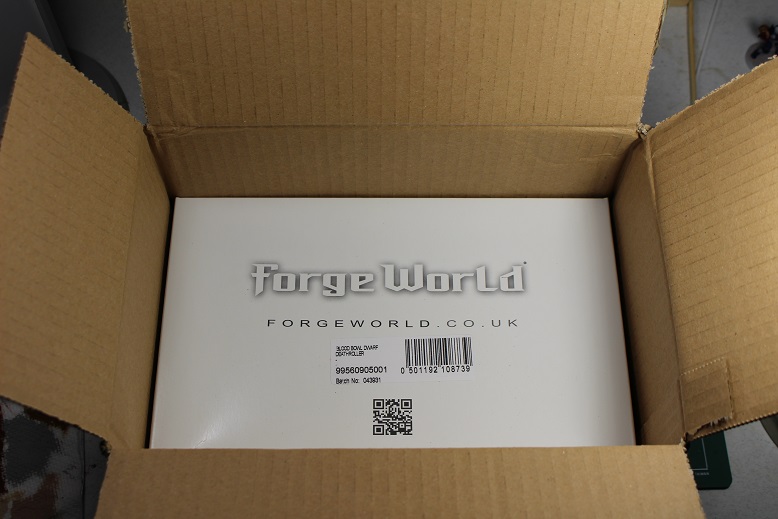
After I pulled out the packing material and invoice, I saw a good sized box with very different packing from the previous Blood Bowl items I had ordered before. If you order from Forge World regularly, you may have seen this sort of packing before, but since I only started ordering from them we they started carrying Blood Bowl, this is a fairly new experience for me.
I know packing does not really matter at the end of the day, but after the really nice packing of the previous releases, the plain white box was the tiniest of let downs. It was not the end of the world, though. Time to see what is inside this sad, plain white box.
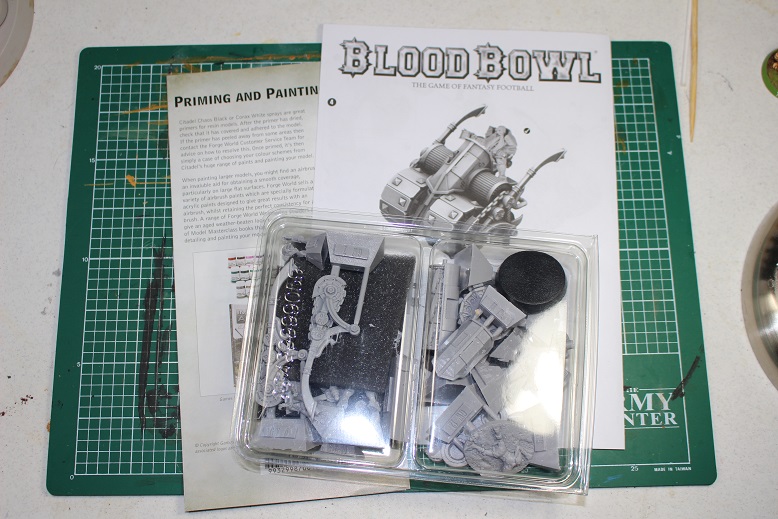
We get a clear plastic clam shell package with a LOT of pieces, an assembly instruction booklet, and a full color Forge World “Guide to Building Resin Model Kits” pamphlet.
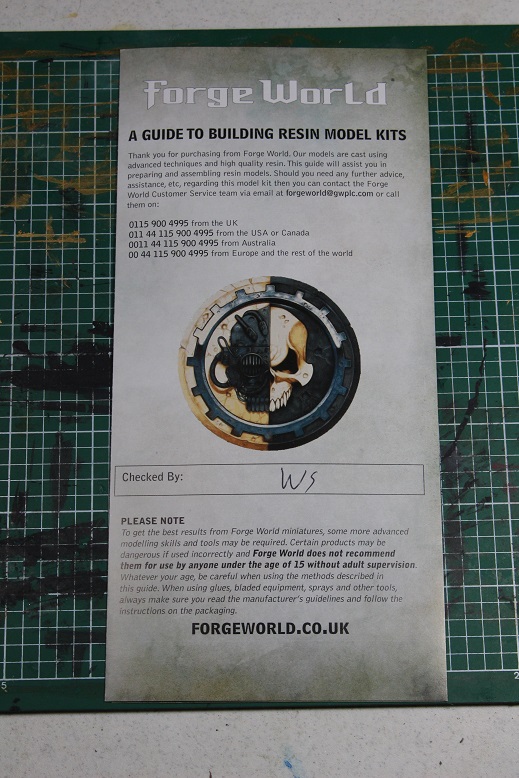
This was a nice addition to the box as it gives lots of instructions and tips on cleaning, assembling, and painting the Forge World minis. I did not take pics of the inside of it as it is not critical to this post.
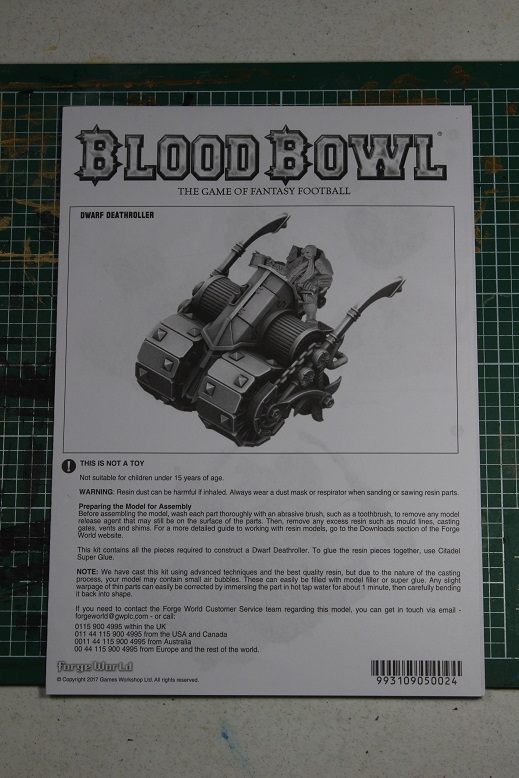
Assembly instructions… Yea!
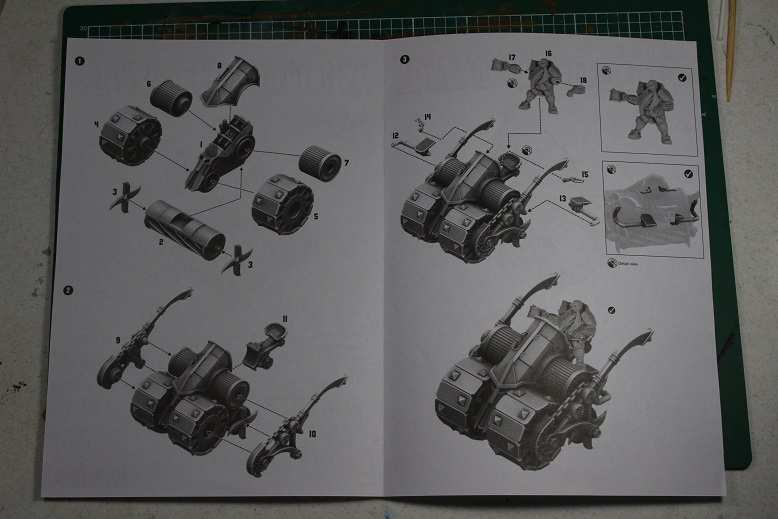
The instructions are pretty clear and easy to follow. I would say they are much better than the Troll instructions as I did not have to refer to the 360 degree picture online at any point to figure out how this thing went together.
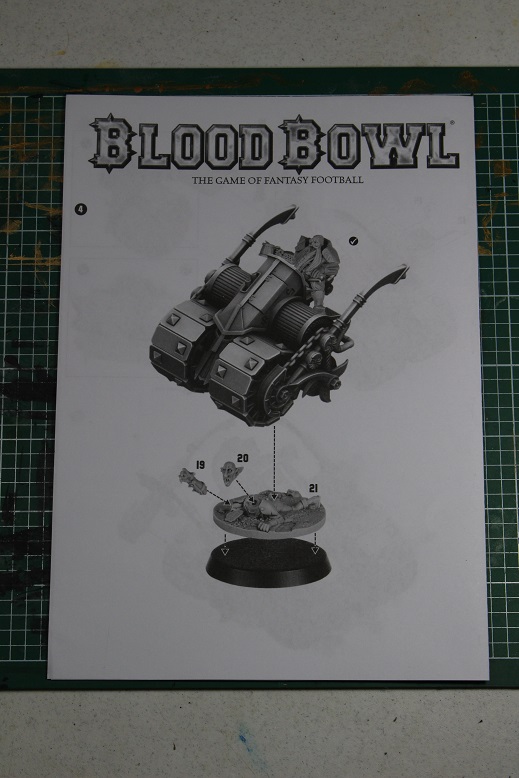
Instructions for assembling the base and mounting the Deathroller.
There was also a standard 32mm base that came with the set, but I forgot to take a picture of it… so here is a picture of a slotted 32mm base, just because!
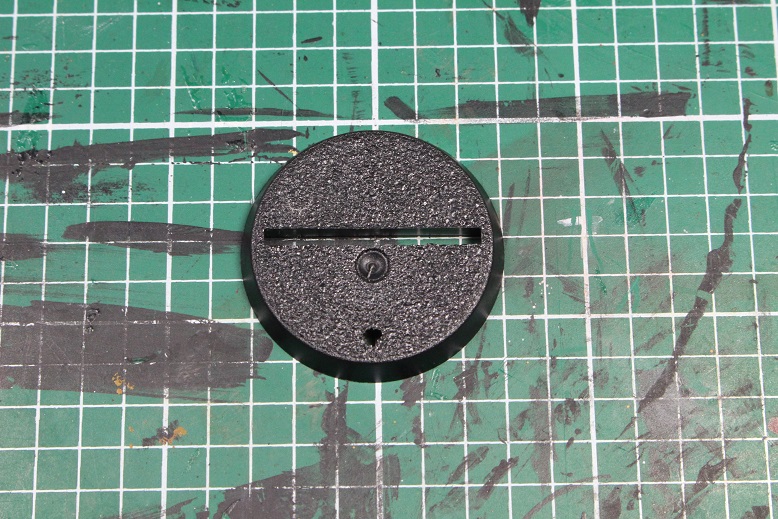
🙂
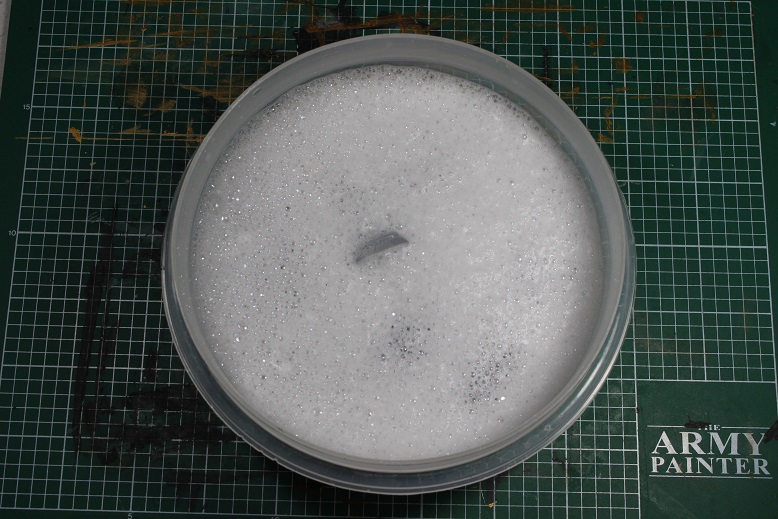
I dumped everything from the plastic clam shell straight into a bowl of warm soapy water to clean any remaining release agent off of the pieces. When scrubbing and rinsing the pieces, I recommend that you be careful. I came VERY close to losing one of the driver’s arms down the bathroom sink as it snapped off the sprue as soon as I touched the cleaning brush to it. It just happened to fall in exactly the right spot to not go down the drain and allow me to grab it with hobby tweezers.
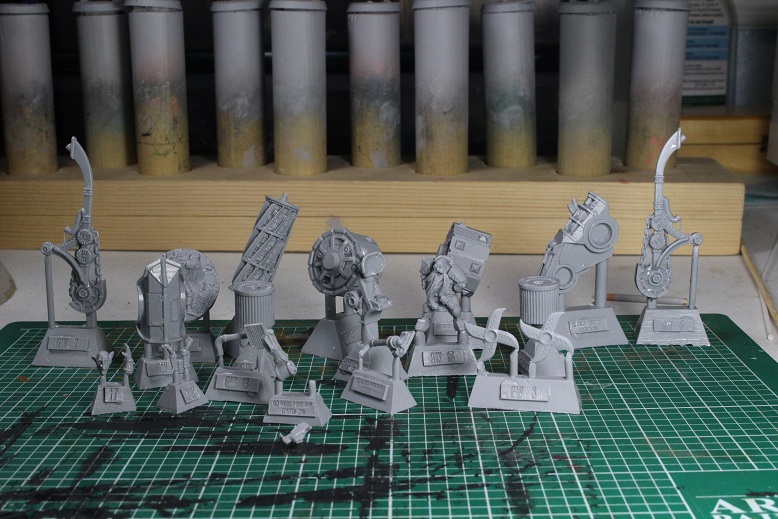
After a good cleaning, here are all the pieces set out to dry. I believe there were twenty-two pieces in all. Be sure to grab some caffeine because putting this thing together is going to take a little while.
The first in a long list of pieces…
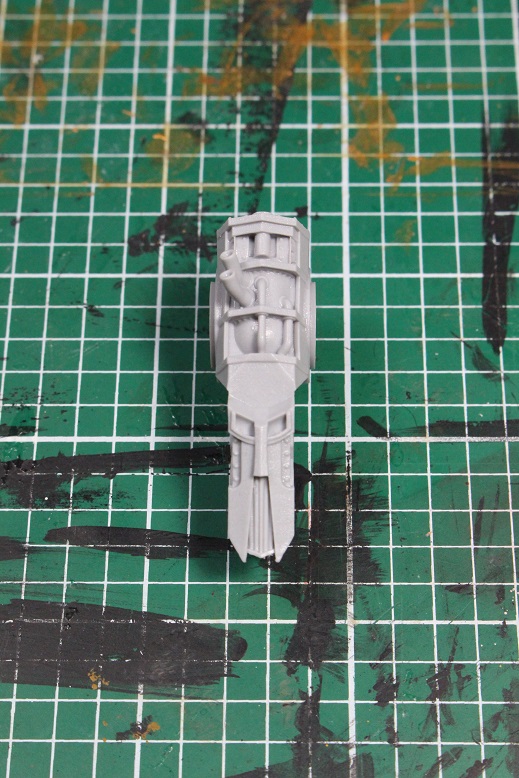
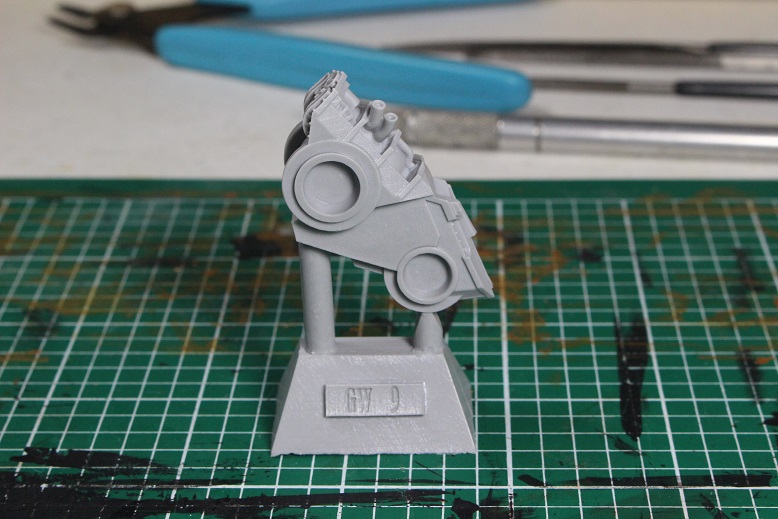
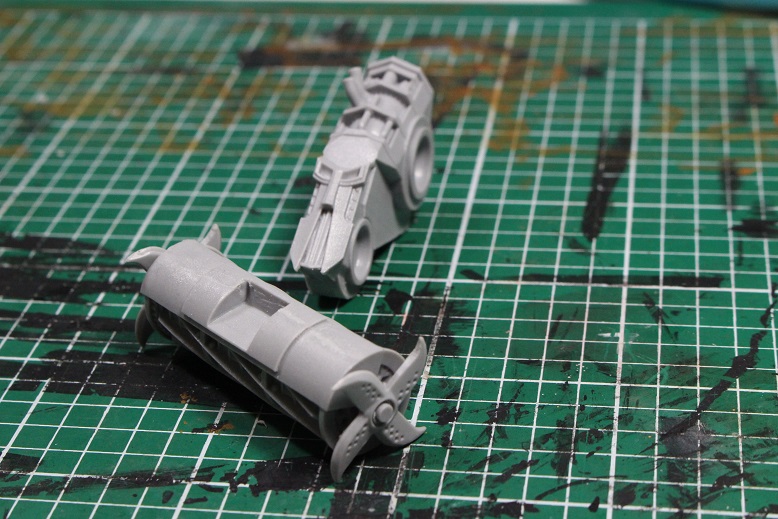
This is basically the engine of the Deathroller. Trimmed, filed, and ready for action.
Looks like and old timers lawn mower…
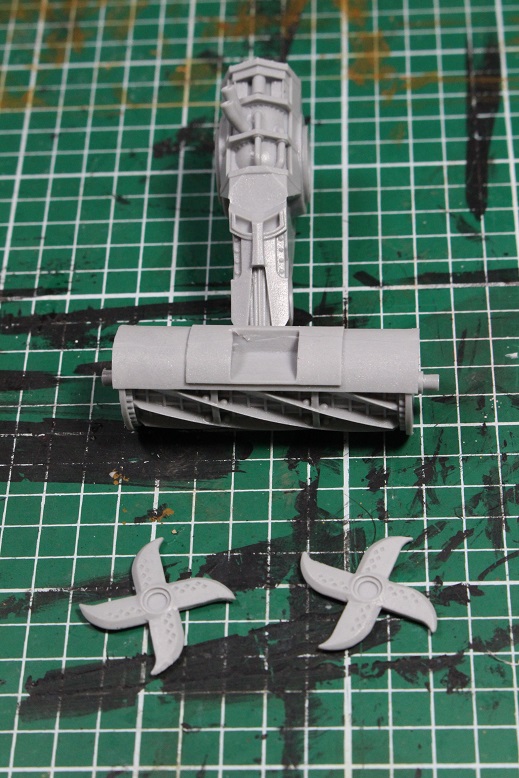
Some nice rotating saw blades to make things interesting. Reminds me of something out of a gladiator film from Hollywood.
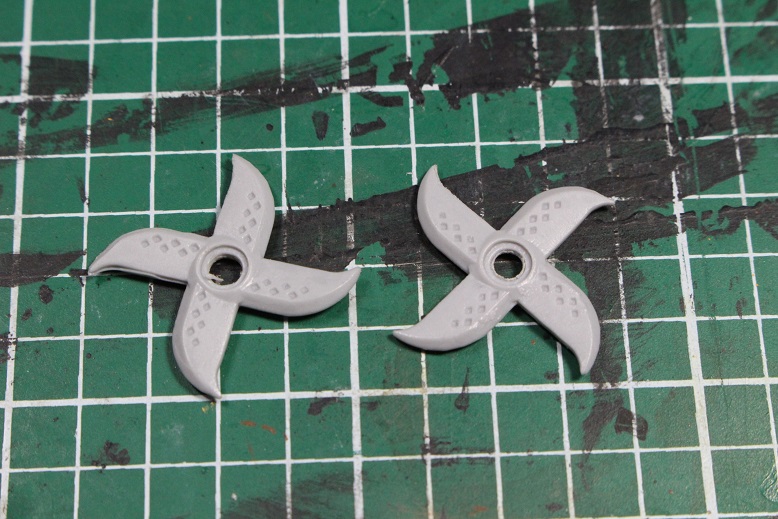
You will need to punch the center out of the blades in order to attach them to the lawn mower section.
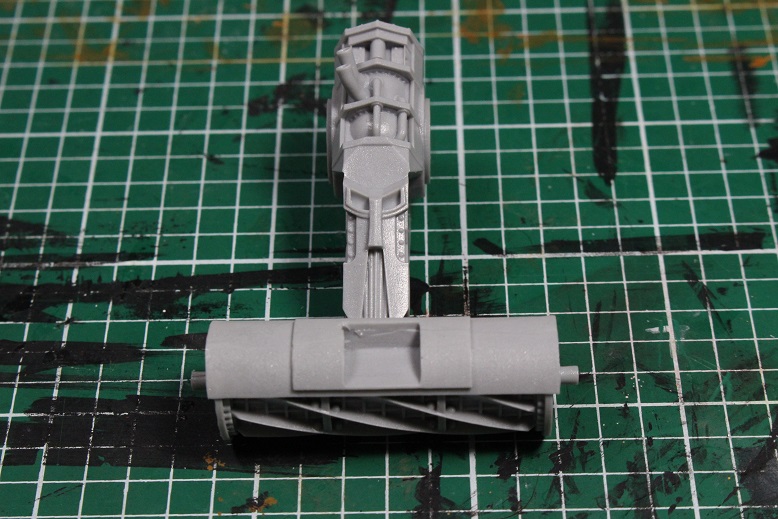
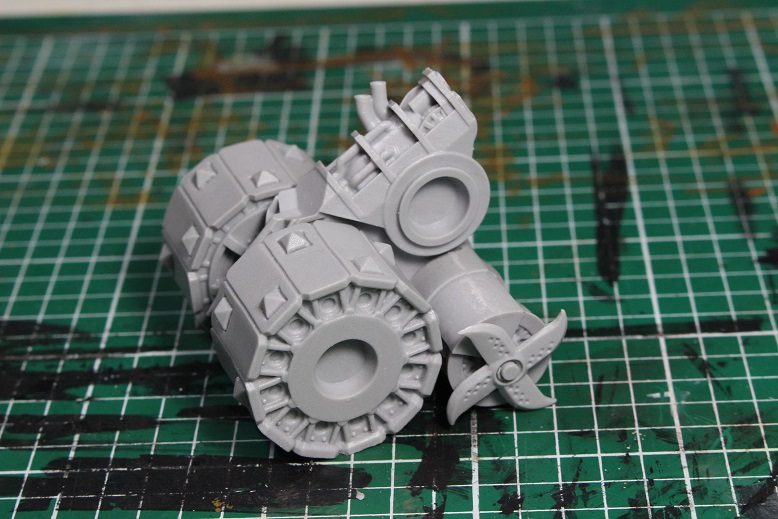
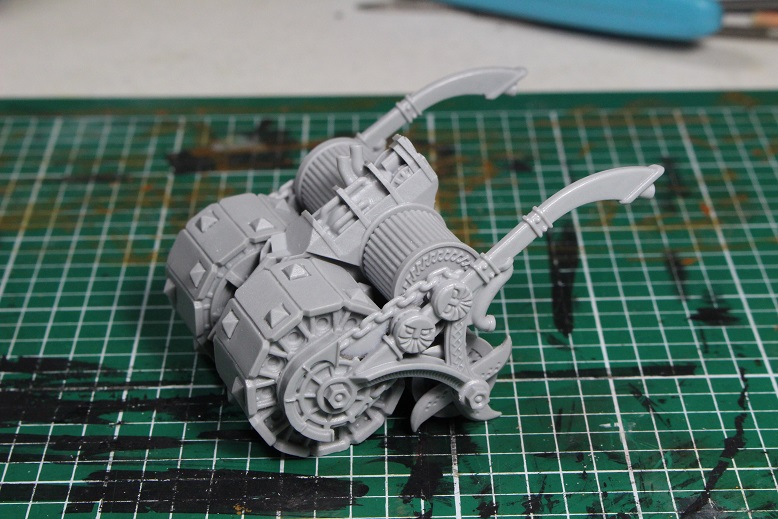
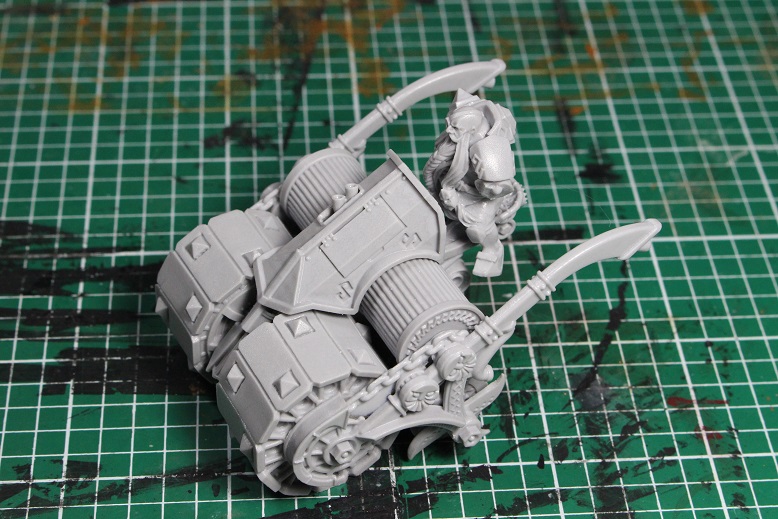
Blades attached, and now the mower blades will go on to the back of the engine.
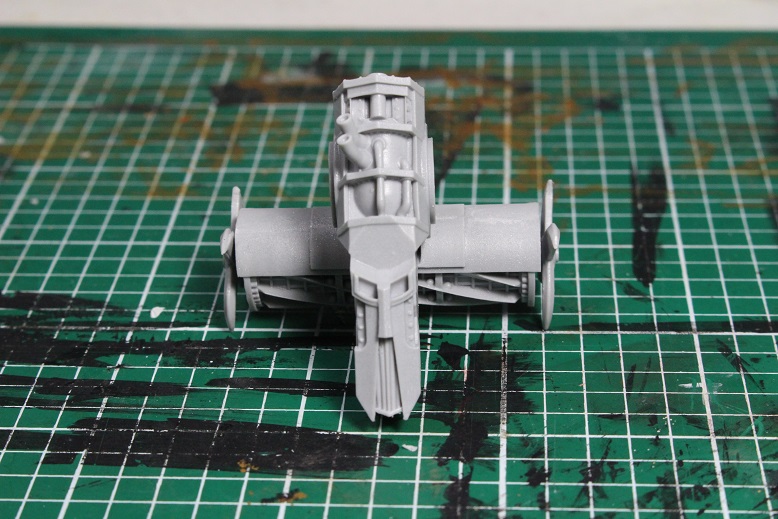
So, here is the mower section attached to the engine. It is a little crooked, but the glue had already dried before I noticed it. Oh well. Might want to keep that in mind as you assemble yours.
Another angle.
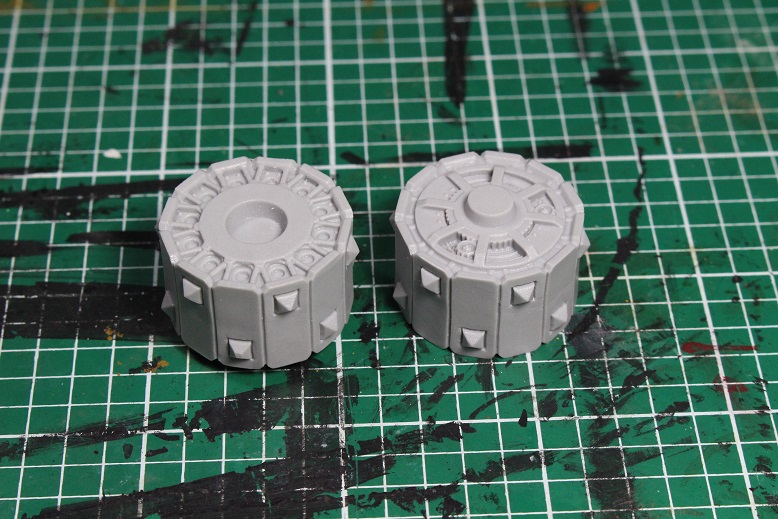
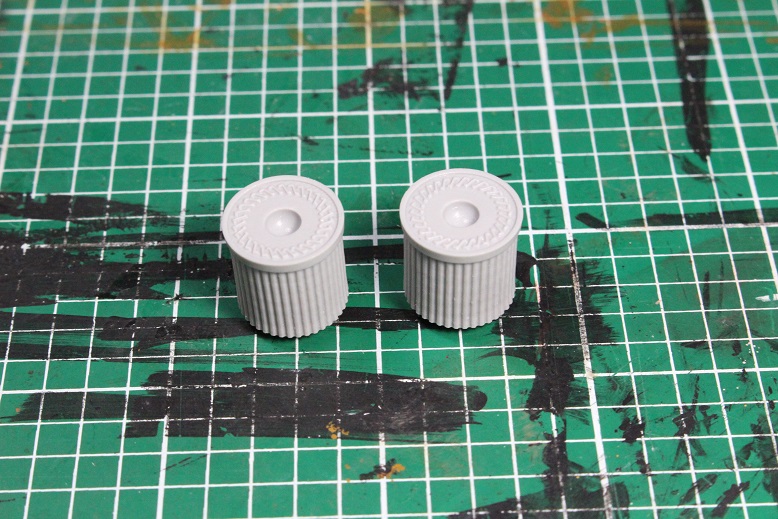
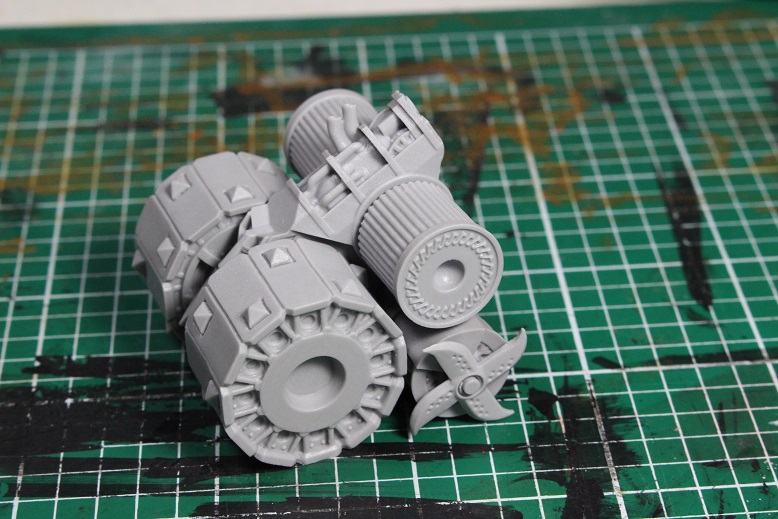
Next up are the front wheels (tracks?). Mine had a slight ripple to them from the molding process that will take a little green stuff to hide, but nothing too bad.
They are attached with poster tack for now. There are a number of details both on the wheels and on the engine that would be pretty impossible to paint with the wheels already attached.
Not entirely sure what purpose these serve other than to add additional grinding mechanisms…
These are also attached with poster tack for now.
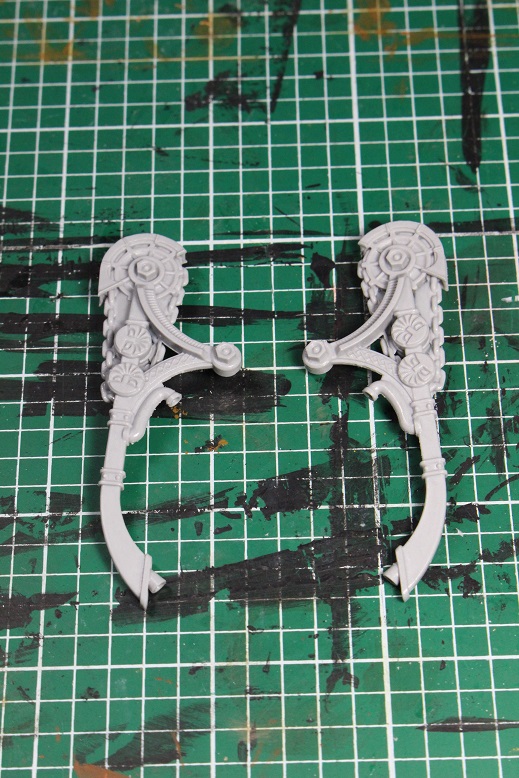
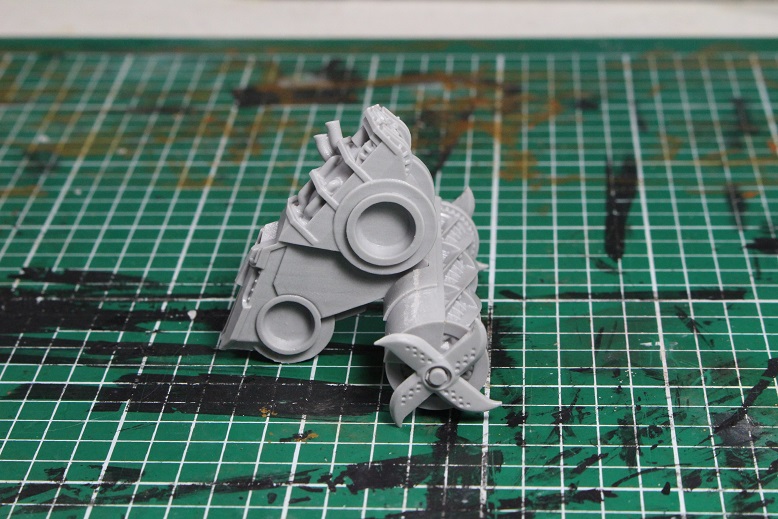
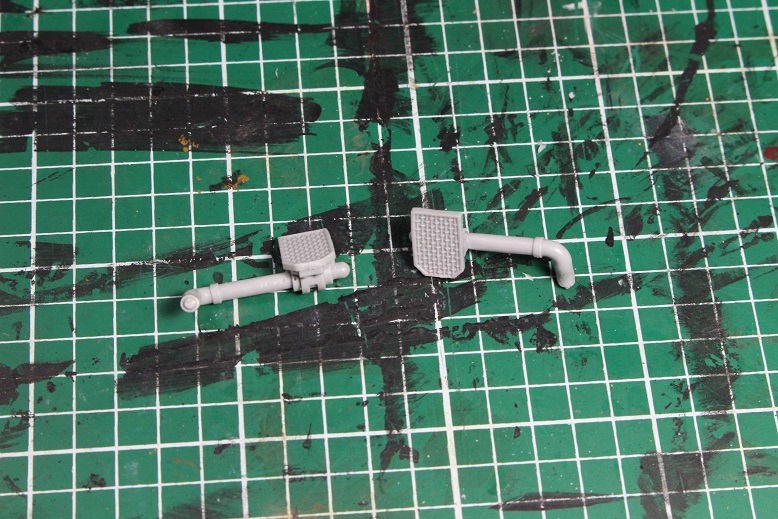
Side chain linkages to drive the mechanism as well as exhaust pipes. These are probably my favorite detail of the mini.
These I went ahead and glued to the wheels. They will keep the wheel assemblies together for easy removal and reattachment and should not obscure so much to make painting too difficult. When it is time to paint, I should be able to just pop these off the sides and take the wheels with them to prime and paint in three large sections (including the main body).
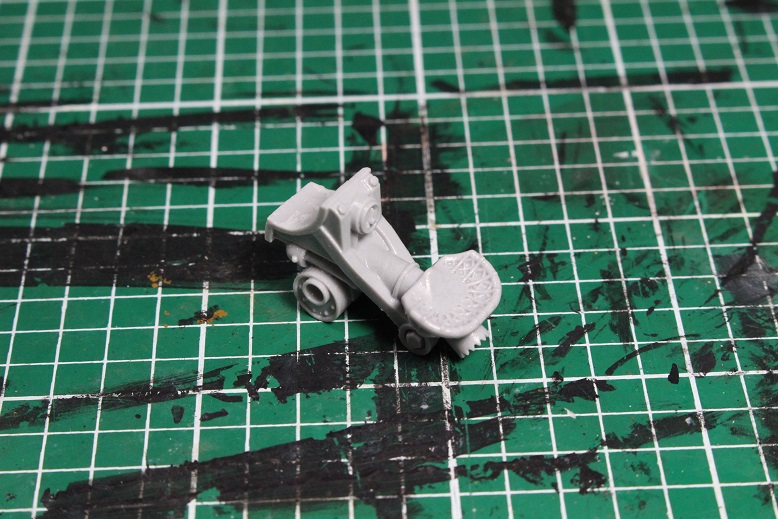
Next is the seat for the driver. I guess that is an important thing to have on a rig like this.
This is probably the easiest piece to attach.
Another angle for the seat.
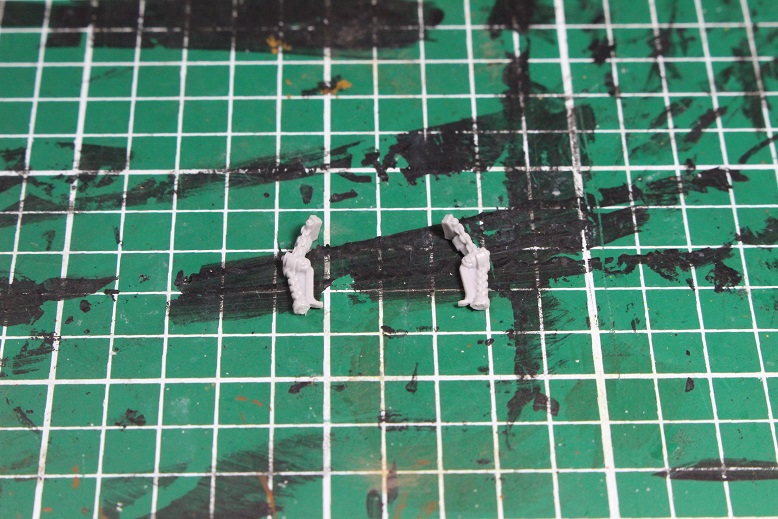
These pieces are foot rests for the driver. I actually did not attach them yet as I am painting the driver separately and they are held in place by attaching one end to the Deathroller, and the other end to the driver’s feet. These will probably be the very last thing that I attach to the mini after painting.
Here is the driver temporarily attached with poster tack. I forgot to take a picture of him before sticking him on. Sue me… 🙂
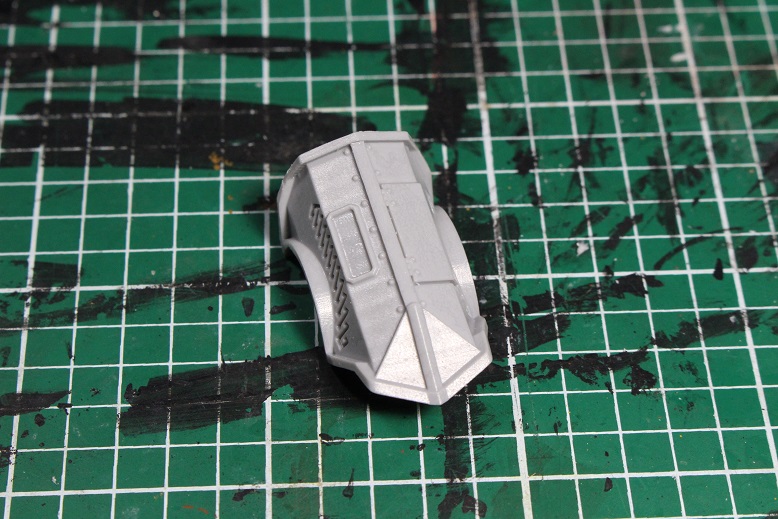
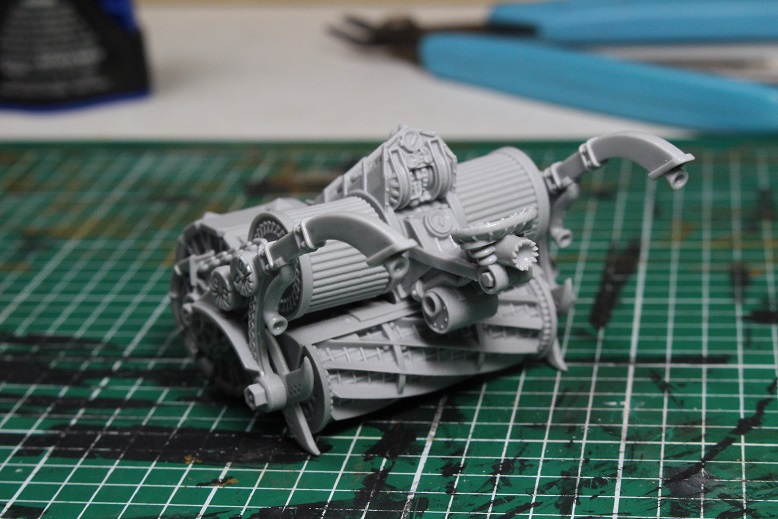
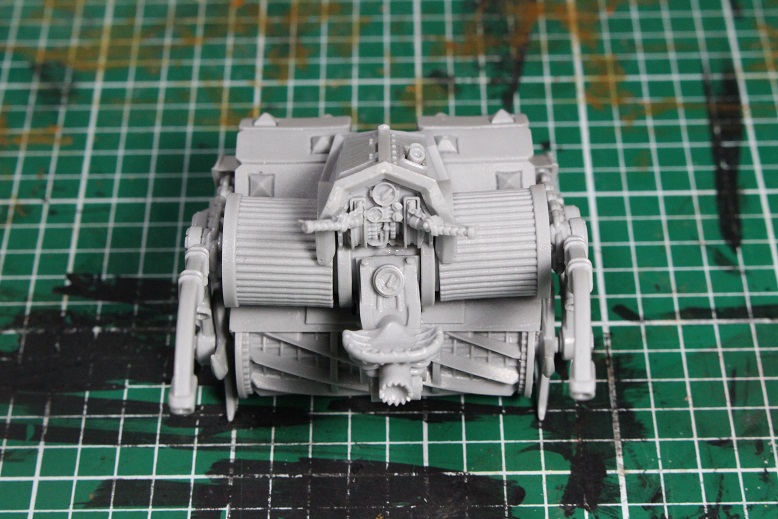
There is actually a separate engine shroud piece. I am not sure why…
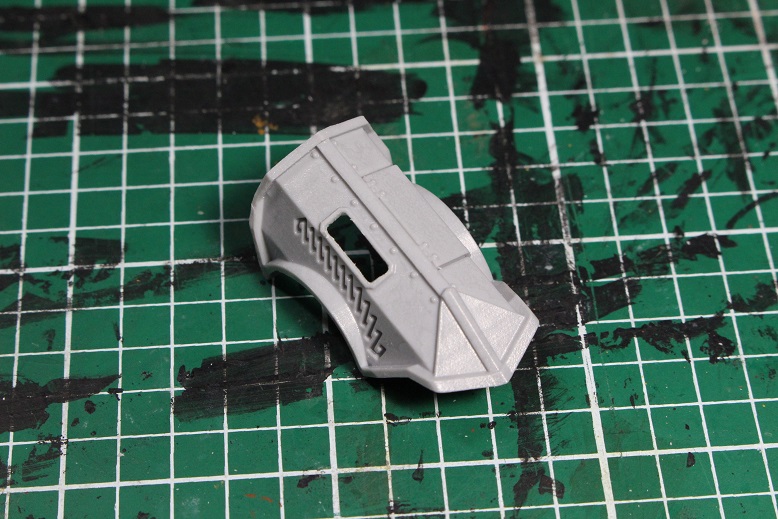
You have to cut out the piece on the left as that is where some pipes come out of the engine section. As a personal observation, I really have no idea why this was made as a separate piece. Maybe to give you the option to include it, or to show the engine underneath? The only thing I know if does is make painting the exposed part of the pipes a little more difficult and will probably require that a small section be painted before assembly. If they had molded it as one piece, it would have been easier to paint up nicely, I think.
The engine shroud held on by simple gravity for now.
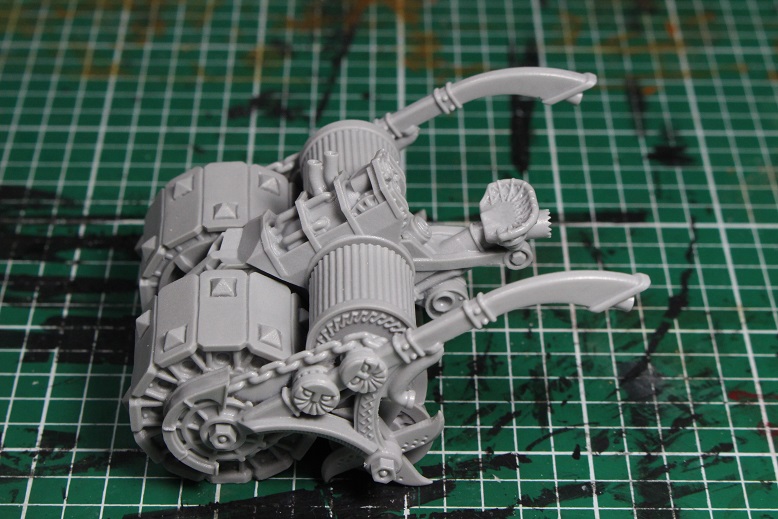
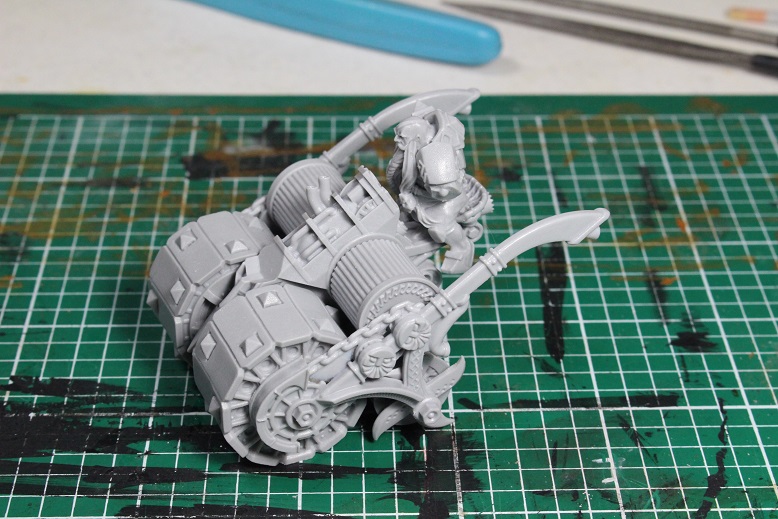
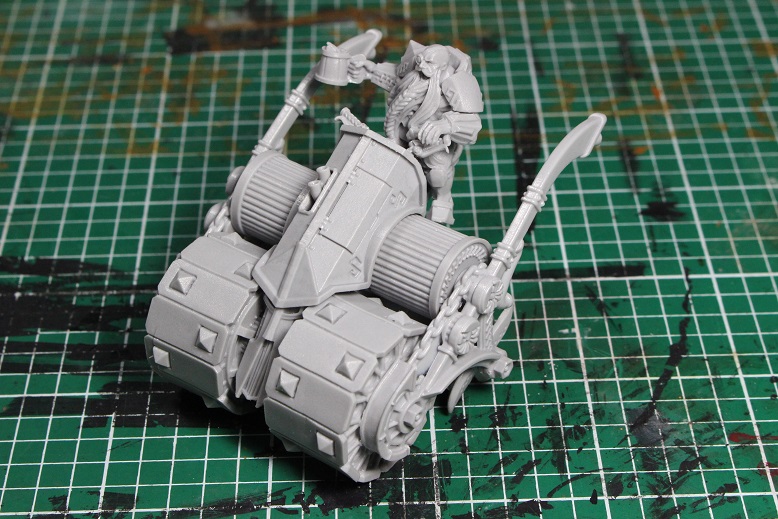
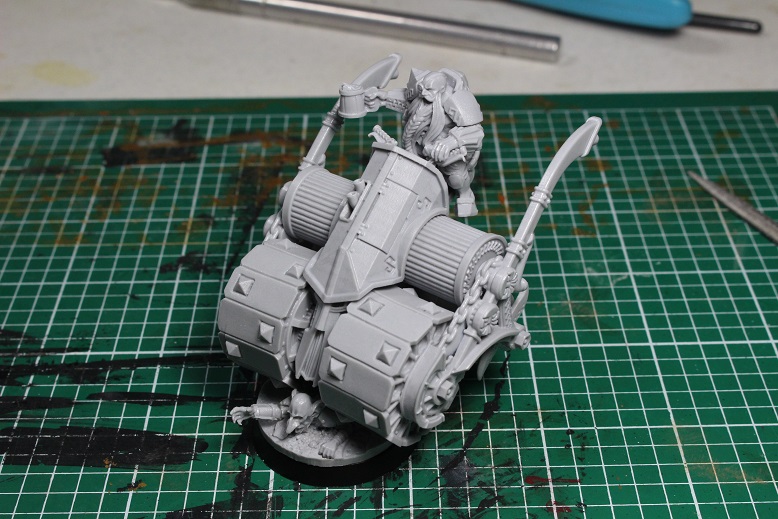
It was at this point that I realized that I had accidentally skipped the handle bars from a couple of steps before. Luckily, I had not glued the driver down and simply pulled him off the seat and was easily able to add the bars.
I think they look good. Also, all those dials and controls should paint up very nicely.
Here is the driver, complete with arms! It was the left arm without the beer that I almost lost. That would have been a pricey mistake… On a side note, I guess Dwarves do not have to worry about drinking and driving laws on the Blood Bowl pitch! Considering the letter that PETA recently sent to Games Workshop over modeling minis with animal pelts, I would not be surprised if they got a letter from MADD for this minis…
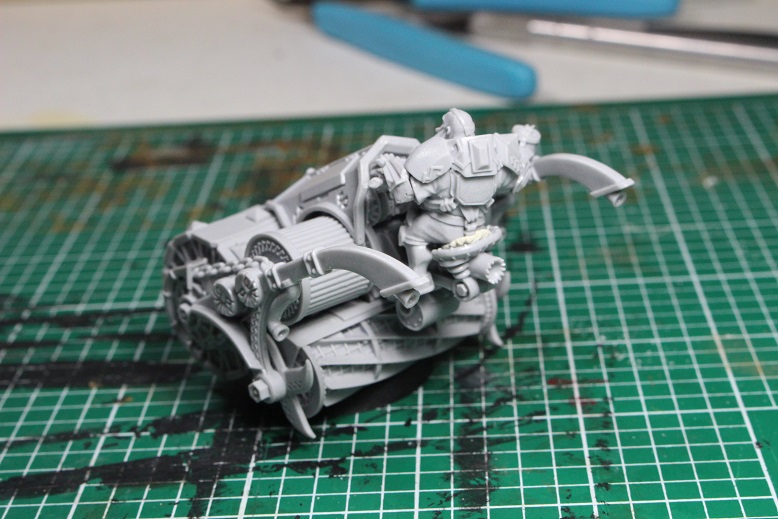
How about we look at this beast from a few more angles.
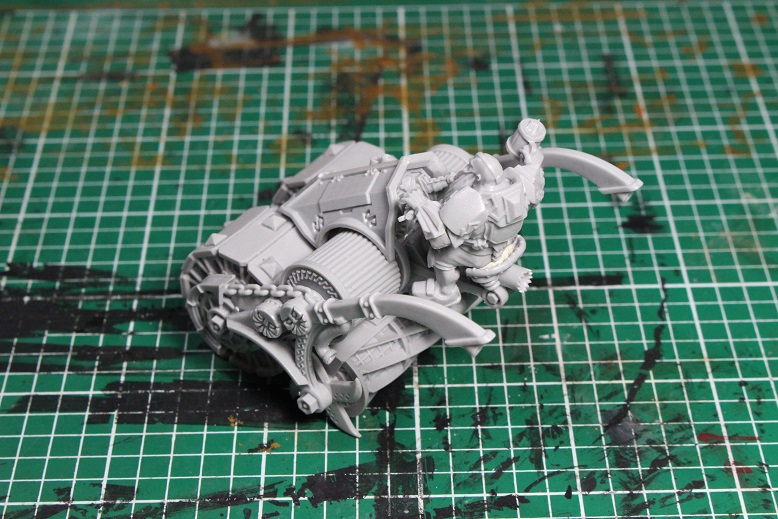
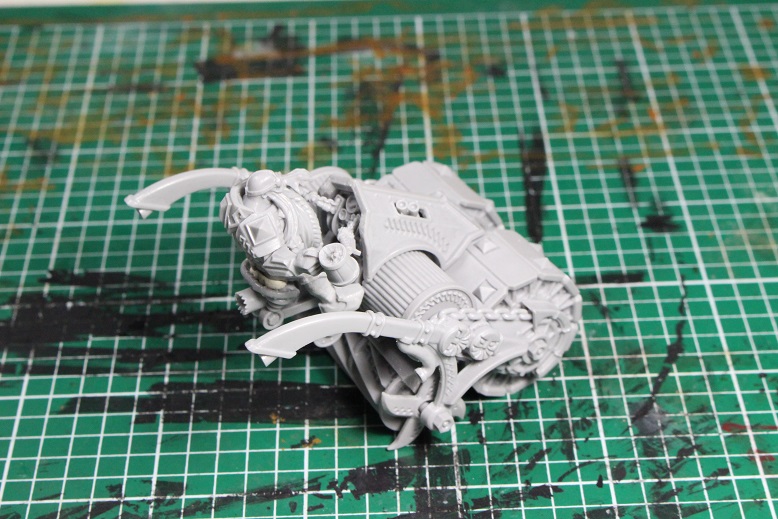
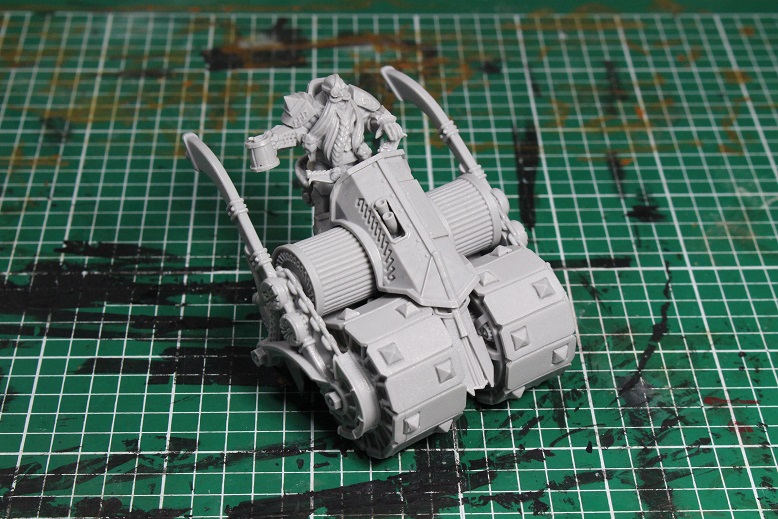
Almost done. Time to move on to the base.
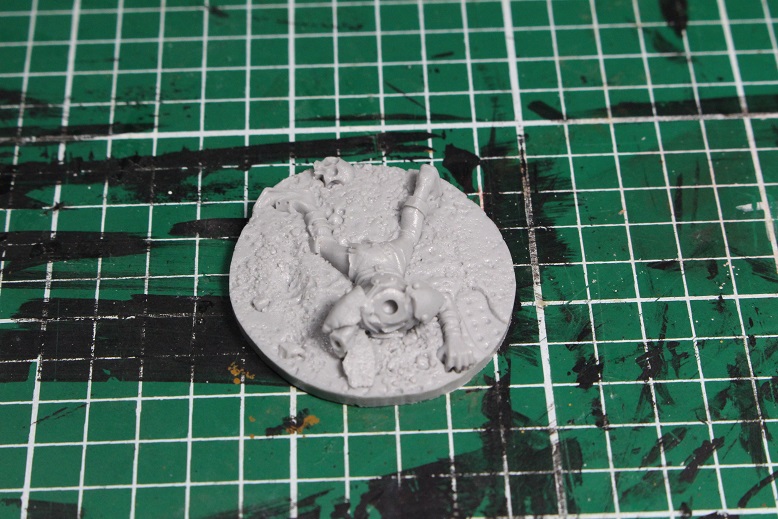
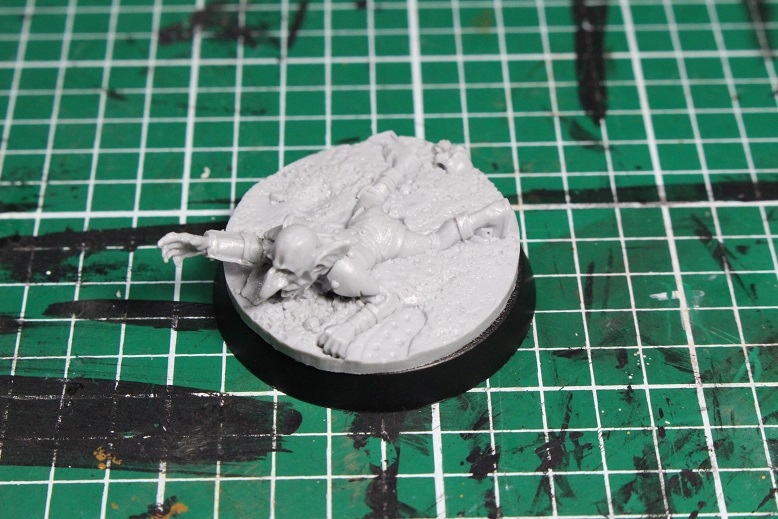
I thought this was interesting as it is not something that Games Workshop usually does. It is a piece that goes on top of the standard base and under the Deathroller depicting some poor Goblin that the Deathroller is Deathrolling. 🙂
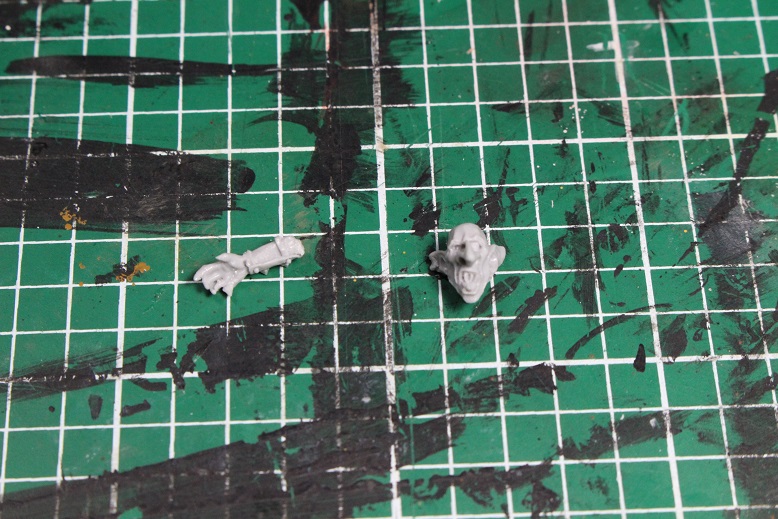
The base comes with a separate Goblin head and outstretched arm.
Attaching the head was very simple, but the arm needed to be pinned. It had a tiny bump on the end and a recess on the base, but it just did not fit together very well. A quick pinning job and it was perfectly fine.
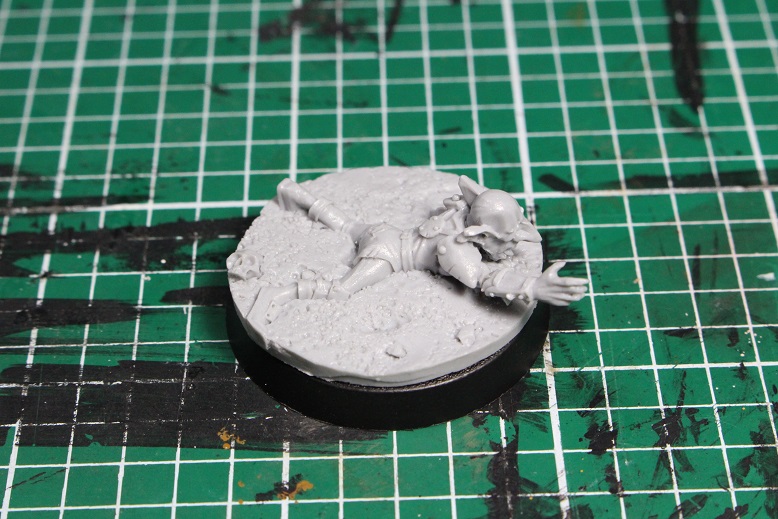
It looks kind of cool, really. The only thing left to do is put the Deathroller on top of the poor little fellow.

Here is where things get a little interesting. The Deathroller does not actually fit on top of the Goblin very well. It “fits” over the Goblin, but only with the back end of the Deathroller hanging really far off of the back of the base. If I try to move the Deathroller forward enough to get the rear blades anywhere near the base, then the Goblin no longer comes close to fitting under the Deathroller. The only way I could take this picture was to place a prop underneath the rear of the Deathroller to hold it level.
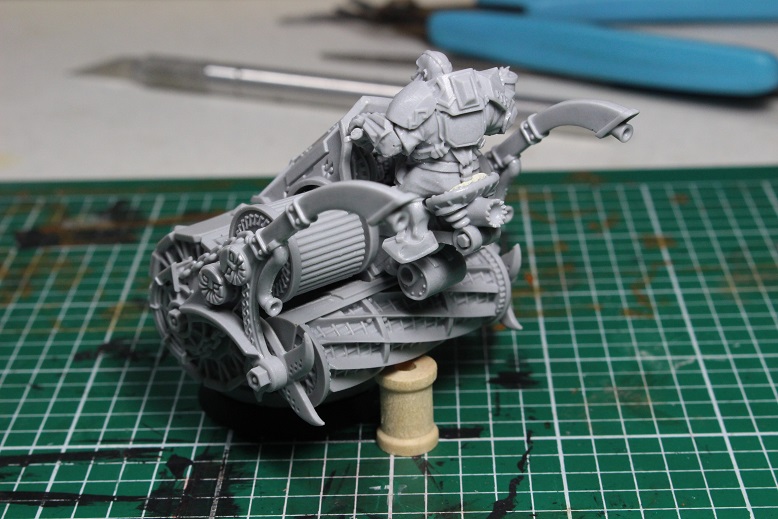
Here you can clearly see how I had to prop up the rear of the Deathroller to try and keep it on the molded base.
One final angle with the Deathroller on top of the Goblin.
After seeing how wonky the fit on the molded base is, I think I am just going to stick it onto a plain 32mm base and call it done. I tested it and it does fit just right onto the 32mm base without the Goblin to worry about. Maybe some of you will have better luck with it than I did.

Here is the Deathroller sitting on a standard 32mm base.
I think it looks fine, and more importantly, it actually fits…
As always, it is time to find out exactly how BIG this mini is.
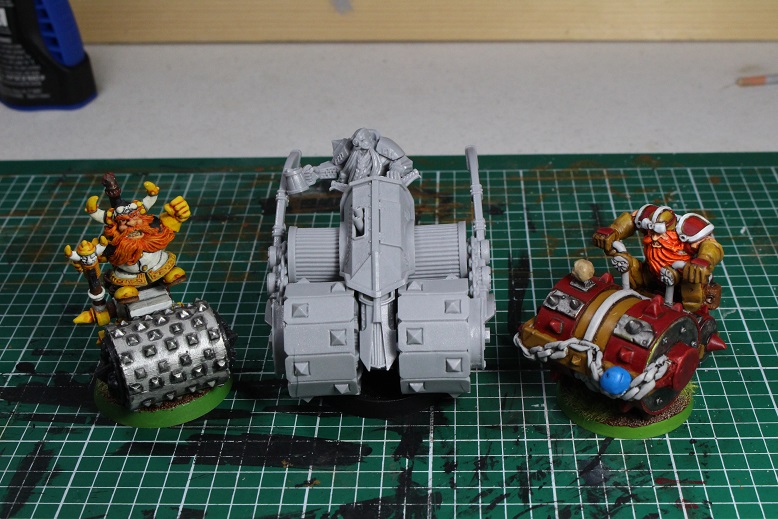
Here is the new Deathroller next to the classic 3rd edition Deathroller as we as my hands down favorite, the Vortice Miniatures Deathroller sculpted by the awesome Pedro Ramos.It is hard to tell from this picture, but the new Deathroller really is not taller than the older Deathrollers. It is, however, MUCH wider and longer than previous versions. The 3rd edition Deathroller was difficult to fit on the old 3rd edition pitches. The new mini will be impossible to fit on those pitches.
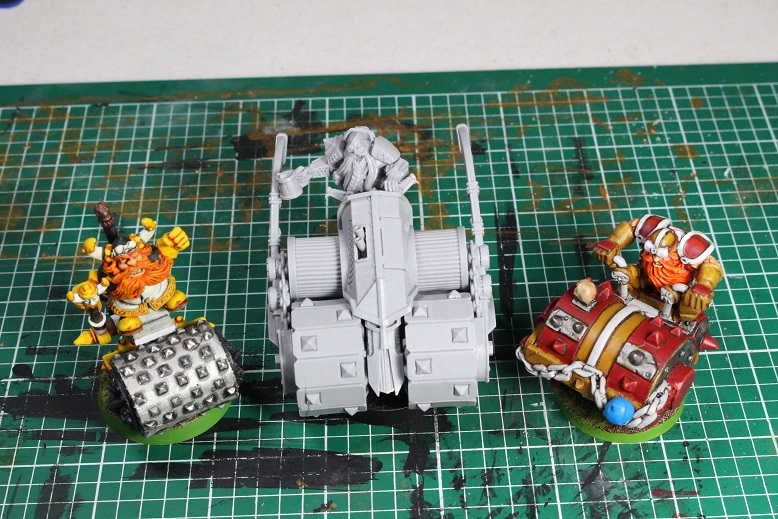 Here is a slightly different angle where you can see just how much bigger this thing is overall.
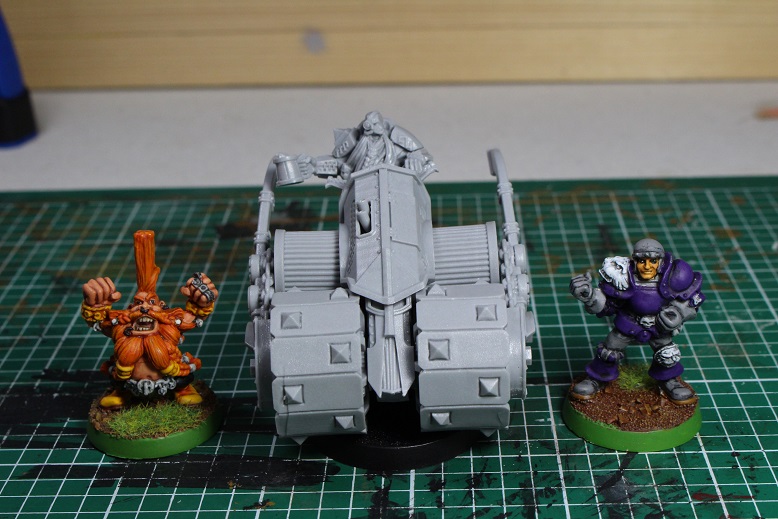
Here is the new Deathroller next to a 3rd edition Grim Ironjaw and a 3rd edition Human lineman.They are both kind of tiny next to this thing.
Now that I have held the new Deathroller in my hands, I do not dislike it nearly as much as I originally did. It might be a bit of stretch to say that I actually like it, but I do not hate it. It went together fairly easily and there were no glaring seams that would take green stuff wizardry to fix (I am looking at you Rat Ogre…). It will need to be painted in a few different pieces and then assembled like most of the newer Games Workshop minis, but it should not be too bad. How well it fits onto a new sized pitch with a lot of other minis has yet to be seen, but I would suggest that you do not even try it on the old pitches. It is just not going to work out well for you.
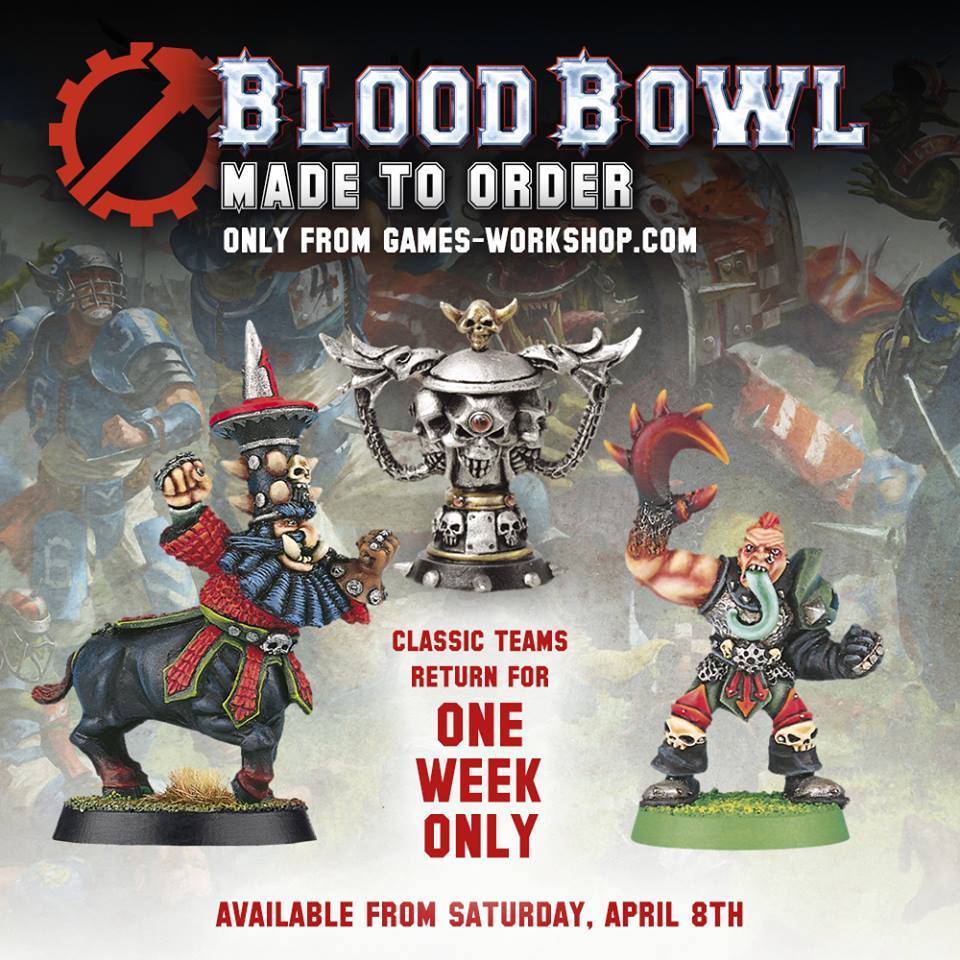
In other Blood Bowl news. I mentioned in my last post that Games Workshop was adding a small list of Blood Bowl minis to their relatively new Made to Order program. Well, those Blood Bowl minis went on sale today and will only be available for a week. If you want any of these minis, I suggest you go buy them as soon as possible. The catalog is a small one, but it does include the very hard to find 3rd edition Chaos Dwarf team. Most of the teams available are pretty reasonably priced at $54 in the US, with the exception of the Chaos Dwarf team that includes the Bull Centaur minis. I am not exactly sure why those minis cost $25 a piece, but they do. At least I finally can get my hands on a 3rd edition Chaos Dwarf team without having to worry about paying super premium prices for minis that are likely to end up being recast bootlegs.
Also note that these are not “full teams,” so if you want enough minis to fill out a full roster then you will need to buy two teams, or fill in the missing pieces from eBay, or some mini trade forums.
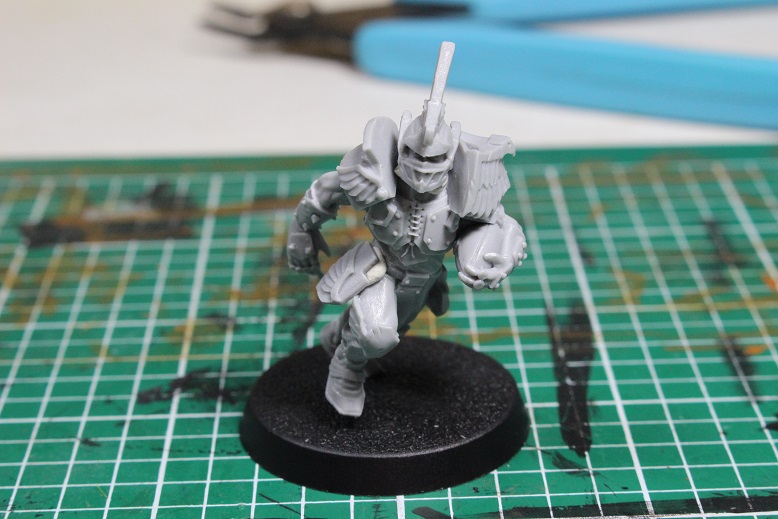
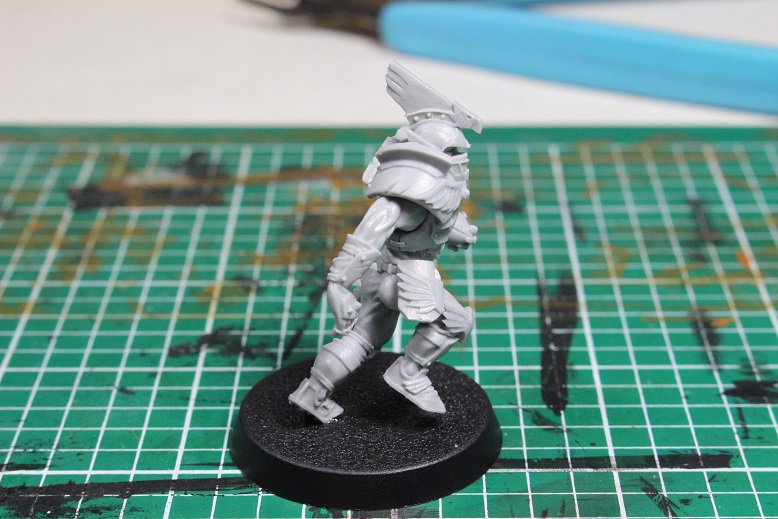
One final thing for today. In a recent post, I did an unboxing and assembly of the new Griff Oberwald mini for Forge World. While assembling that mini, I was not happy with the right arm originally being out in front of the mini and repositioned it. I liked the arm better in the new position, but the hand looked a little weird as in its original pose, the hand was up in a palm out, “stiff arm” position. After looking at the mini for a couple of weeks, I decided that i did not like the way the hand looked and was about to break the arm off and put it back in its originally intended orientation. Luckily, I took another close look at the mini before I did and I realized something. All I really needed to do was cut the hand of cleanly at the forearm brace, then file the end of the wrist smooth at a different angle, and it would look perfectly natural reattached with the arm in its current position. Below are the before and after pictures.
Before
Before
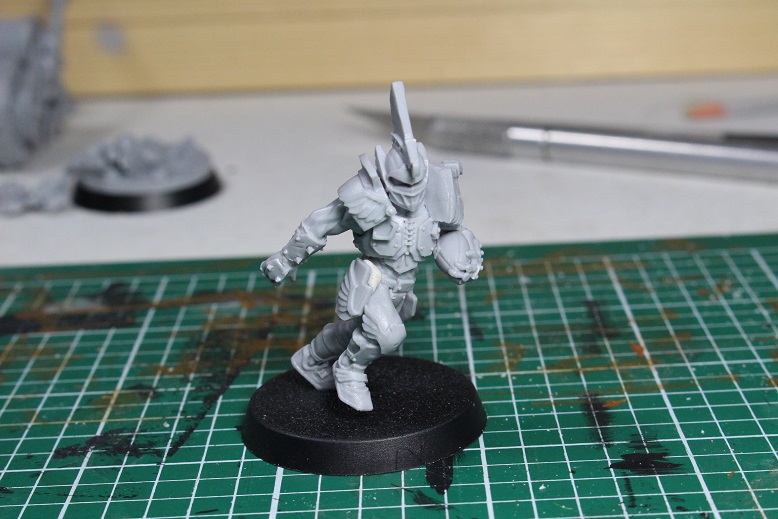
After
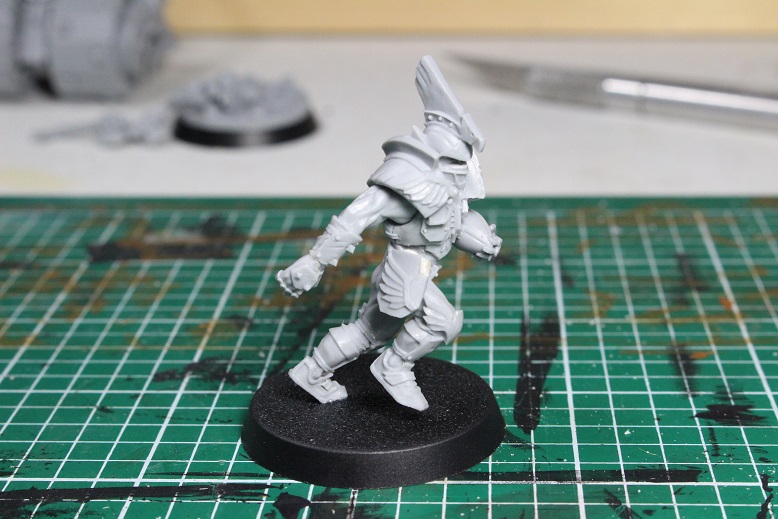
After
I think the new position of the hand looks MUCH better. It really took VERY little effort and took me a total of maybe five minutes to convert including pinning the hand back into place for strength. Let me know what you guys think!

Interesting review the roller is going to be a nightmare to play with. Definitely to wide. Have you ordered any old teams yet? Got me wondering when a plastic dark elf team is planned if they releasing 3rd ed recasts now.
LikeLike
I picked up the Chaos Dwarf team as I have the others already. Actually, I picked up two Chaos Dwarf teams as I needed 6 Chaos Dwarves for a full team. The extras will go on eBay eventually.
I do not know that these teams will affect any future plans to release more minis. They are only available for a week after all. I think it is more likely that they found a few old Blood Bowl molds and decided to cash in on the game’s current popularity.
LikeLike
Wow, there are definitely some head scratching moments with the new Death Roller. It’s weird that they have a hood that covers some internal pieces. I was also surprised to see that there is a actually a whole (but flattened) goblin mini under the roller. Even more surprised that things don’t fit well with him underneath.
Looks wise it matches the new BB16 team really well. Cost-wise, I just can’t justify it. Also not crazy about overly big Death Roller minis.
For my BB16 Dwarf team, I’m updating the custom Death Roller I made a few years ago. It won’t be as polished as the new GW one, but hopefully with a BB16 Dwarf model, I can tie it well enough with the new team. I should have that all put back together and painted, in oh, maybe 2020?! 😉
That Vortice miniatures Death Roller is a really nice mini. Just about perfect. I probably would have bought him instead of making my custom roller, had I seen him earlier. He even looks like he would fit really well on the new larger pitch.
LikeLike