
Well, here we are… a full two and a half years since my last Mordheim Terrain Tutorial post. What can I say? Better late than never I suppose. Since my group had not played Mordheim (until a couple of weeks ago) in the time since my last update, and with me diving with both feet back into Blood Bowl in that time, the Mordheim projects just got figuratively and literally put on the shelf for a while. After receiving a couple of requests somewhat recently to finish the tutorial series, and realizing that making terrain is actually my favorite part of the hobby that I have neglected for quite a while now, I decided that it was finally time to finish this terrain piece, and the tutorial.
First, to get anyone caught up who has not read the previous posts:
I need to start by saying that I managed to forget to take a few pics during the process for this last post, and a few that I did take came out a bit on the blurry side, so apologies for the photography shortcomings.
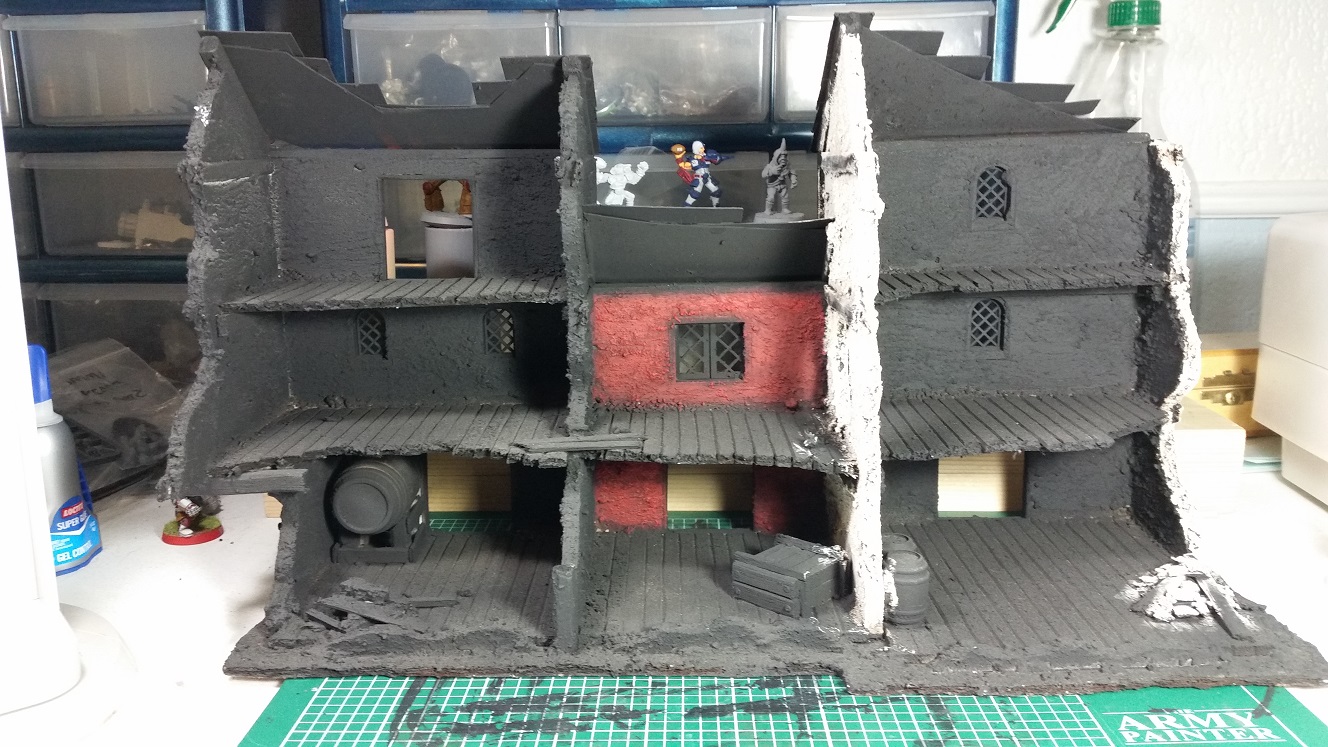
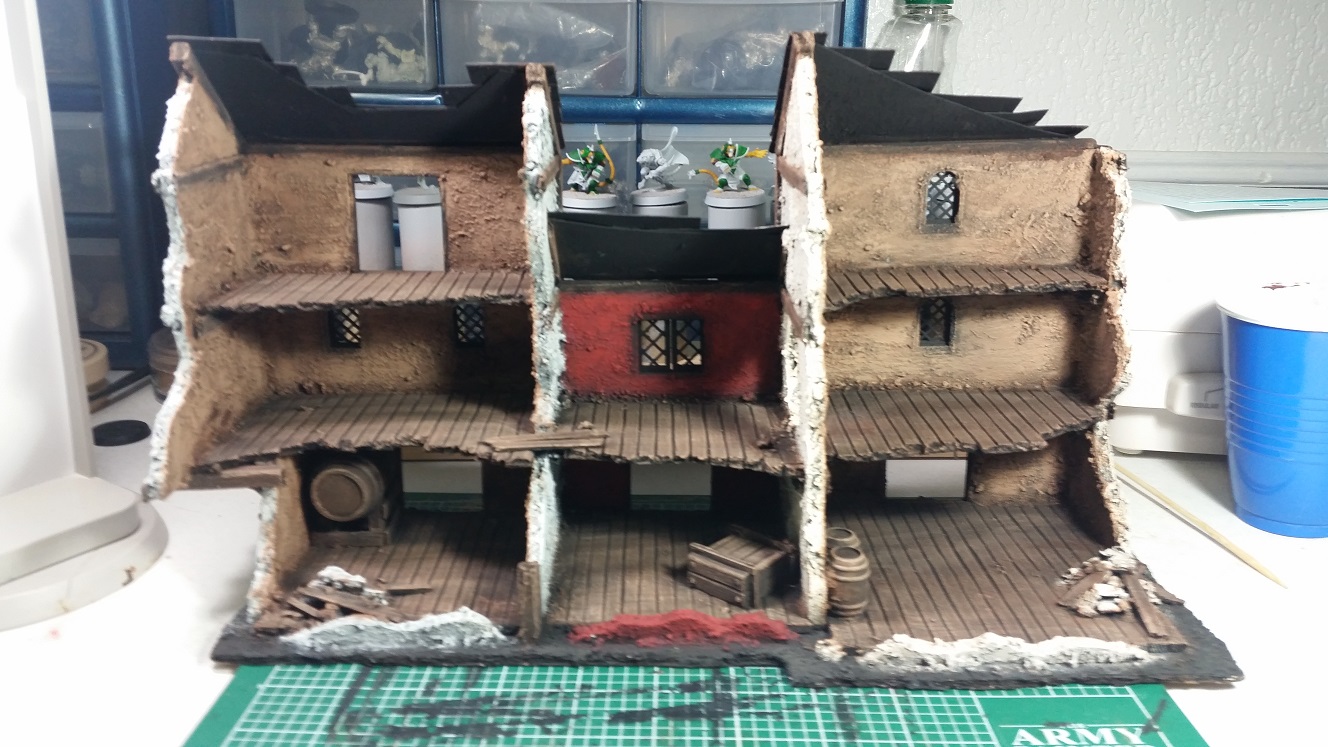
When I finished the last post, construction of the building was done and it was ready to start painting. Here are a couple of pictures of what it looked like at that point.


Does not really look like much here, but it gets much better, I promise.
The first step to painting Mordheim terrain is to base coat everything black. I forgot to take a picture of this step apparently, but there is not a whole lot to it. Grab some black spray paint, and start spraying until it it all black. Once you have the piece base coated, everything is just dry brushing from there with just a couple of detail bits picked out at the end. Since this piece was more three separate buildings crammed together as opposed to a single building, I used several different colors painting it up. I also use a pretty good sized brush for terrain. My brush is about 3/4 of an inch wide with a nice thin tip. I load up the brush, wipe most of the paint back off, then just drag the brush across the surface of the section I am painting. I start with a heavy layer with the darker colors, then use a progressively lighter layer with each lighter color.

I started with the section on the left, obviously. I again forgot to take in progress shots, so this picture is after applying the final dry brush coat. I started with a tan coat, then dry brushed up from there to an off-white highlight. I only used this color on the outside of the building. For the inside, I will use a different color.
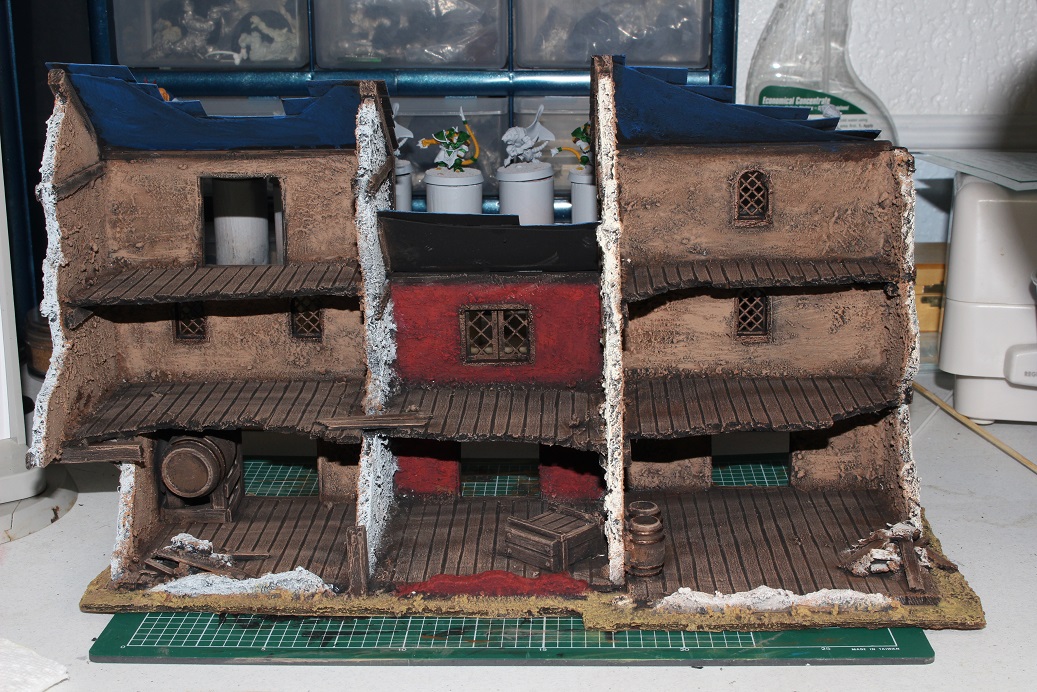
For the middle section, I decided to go with red both inside and out, just to shake things up a little. I started with a darker red as a base.
The inside of the building…
The second dry brush coat is a slightly lighter red.
Then I finished it off with a fairly bright red for the highlights.
I followed the same process on the inside wall of the section.
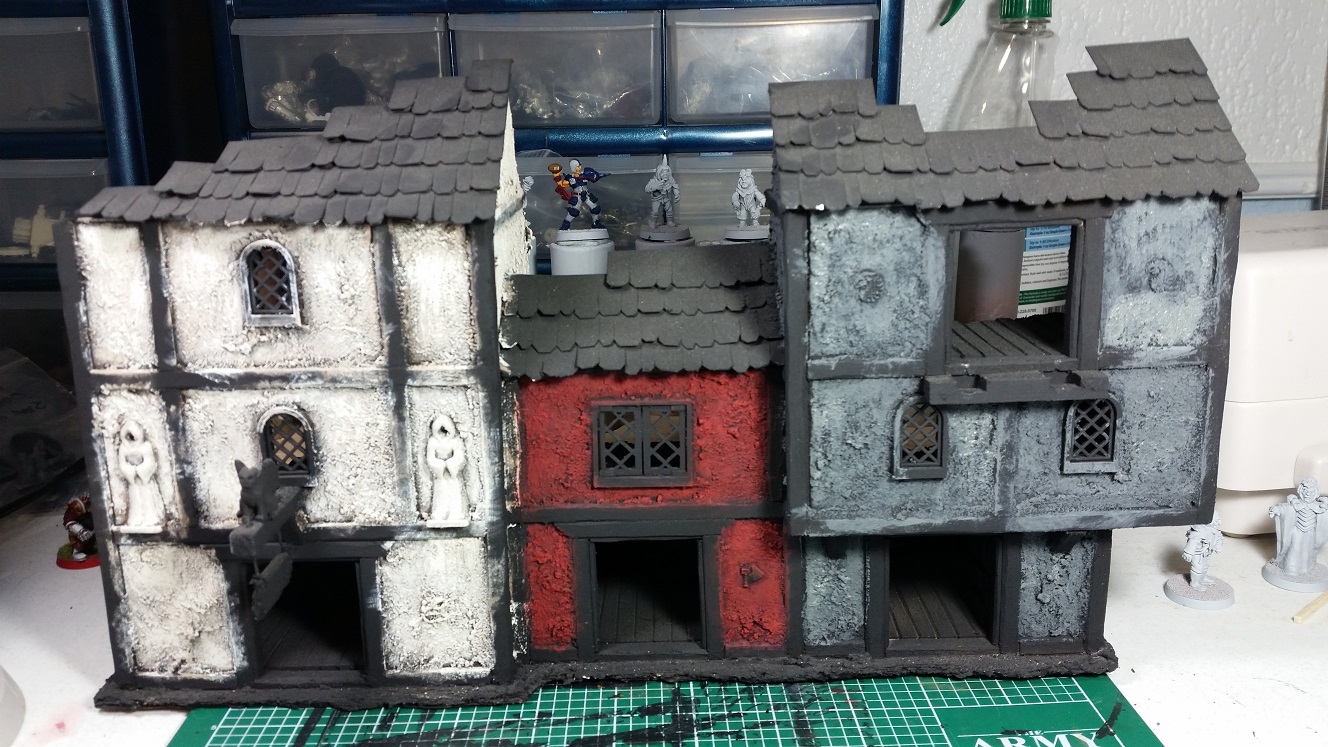
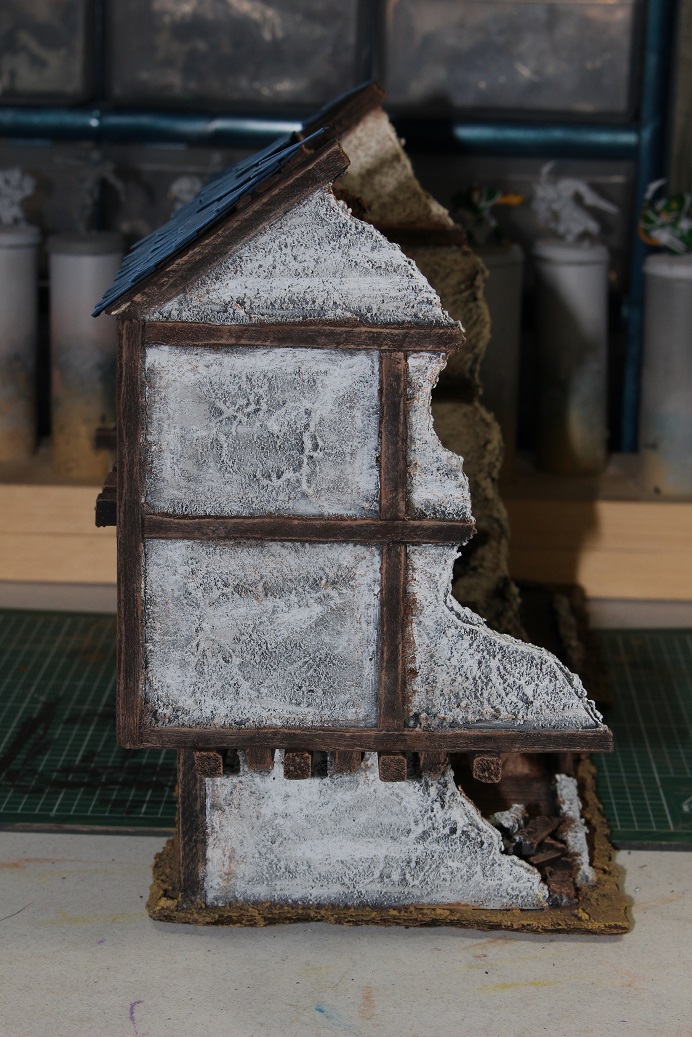
On the right section, I choose to go with a gray on the outside. I started with a darker gray and worked my way up to a light gray.
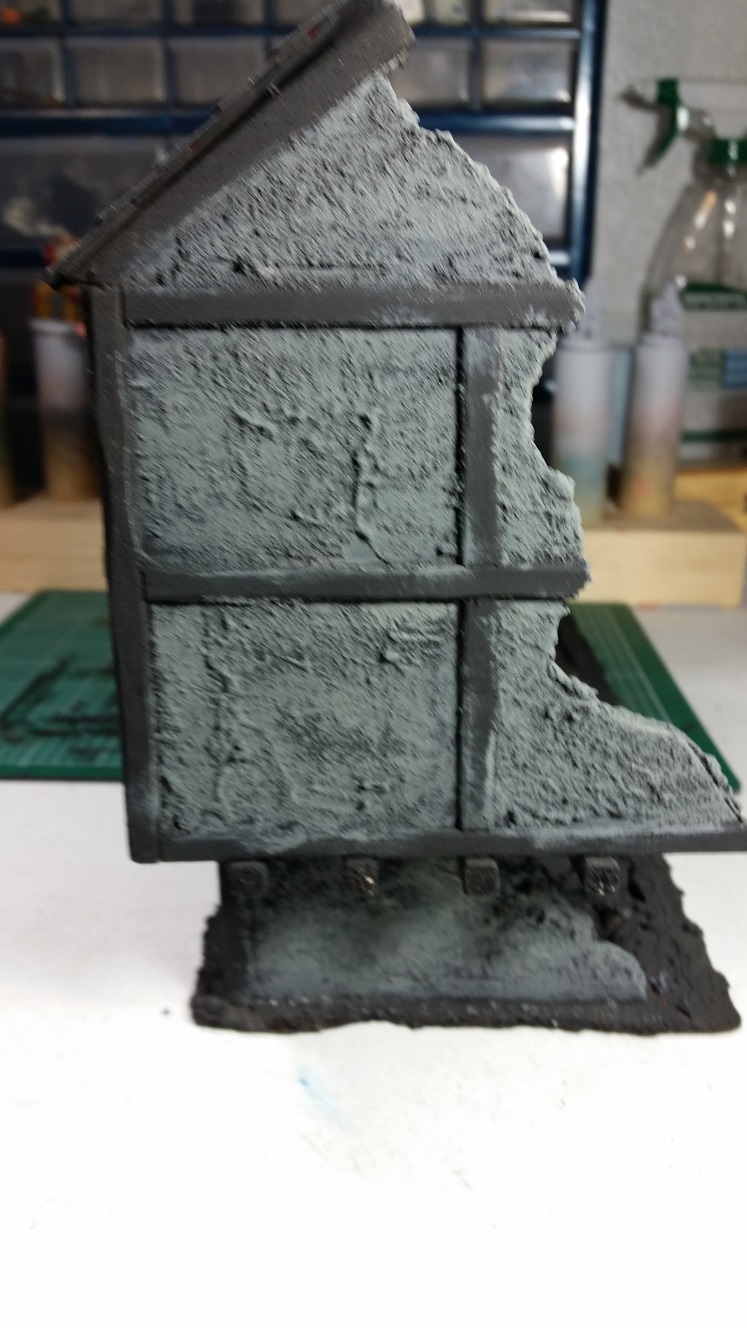
A slightly blurry side shot…
The second coat with a lighter shade of gray.
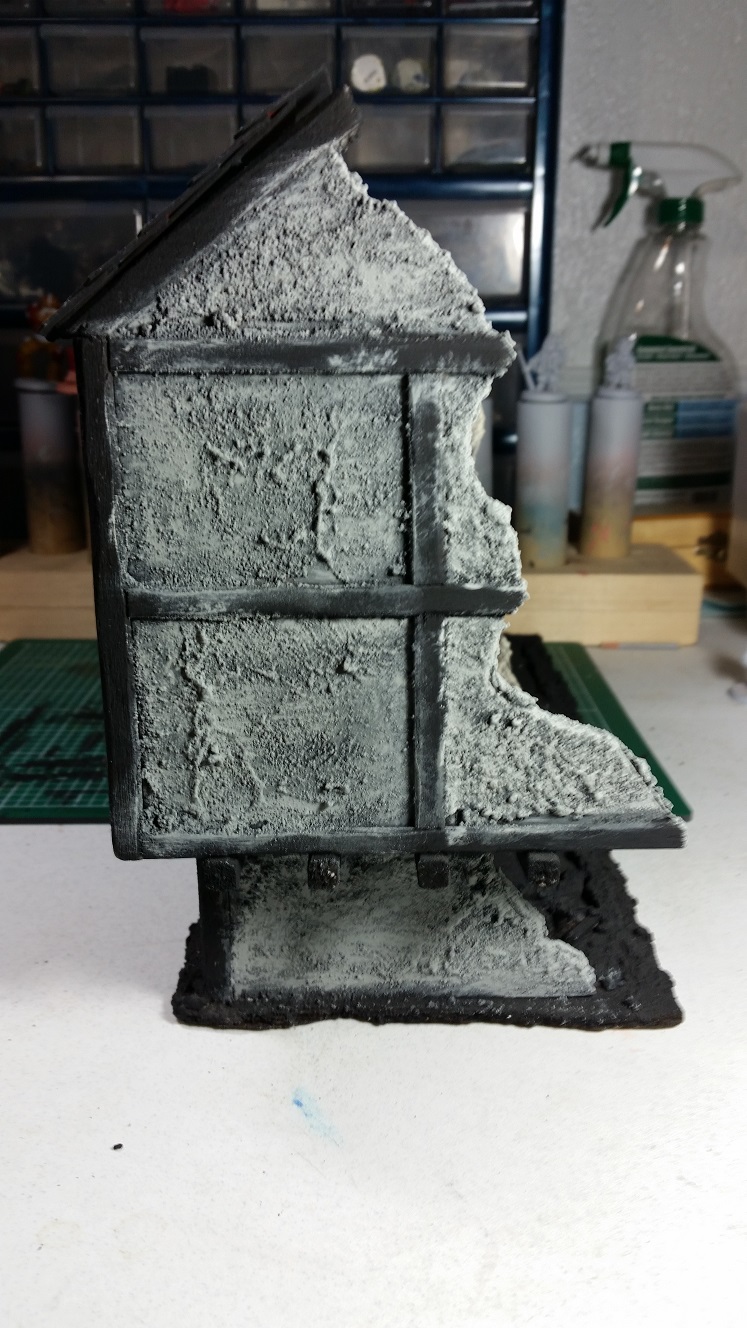
A slightly less blurry side shot of the second coat.
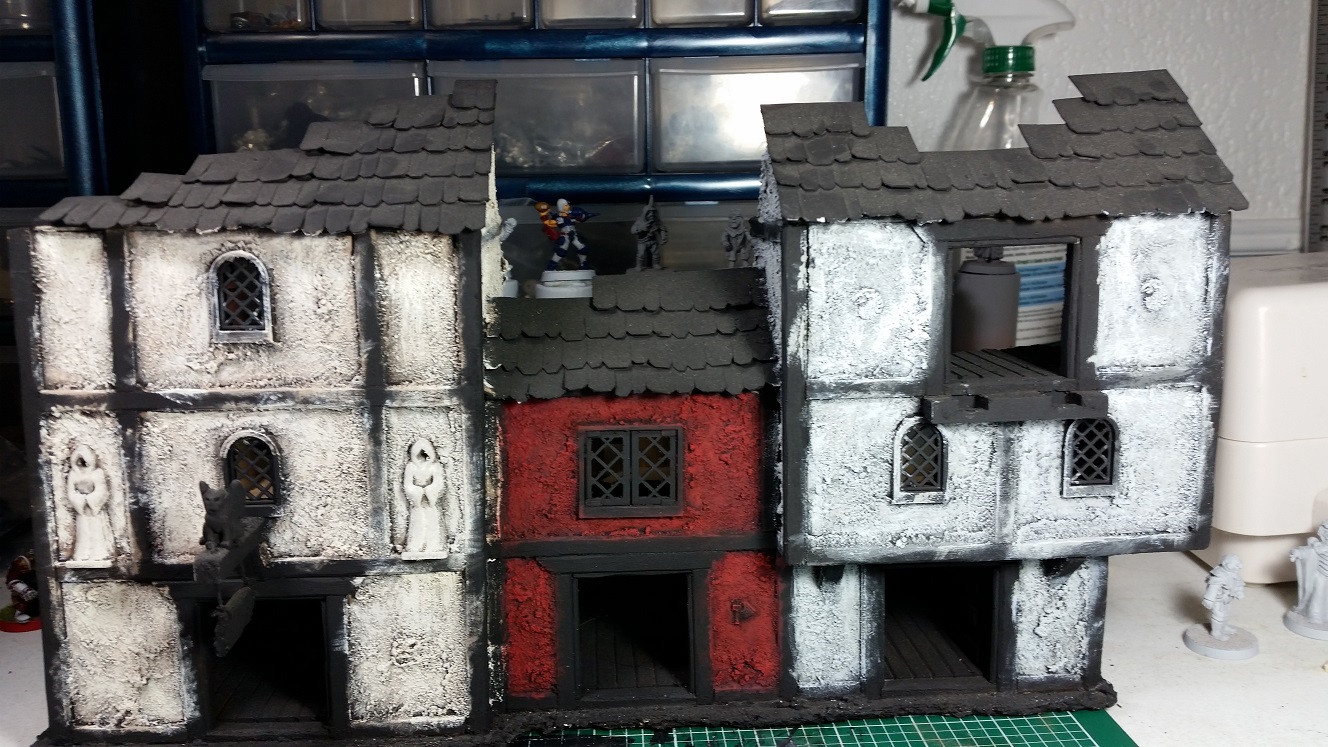
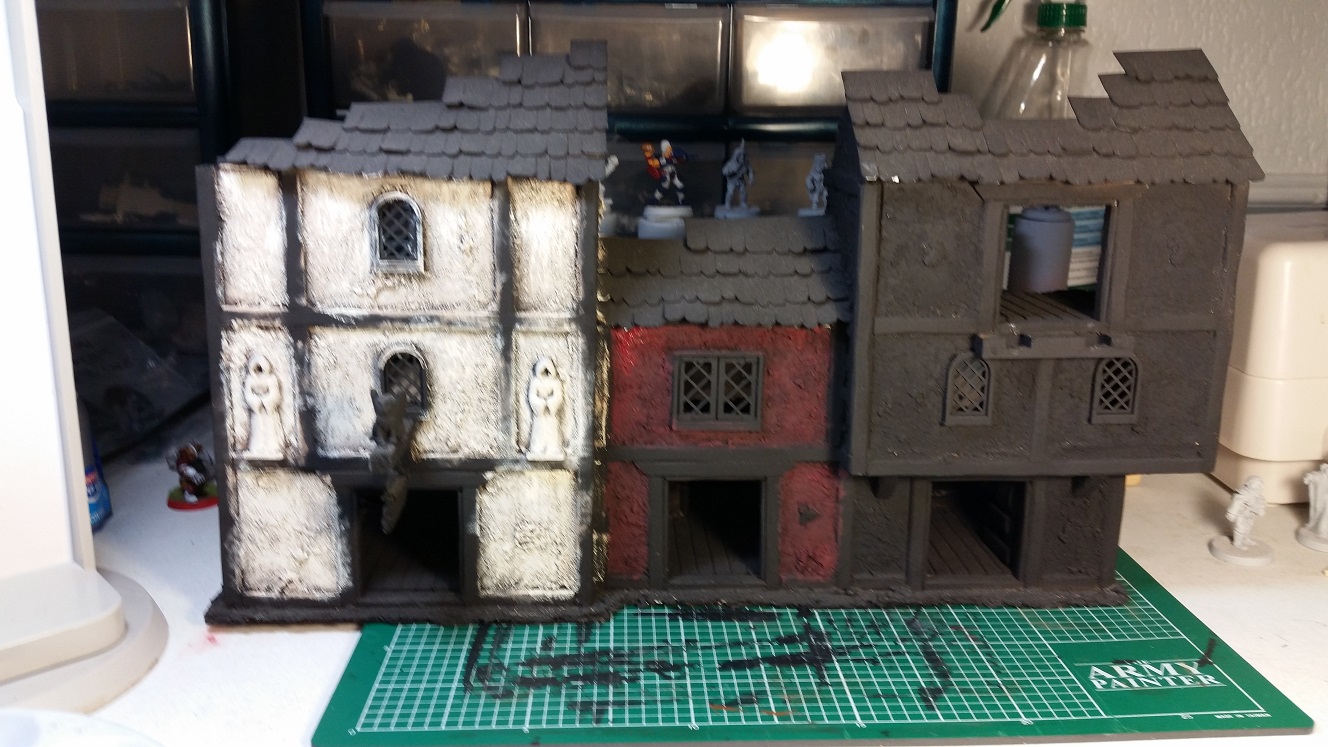
AS you can see, the final coat is a pretty light colored gray. It is similar in color to the left side, but there is enough difference to be noticeable. I am happy with the result.
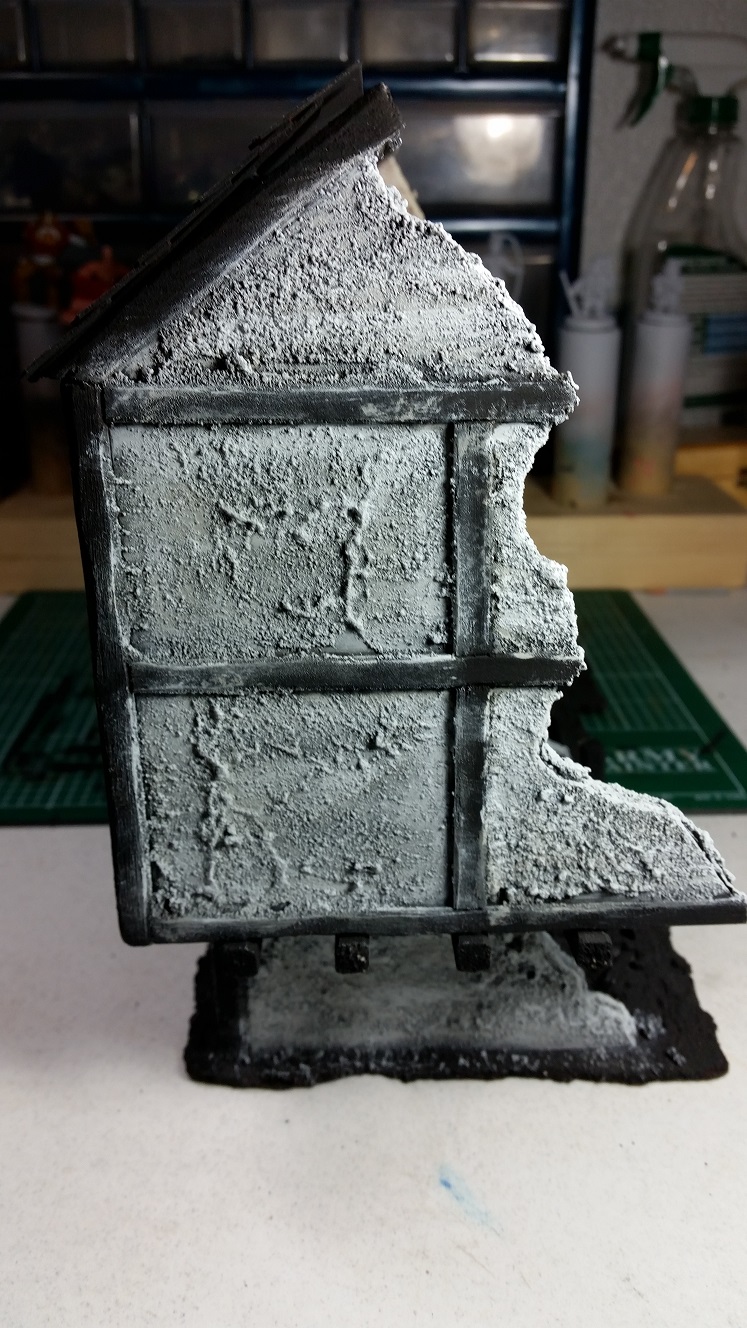
Final highlight side shot.
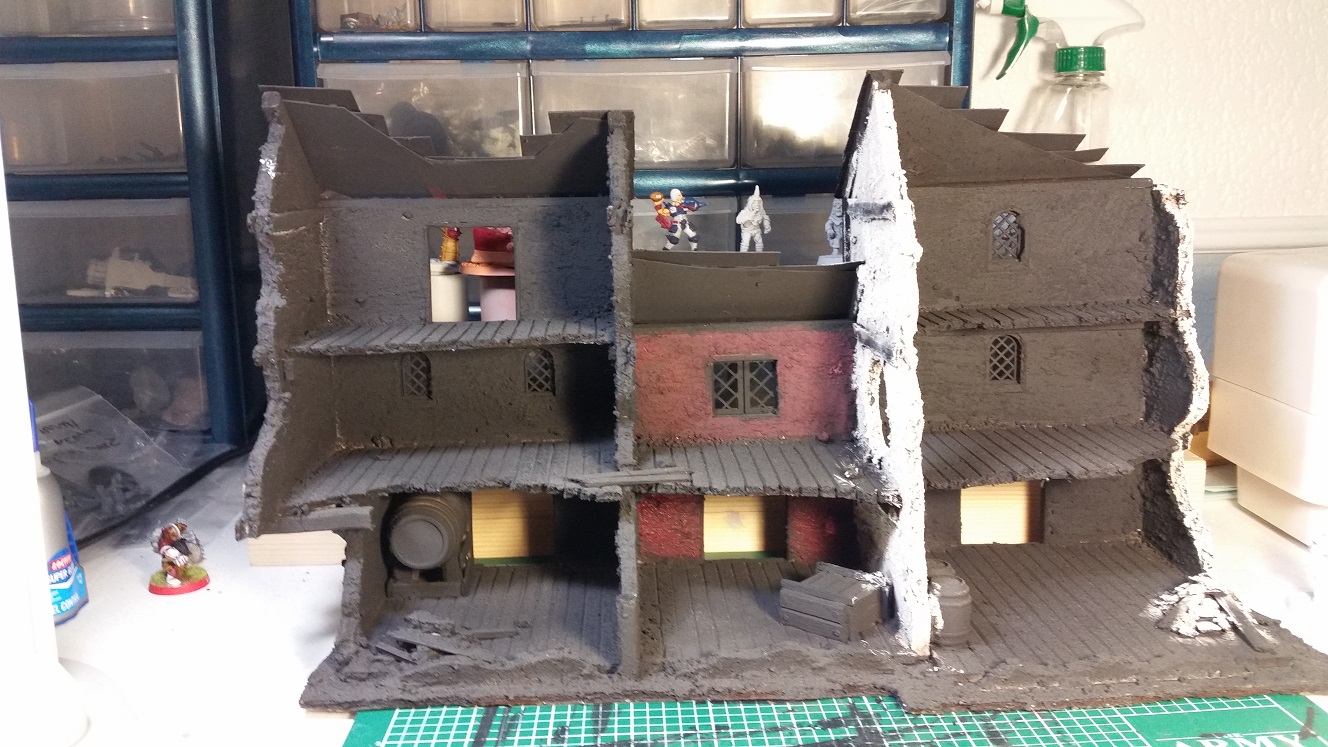
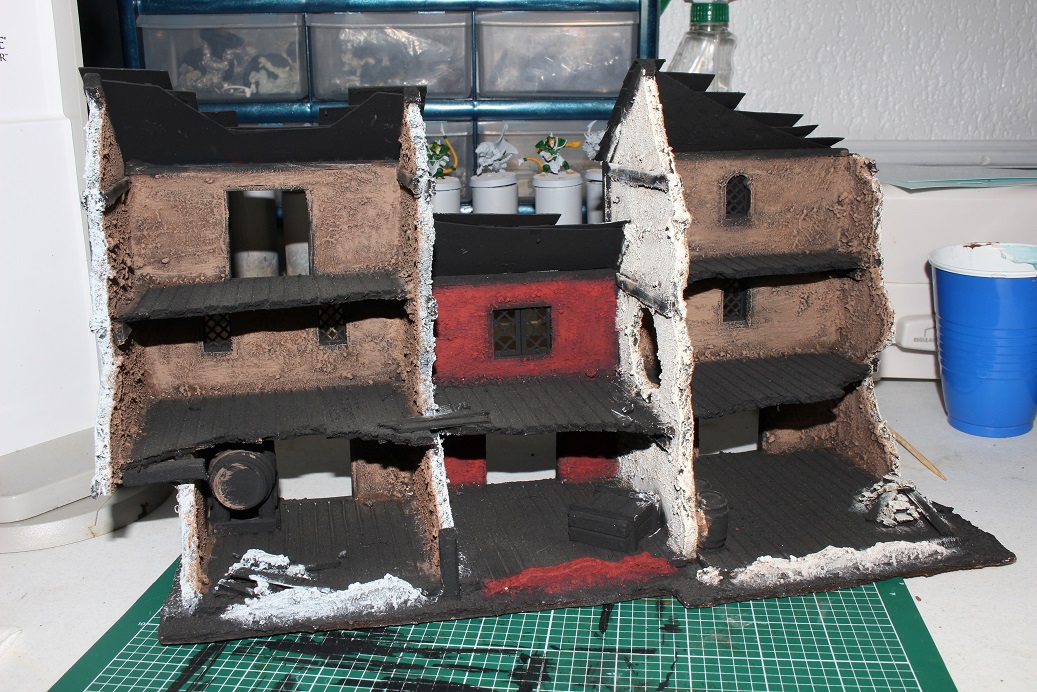
Now it is time to paint the inside walls of the two side sections. For these walls, I thought it was reasonable to paint them the same color. There are not really a whole lot of different colors to work with here as it obviously would not be realistic to paint the inside of a house from this period a purple color or bright orange…
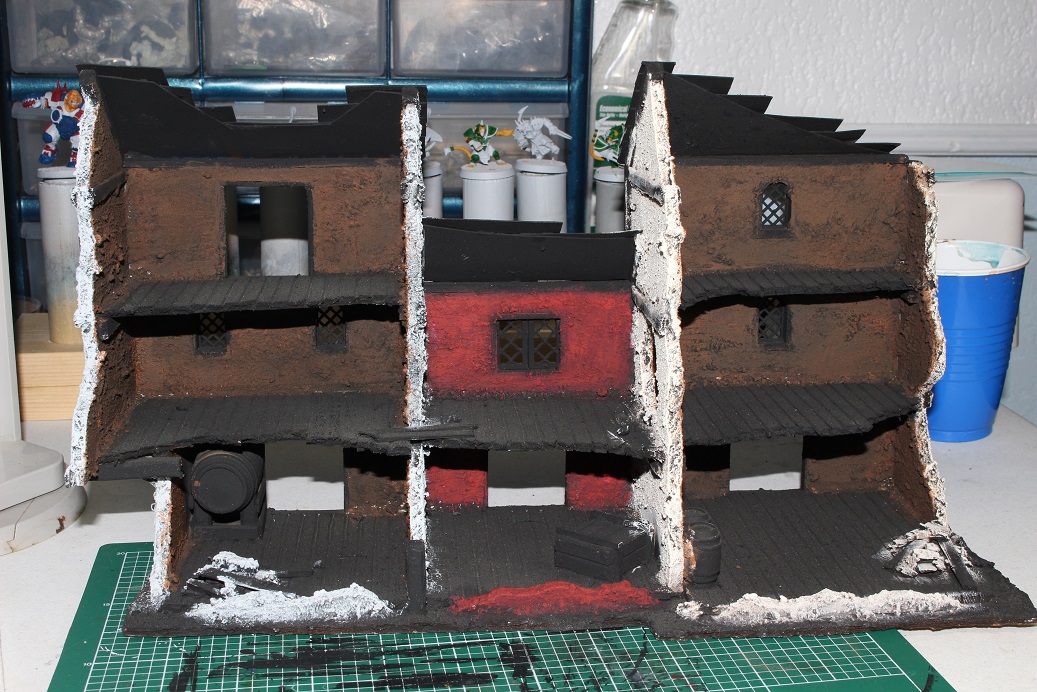
I chose a dark to light brown palette for the inner walls. It was different enough while still remaining reasonable.
From here, things are pretty straight forward and just more of the same, so I did not take a lot of pictures of the final steps. We just have all the wood pieces, the roof tiles, the dirt around the base, and a few details.
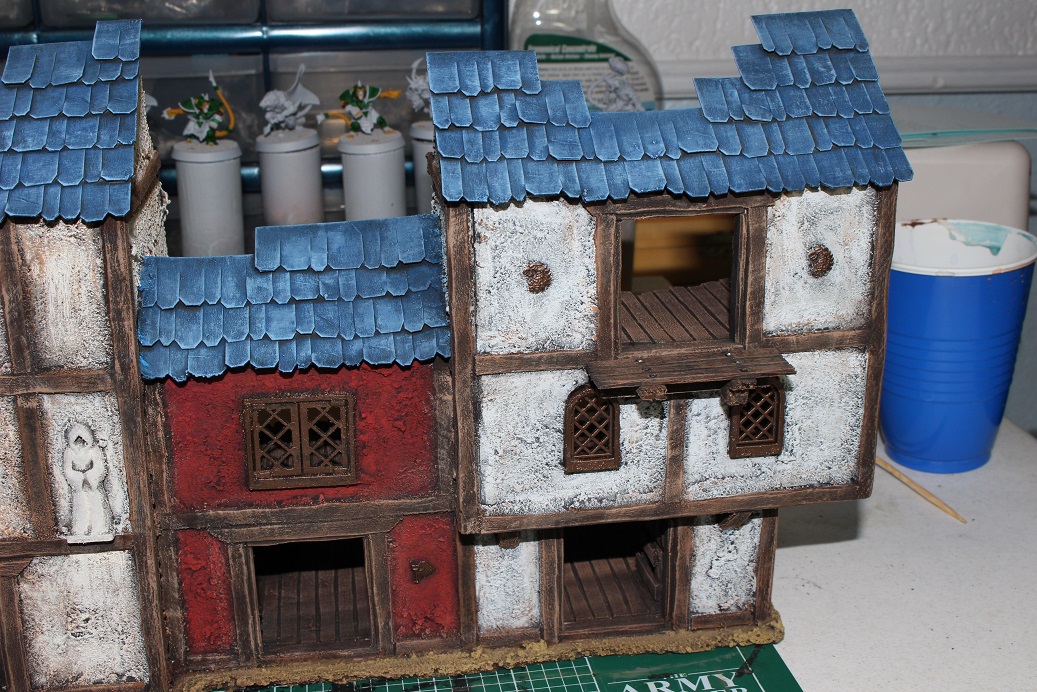
For the wood pieces, I try for a nice aged wood look where I dry brush a fairly heavy coat of a very dark brown, then highlight with medium brown, then a final highlight with a tan color. The extreme contrast gives a nice weathered look that I like.
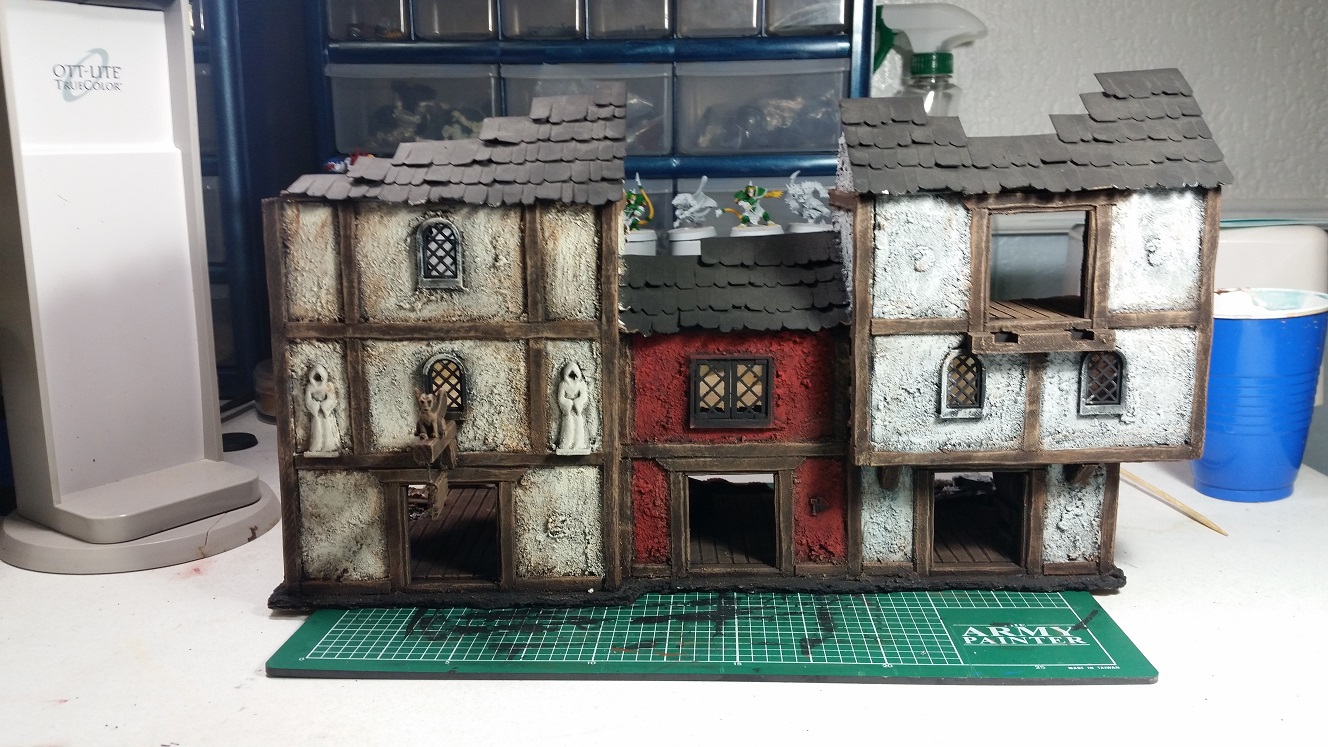
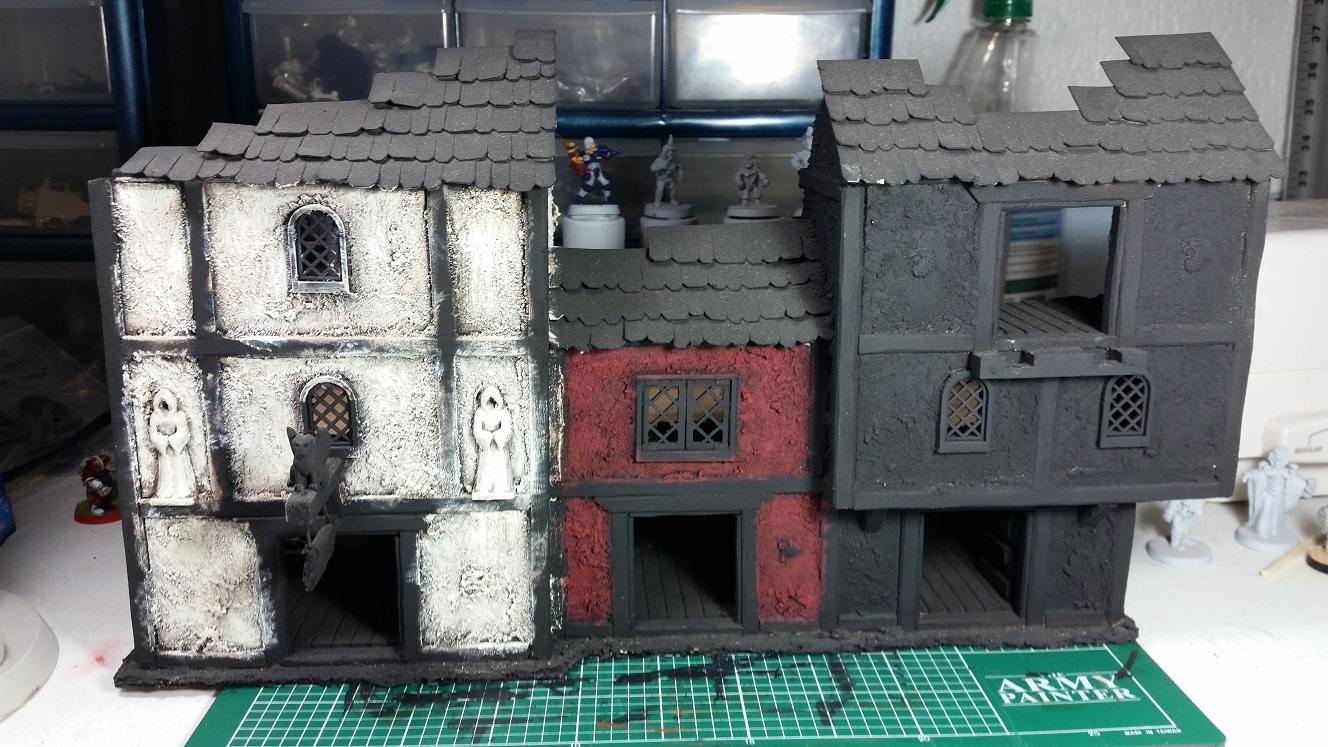
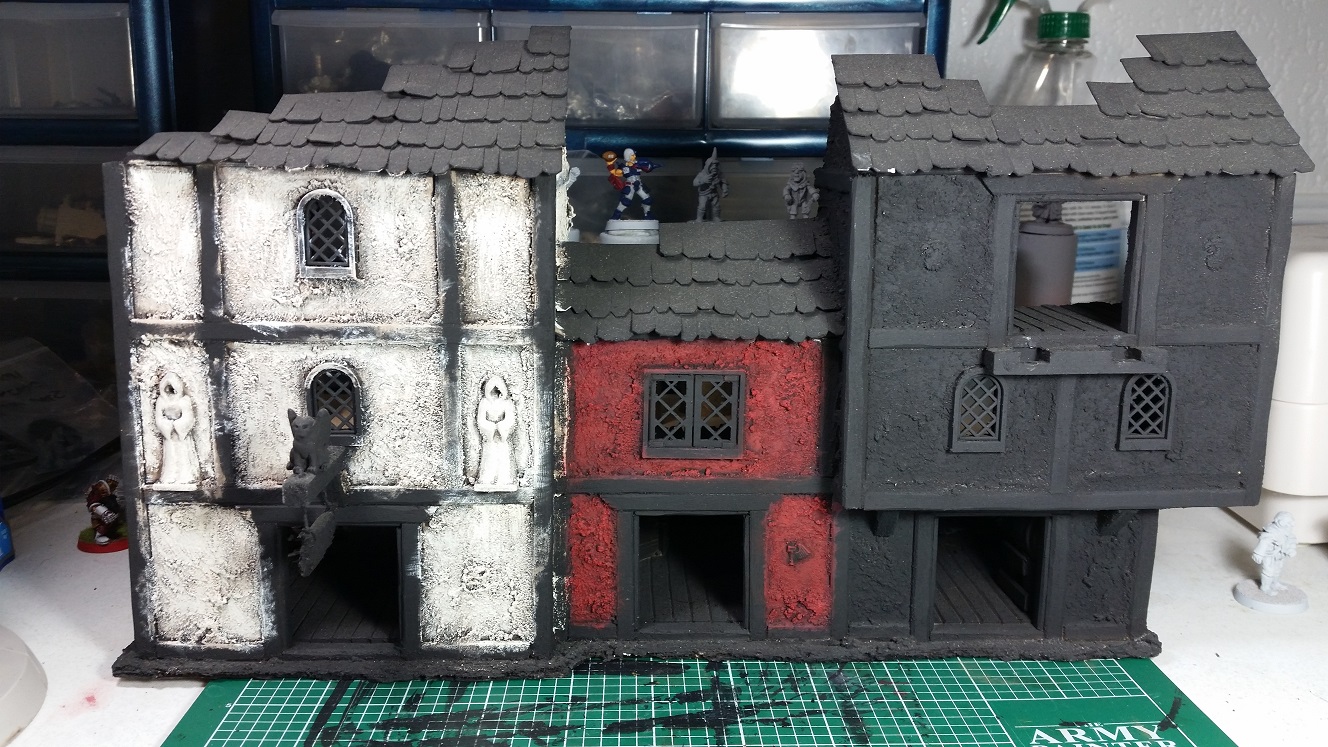
Almost done now. For the roof, I decided to go with blue roof tiles as I had used almost every other color I have for terrain just in the walls of the piece. Again, I started with a darker blue, then progressively made my way to a light blue highlight. For the dirt around the edge of the base, I started with a nice medium brown color for a base, then tan, then finished off with a light coat of a non-metallic antique gold color. The light coat of the gold color gives a nice dusty look that I like for Mordheim terrain. The last thing there is to do is add a coppery metallic color to the windows, the emblems on the wall, and the rings of the barrels. It gives things a semi-suitable rust color and is easy to apply in a single coat.
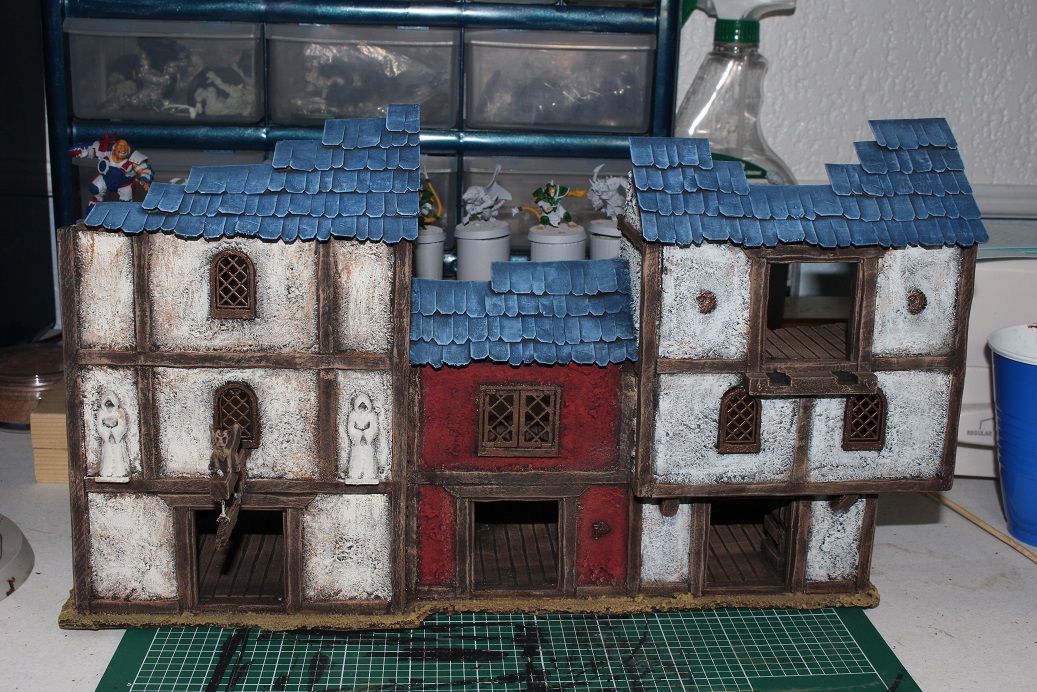
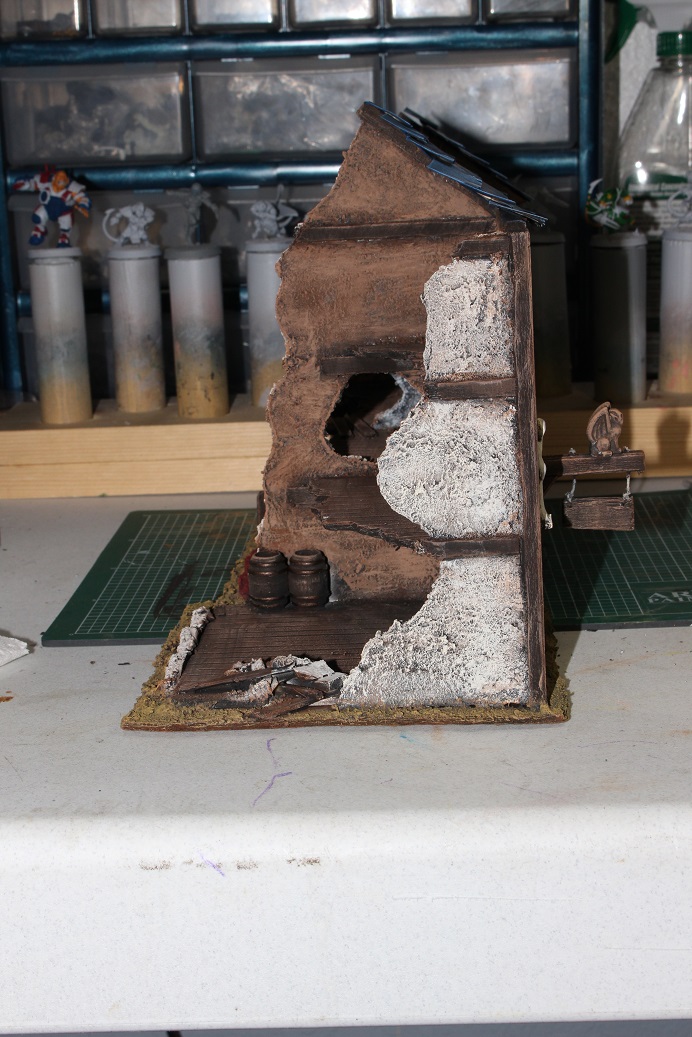
With that we are pretty much done. I will add a clear coat spray to the whole piece to help protect the paint, and I might stick some yellow static grass in a couple of spots, but this is Close enough to call it a finished piece of terrain. I did not actually make a separate balcony for this piece because once I add the modular bridges with all the pieces on the table, I already have leftover bridges, but I went ahead and took a picture of the building with one of my other broken balconies for aesthetic purposes.
Well, I hope you guys enjoyed finally getting the last post in the terrain tutorial series. My apologies for taking two and a half years to get around to finishing it… I have a few minis that need painting, and I might be picking up a copy of Shadow Wars: Armageddon if it ever gets back in stock, but I already have ideas for the next two terrain pieces that I want to build. I just need time and space on my hobby desk for them.

Fantastic stuff mate. Very informative
LikeLike
Thank you, sir. Been a while since I have built anything. It is nice to get back to it.
LikeLiked by 1 person
Well done, I love it. Have started to make one the same. Although intend it to be a large ruined tavern, so it will be a single building not three. Love this tutorial. Thank you.
LikeLiked by 1 person
Glad you like it. Hope the information really helps you!
LikeLiked by 1 person
The final piece looks wonderful. Well painted, nice details and fully playable. Perfect for Mordheim. I think it was well worth the wait and I am glad that you were able to finish it at last!
LikeLiked by 1 person
Thanks! At times I wonder if I would ever get back to it…
LikeLike
I know the feeling, I have some desert terrain in a box that is half finished…it will be some day.
LikeLike
Once you step away from a project for a while, it gets REALLY hard to find the motivation to go back to it, right? 🙂
LikeLike
Great work, and a really nice tutorial! 🙂 Thanks for finishing it. I had actually put my buildings a bit on the back burner, but you getting this done gave me a push to start again. 🙂 Next up for my, paints and wall structure. 🙂 Thanks again. 🙂
LikeLike
Glad I could help you out. Sorry it took so long for me to finish it! 🙂
LikeLike
Incredible work! Would love to see more if you have any more tutorials.
LikeLike
Amazing work ! I was looking for tips on a blue roof.
Ive also think Ive found my inspiration for my next mordheim building.
LikeLike
outstanding work. I have read this blog probably a dozen times over the years but i have finally got supplies en route and a group to play with. Cant wait to follow your footsteps.
LikeLike
Pingback: Building a 15mm Fantasy Ruin | Solo, Pen, Paper and Dice