
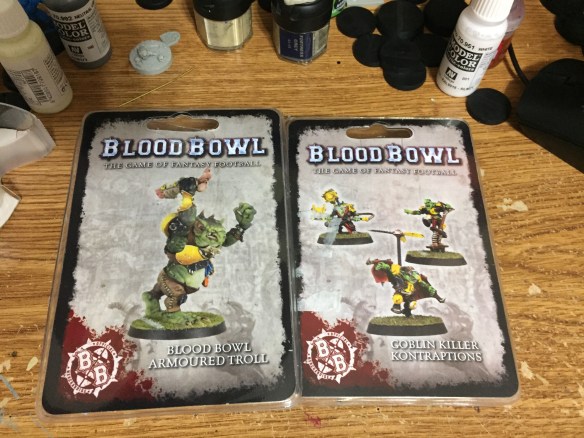
Better late than never, Games Workshop has finally gotten around to giving us the last of the goblin secret weapons and a troll with two feet on the ground! I take the time to unboxing and assemble these fantastic new models, so follow along below and see how these new models come together.
If you are curious about the title of the post, let me explain. Back in the late 80’s Games Workshop put out some rather interesting games. The new armored troll model instantly reminded me of one of their classic games:
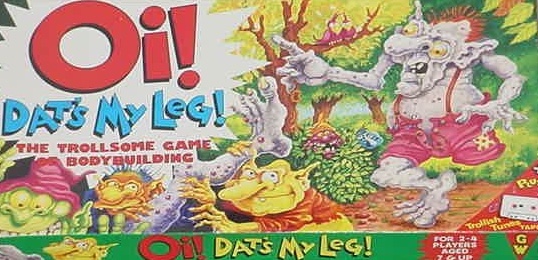
While the idea of a troll bodybuilding in the gym sounds like fun, this game was about finding actual body parts and assembling trolls. Apparently trolls are so forgetful they leave parts behind.
Anyhow, this review is about models and not quirky GW board games.

Both the armored trolls and killer kontraptions come in the standard clam case. So let’s get these guys opened!

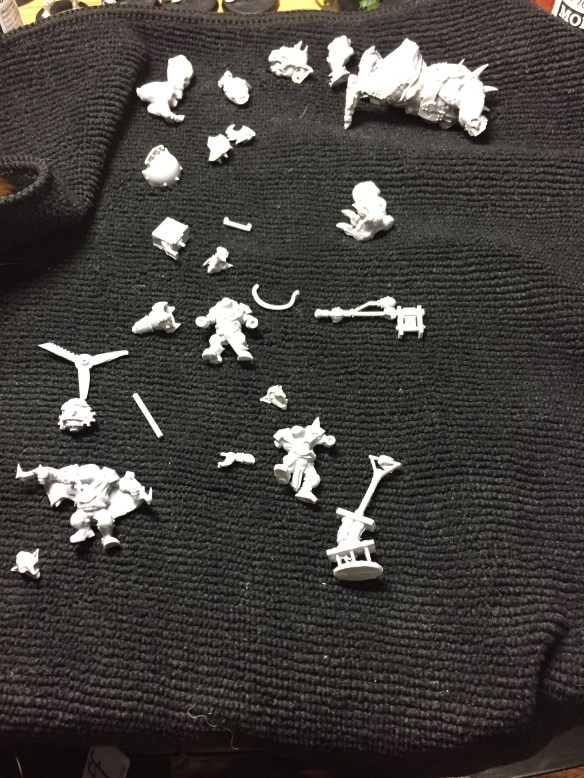
The contents of the package are pretty standard. No issues with the parts that weren’t beyond normal for plastic/resin models.

The inside of the cover doubles as the instructions. As you can see there is nothing too crazy with the construction.

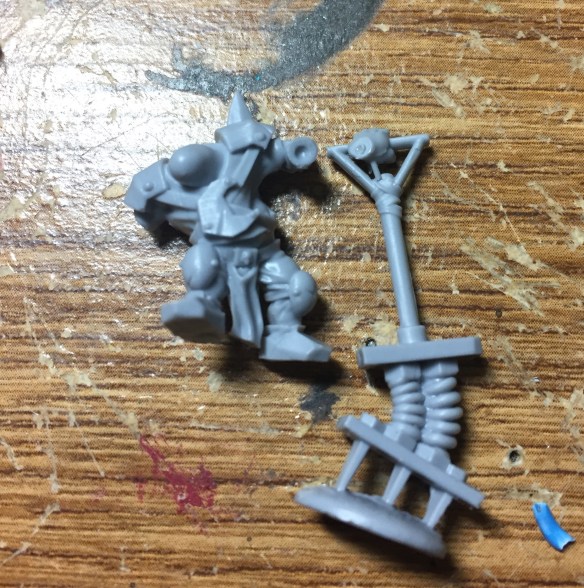
The kontraptions offer both the normal Blood Bowl bases and the regular bases. I’m not a fan of using the peg for the balls so I’ll put those three aside for future use.
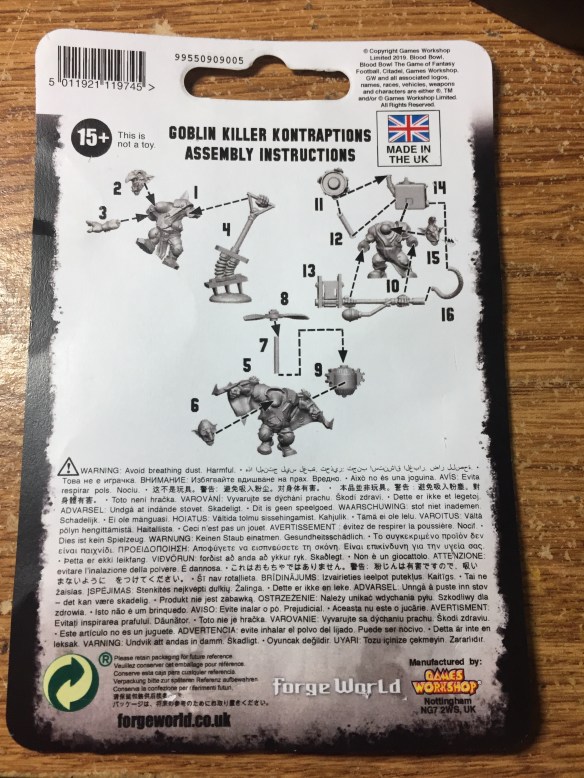
Again instructions are on the back of the insert and again it looks to be some simple construction. At this point I began cleaning off mold lines and vents and came across some weird stuff.

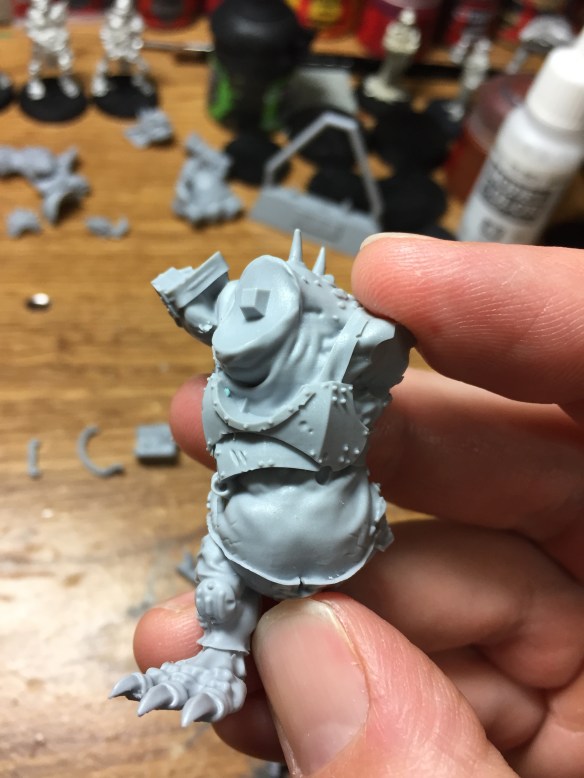
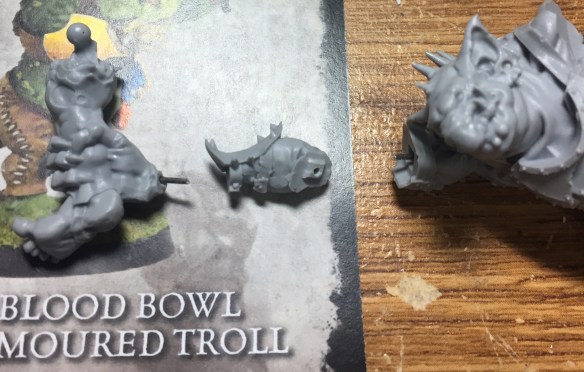
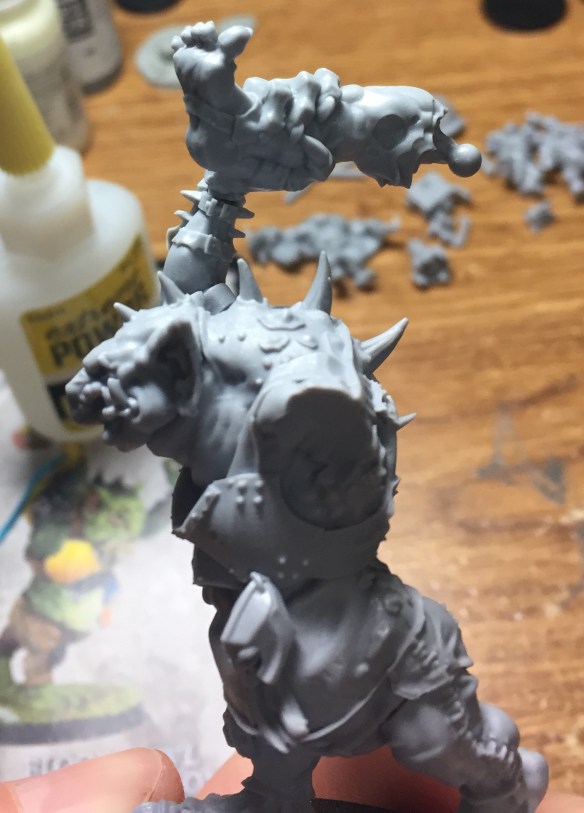
On the troll I found a blue-ish tacky substance that must have gotten into the mold. It was a pain to remove and I was never able to get it all out on his back. There was a spot of the same kind of stuff on the goblins but it was yellowish. I’ve never encountered anything like this from Forgeworld before so I’m at a loss at what it is. It did mess with the molding of the trolls back a little but I think I was able to clean it up enough. I didn’t remove all of it as I didn’t want to end up with a hole in the trolls back. Time will tell if it will be an issue. Moving on!


Everything was cleaned up with only some slight mold lines on the troll. Time for a bath!
With everything scrubbed and dry it’s time to start the construction.
Legginator
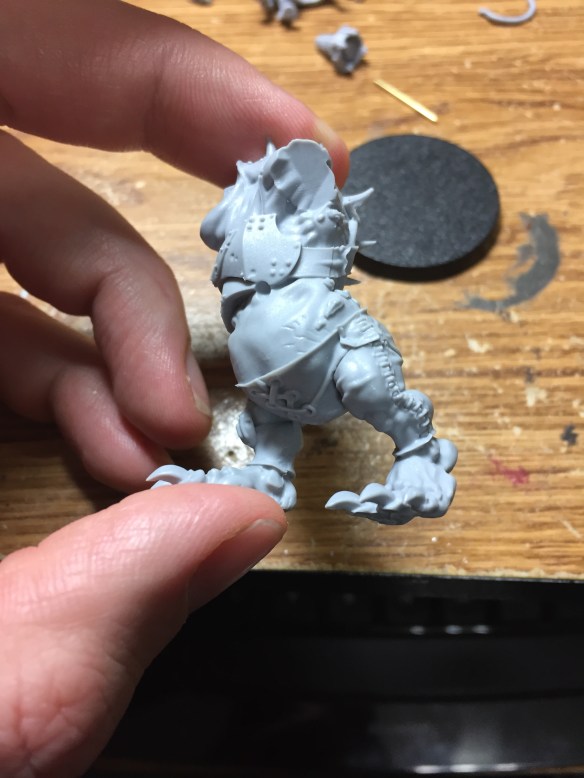
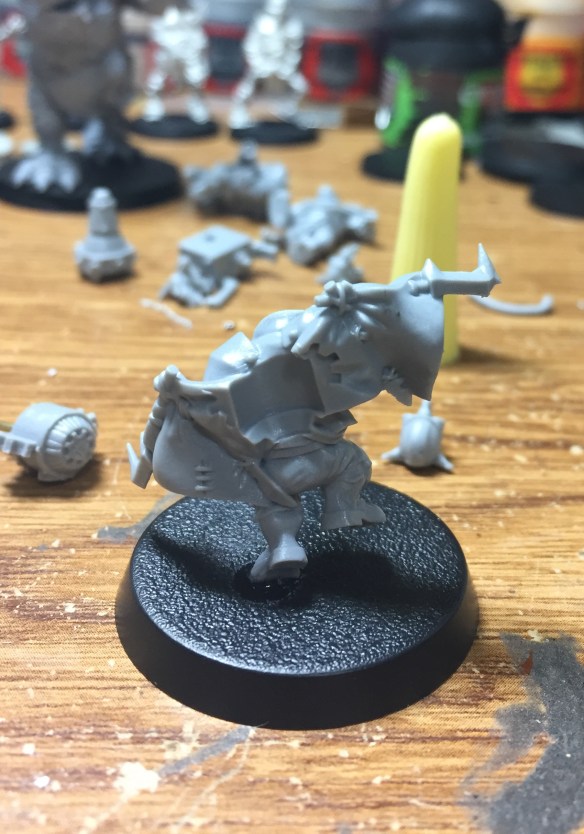
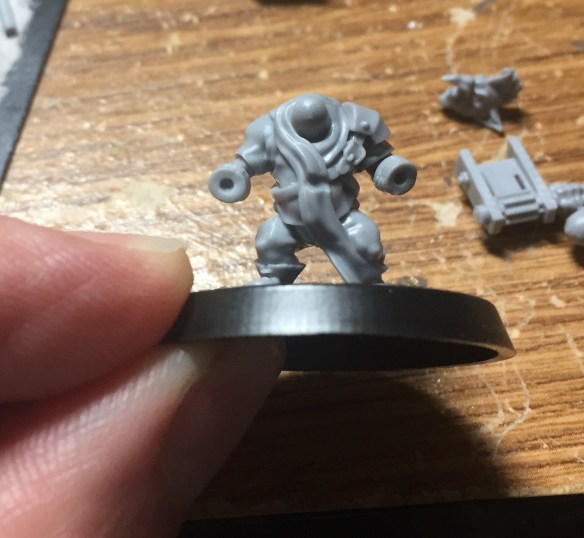
Starting with the troll, I can’t help but mention again the fact that the model is standing on TWO feet! Forgeworld has put out a lot of fantastic Blood Bowl products but they have been favoring only one foot in contact with the base. Even the plastic spastic looking troll is a one foot offender. Having a big guy with both feet firmly on the base is nice and something I hope to see more of in the future. Up first was getting two legs onto the model. There was no hassle getting the detached leg locked in place with a drop of superglue.
Over the holidays I came across a small brass rod which is great for pinning so I immediately put it to work by drilling into both feet and glued in two pieces of the rod.

I use my Vallejo white paint by dipping the tips of the rods into the paint dropper and then use the paint to mark on the base where to drill. Works like a charm.

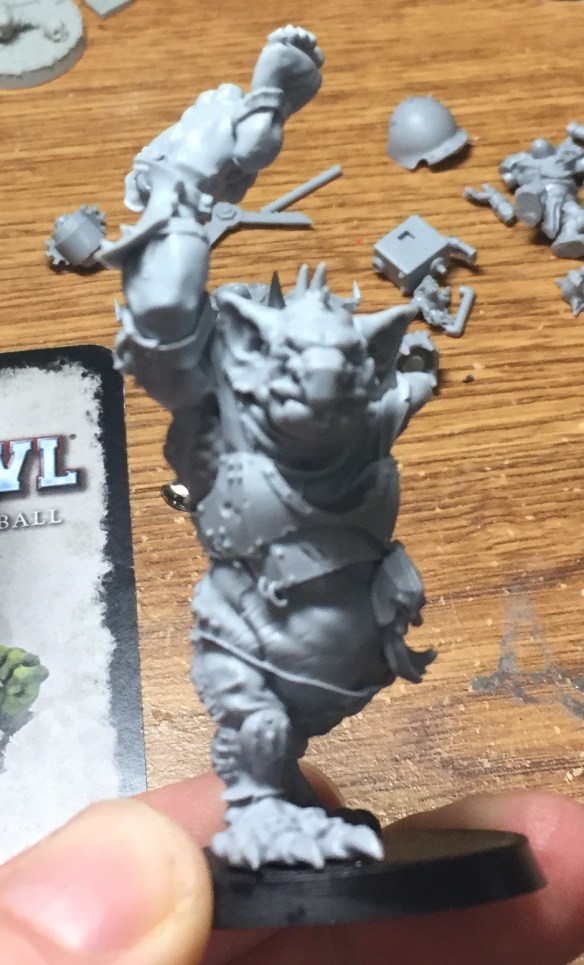
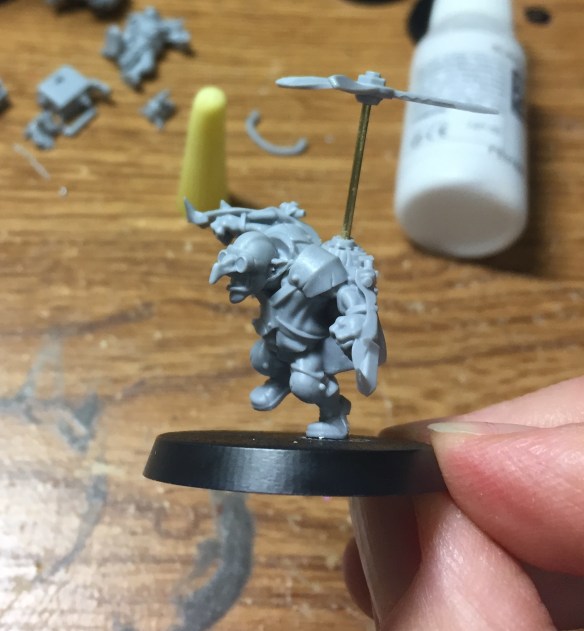
With him upright on his own I next added his head to bring him to life. He has a sizable notch for the head to connect to so there were no issues. There is a noticeable gap with the model unpainted but I think after the first base coat it will be seamless.


With his head attached I next added his little trophy. It’s a small bearded dwarf skull and helmet. A nice little memento!

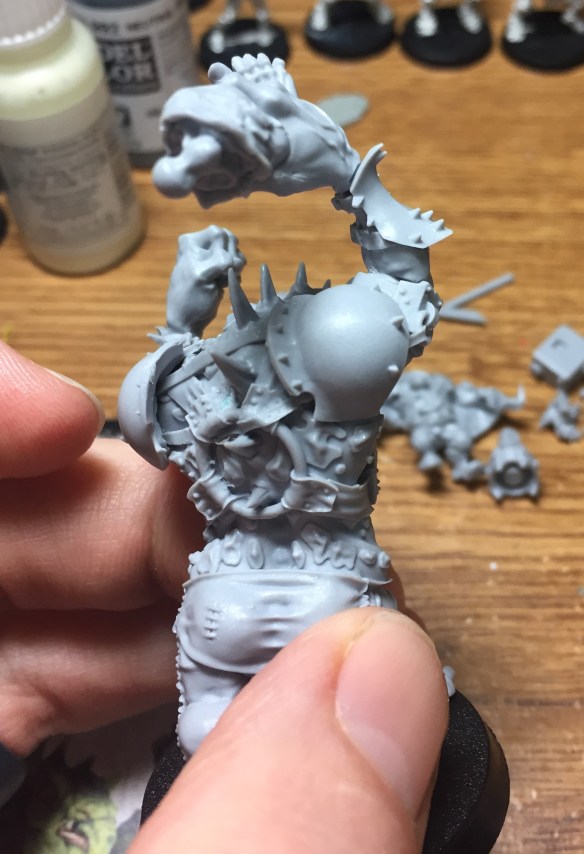
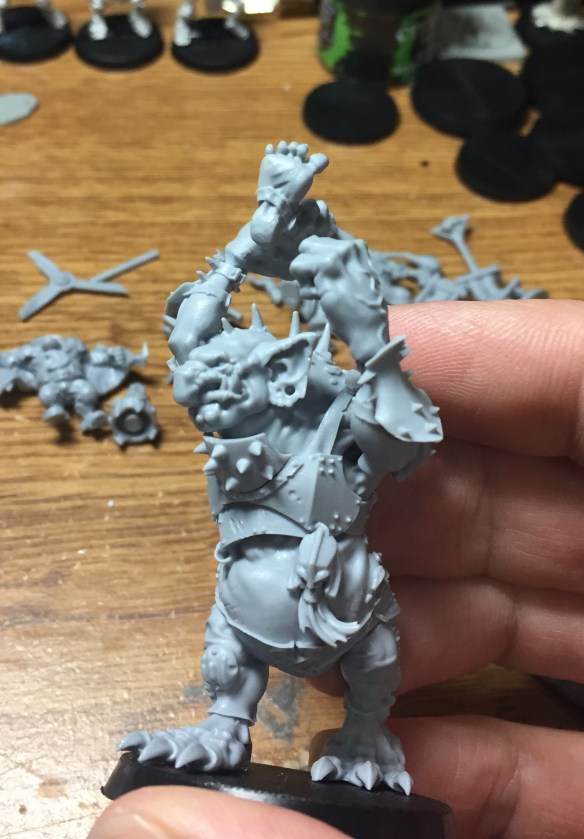
With the small bit attached it was time to move to the fun bits. Now I must warn you that once you start pinning a model it becomes quite addictive. It’s a fun little process and goes a long way to add stability to your model. Since the Legginator has both arms waving in the air I decided it was best to pin the arms as I’m sure he will be grabbed by them often. Also, GW troll design always has the thinnest of wrists and ankles so for that reason I really wanted to beef the arms up.
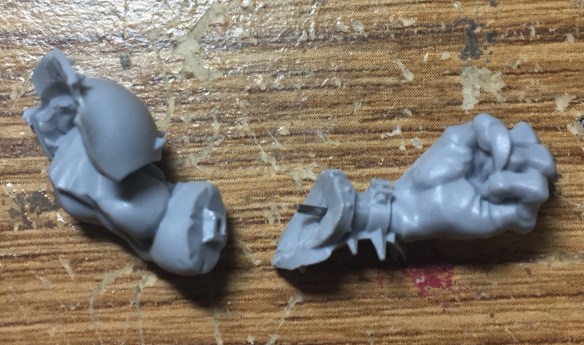
The right arm is in two separate components. As you can see the wrist point on the model is small. Now there is a notch to line the hand up into the wrist armor that is a strong connection point, I just wanted to add some extra strength. A little bit of glue later and…

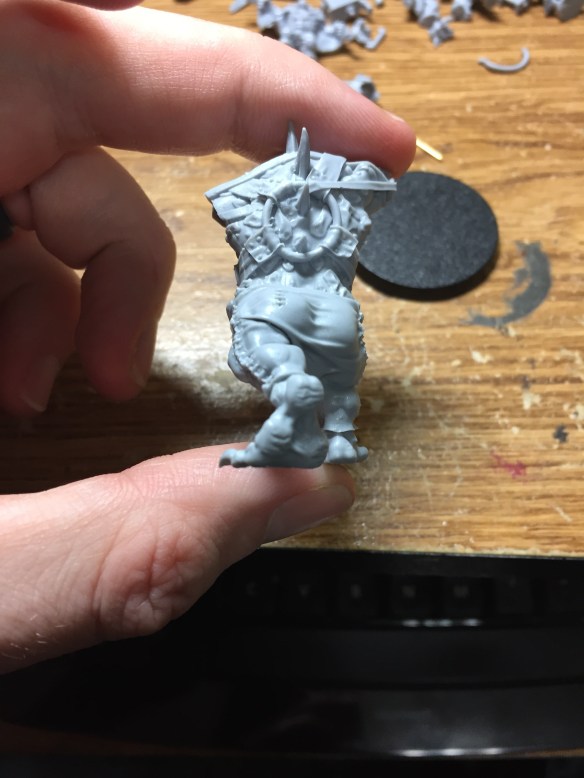
The left arm is also in two components but the base that attaches to the body includes the armored shoulder pad. That pad has a mold in it to fit very snugly on to the back straps on the troll. For that reason I did not pin the arm to the body, but I did pin the two arm components together.

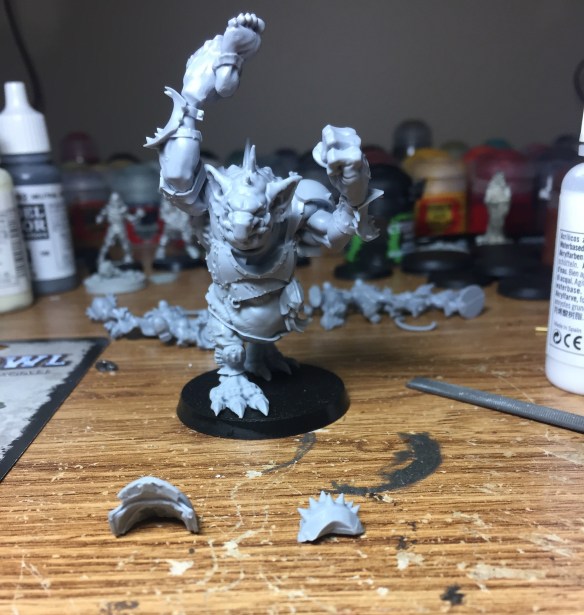
The final two pieces of the troll are some additional armor plates. The first is a spiked metal plate that offers some neck protection and the other is the right shoulder pads. Of all the components on the model the only one with any serious mold lines was the spiked plate. After some good clean up it was a matter of just two drops of glue to get it in place. The shoulder pad is also very easy as with the left arm it has a molded slot to get it to snap in place on the back straps.
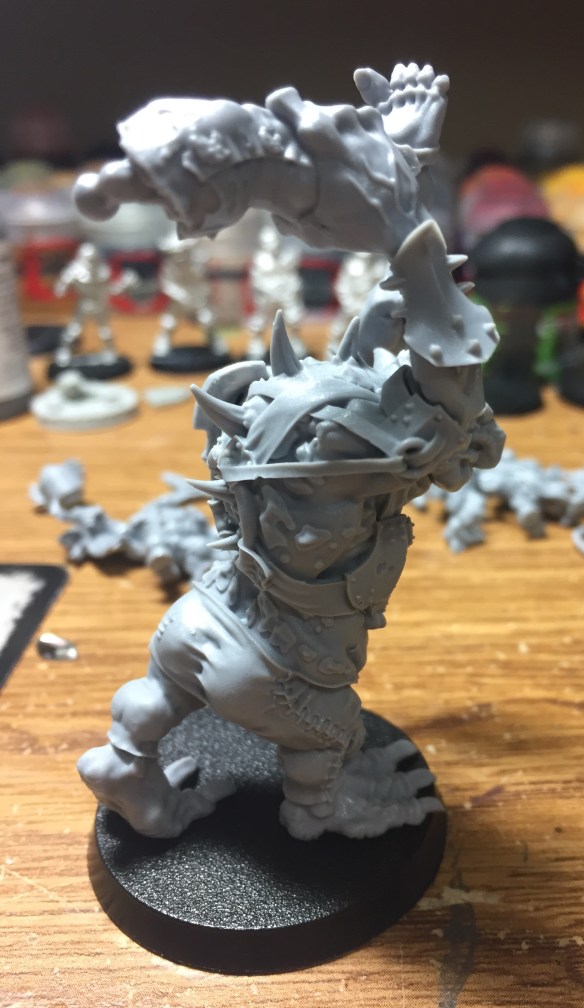

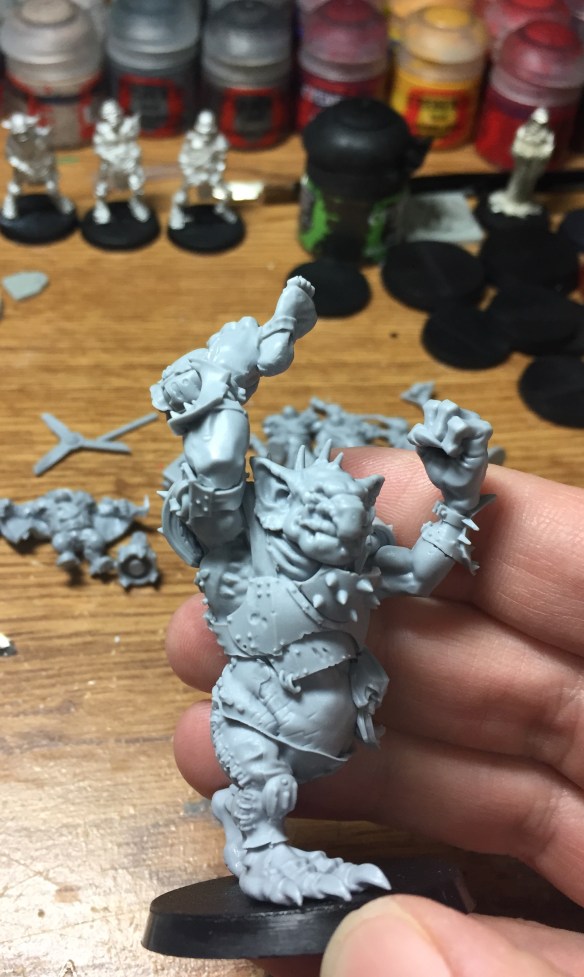
And that completes the Legginator. A very satisfying build and a great model. There isn’t much facial expression on the troll but I think it works well. I think it helps show the dimwittedness of trolls without looking odd. The fact that he is wielding an entire ogre-sized leg shows the strength of the model. It’s a serious model that works on a goblin or orc team. A solid A+ in my opinion.
Doom-Diver
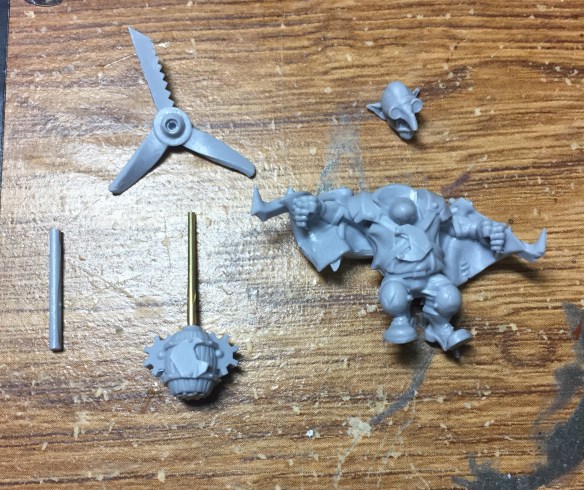
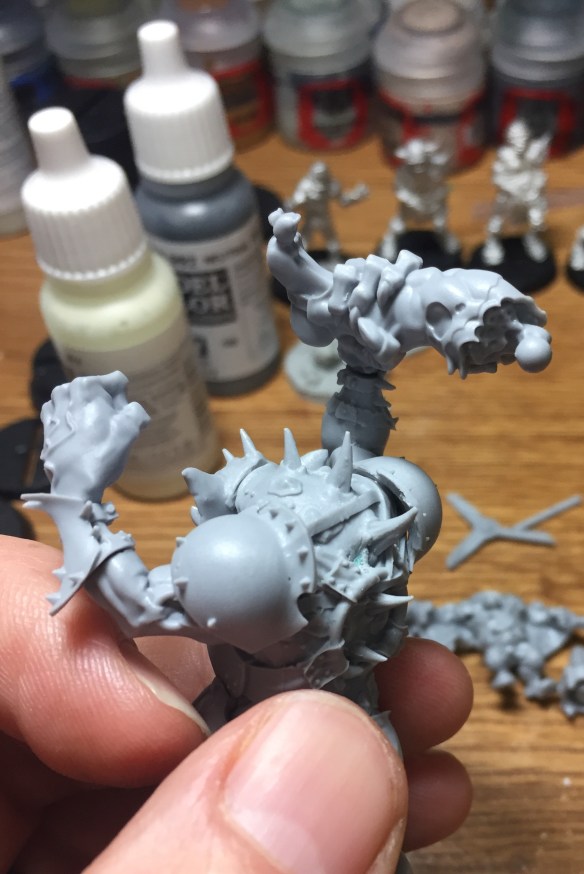
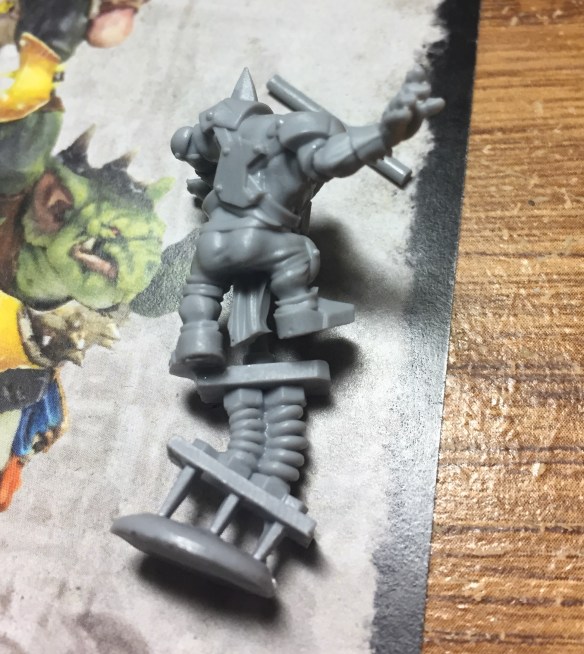
I made the decision early on to utilize the brass rod over the resin piece provided. The resin piece fits well to the propeller but the base didn’t have a good structural fit for me. I picture this model being moved or picked up by the propeller during its use so I wanted to make it is sturdy as possible. This guy is also on one foot so you know what that means.

The last model to get pinned, I swear!
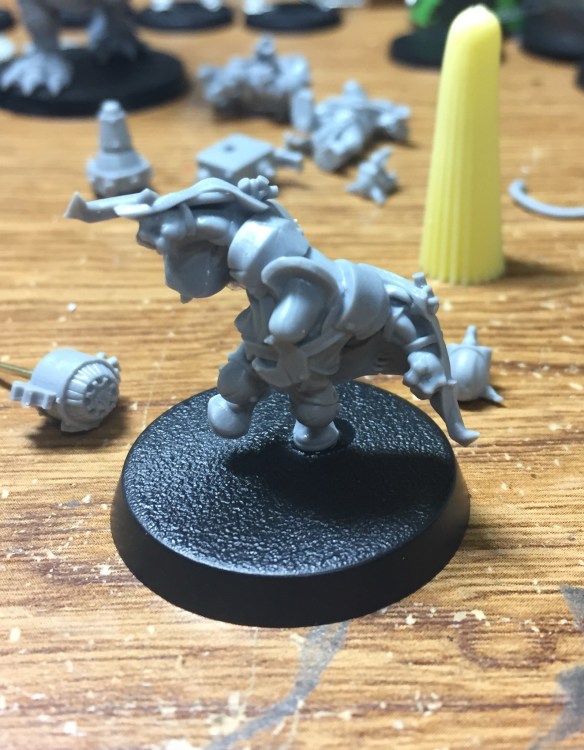
Attaching the barrel contraption to the back of the model is cake as it has an excellent cut out that fits the piece smooth and simple.
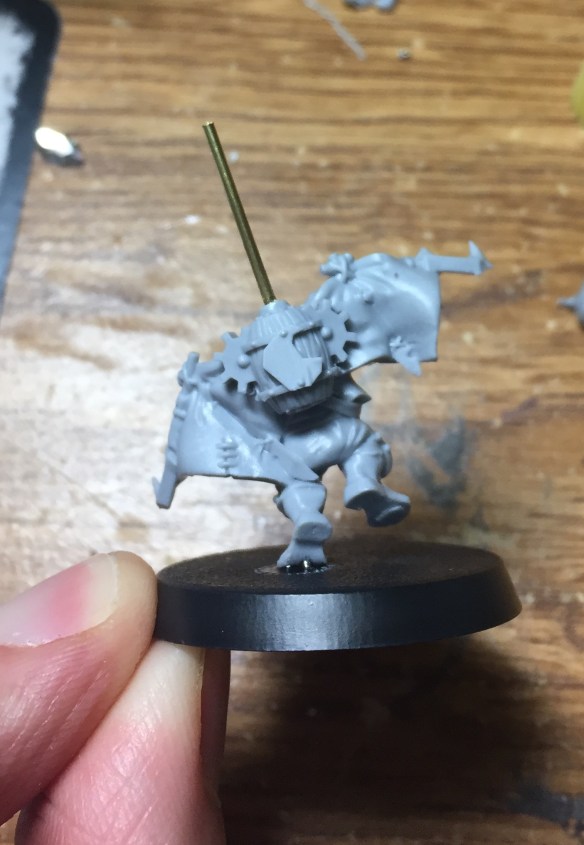
The rod in his foot had to go in at a slight angle. Sand should easily cover up the exposed rod.
The trade off using the brass rod is that its slightly thinner than the resin piece. The resin piece fits the propeller excellent but the base seemed suspect. Using the rod its the other way around but I would rather have a sturdier base than propeller attachment. I drilled slightly into the prop to ensure a better fit and then it was just a drop of glue to get it attached.
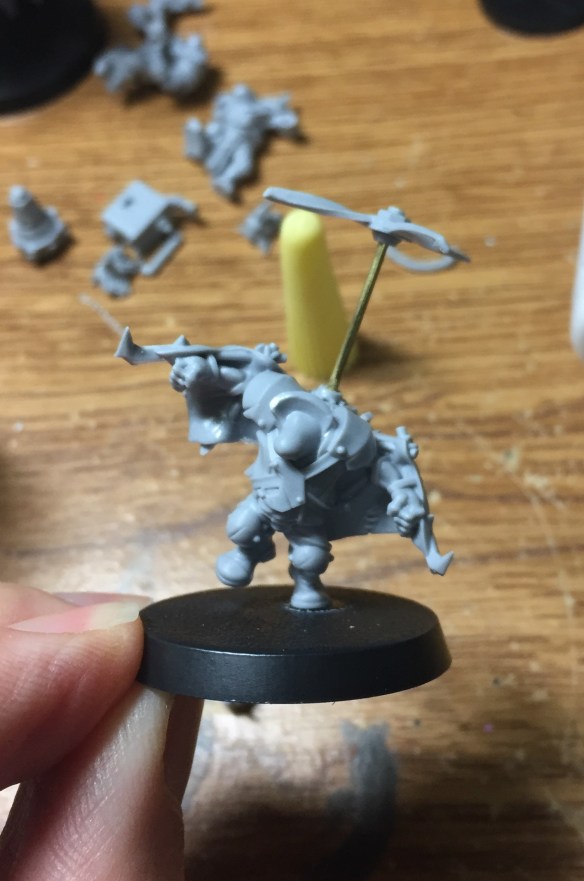

I had not originally noticed that one of the propeller blades is an actual saw blade! The last piece was the head which sports a cool flying helmet and googles. One drop of glue at it was finished.

A very simple build and another A+ result. It will be interesting to see how the model works over time dealing with putting him prone on the pitch with the giant contraption on his back. If you wanted to forgo the rod and propeller all together I think the model would still work well and would certainly make storage and use on the field much easier The brass rod is a hair shorter than the actual resin rod so it will still give you an idea of what to expect. So two down and two to go.
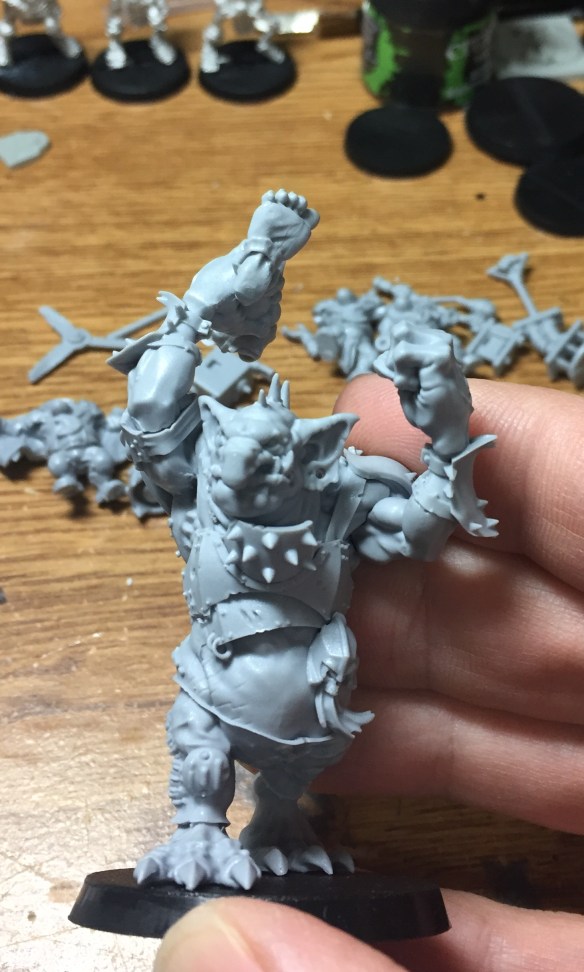
Pogo-er
Perhaps the simpliest of the builds from this kit. The pogo goblin took a little bit of work to get him together. The connection point on both his hand and army where tiny and difficult to get lined up. To make matters more challenging I wanted to get the model onto the pogo before I attached it to the base to ensure he centered up well. I opted to attach both the army and the pogo stick free hand and it took a bit of finagling to get it to work.
Of all the parts that should have been pinned its probably his attached arm. The arm is tiny though and it wouldn’t take much effort at all to send that drill entirely through the elbow. I wasn’t too thrilled with how the arm ended up. To me it looks like the model is about to have a serious wreck, but perhaps that is a likely scenario for a goblin team so I let it go. With the body together I was able to get the model lined up on a base.
The last piece was the head and we are four models down!

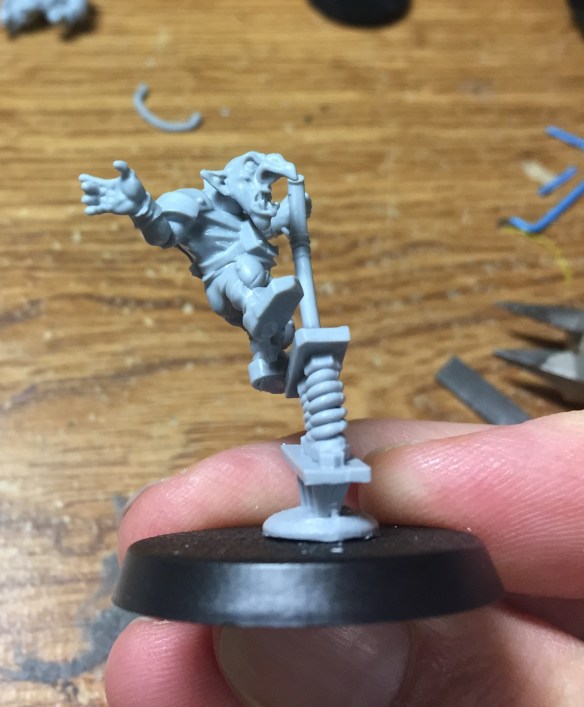
Still not thrilled with the flailing arm. He is either asking for a handoff or its about to be game over on the pogo stick. I can’t fault the design on it, probably more of my gluing technique. Overall I it another A+.
Hooligan!!!!

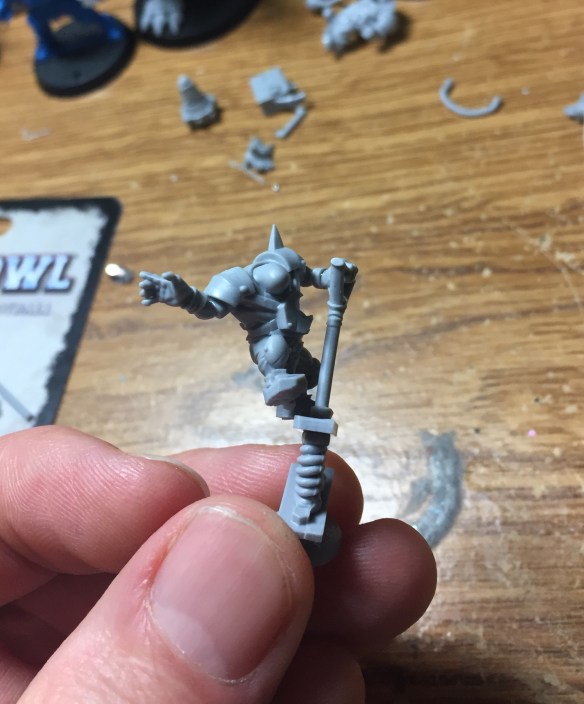
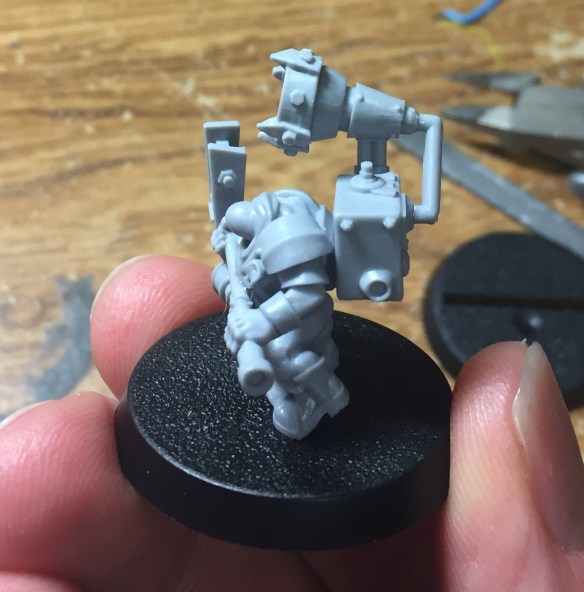
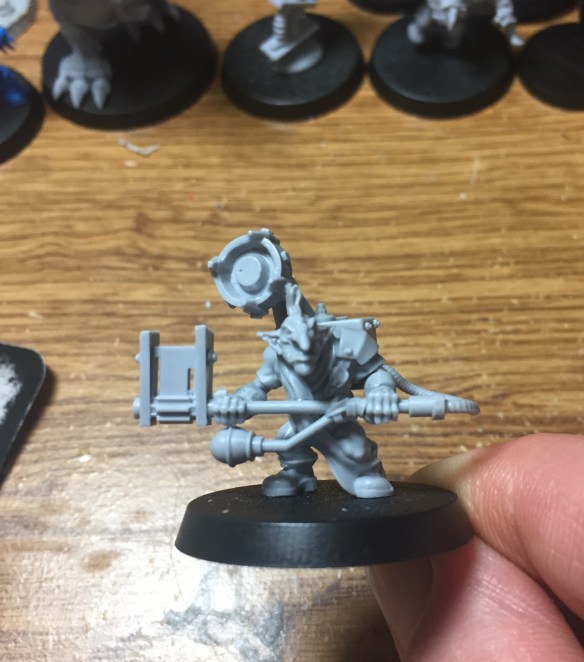
I was very interested to see how, or if, GW was going to design this model. His crazy sound machine certainly looks like something that was cause a distraction on the pitch. I was a bit concerned with how the small bits were going to line up. Back in the day I had a lot of Death Korps of Krieg models and dealing with the tiny cables and pouches was a hassle. Lets see how it went.
Two feet squarely on the ground made for easy work. As you can see this noise maker has three connection points with the two hands and the point on his stomach. I was a bit concerned as the part had the slightest of warping to it.

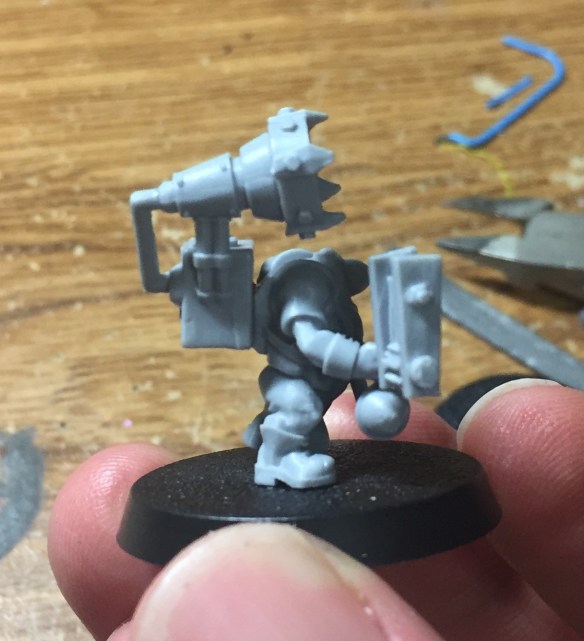
With a little bit of time and glue I was able to get it lined well and it appears to be holding. This brought us to the speaker assembly on his back.
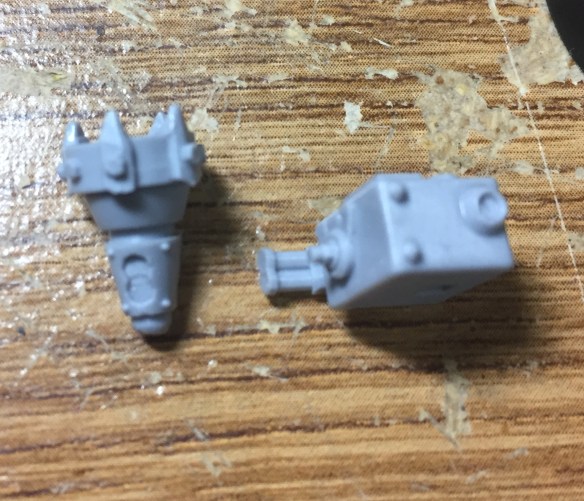
I was worried that these two parts would not fit well but the indention in the actual loud speaker is quite deep and it snaps easily into place and holds well. Same with the small connection bar.

While there was nothing to hold the bar in place on the back of the loud speaker the other connection point on the backpack is rather deep so it actually went together very smoothly. Getting the backpack onto the back of the hooligan is easy as there is a clearly defined connection point.
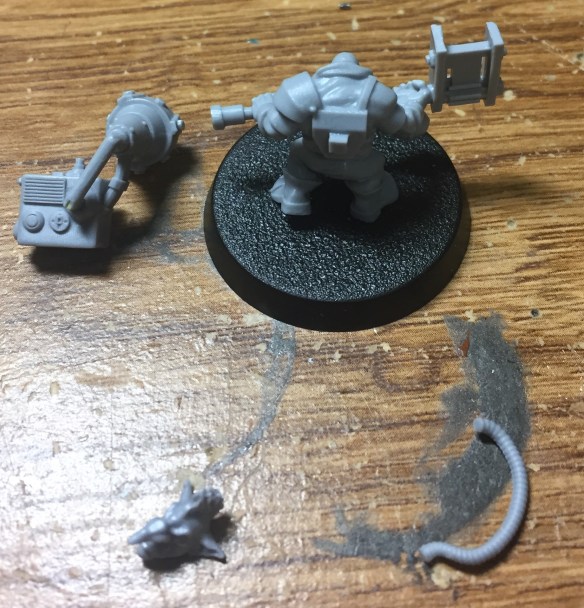
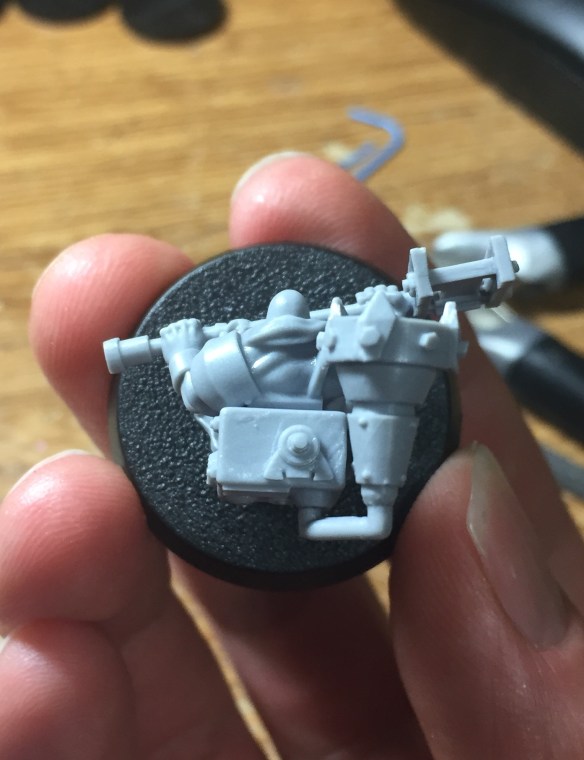
With zero issues this build was going very well. The second to last piece was the cable connecting the backpack to the noise maker. The instructions actually have it backwards on how to connect it so make sure you do a dry fit before gluing.
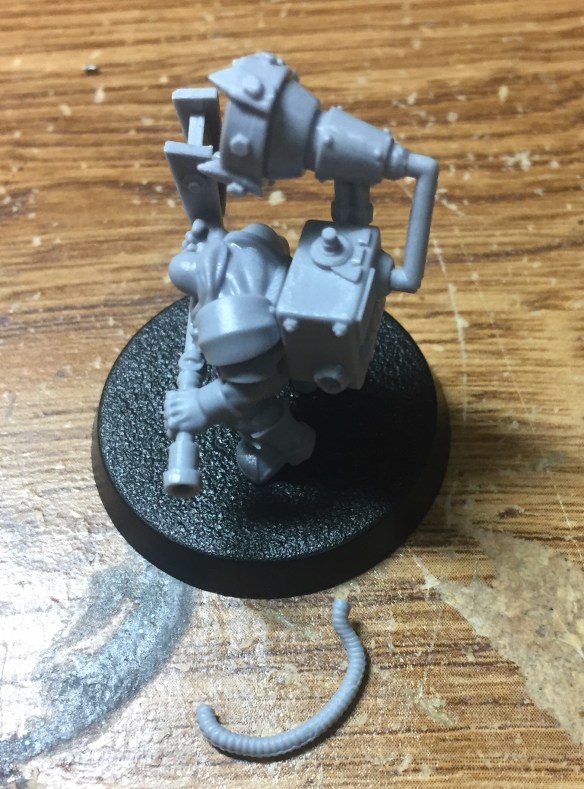
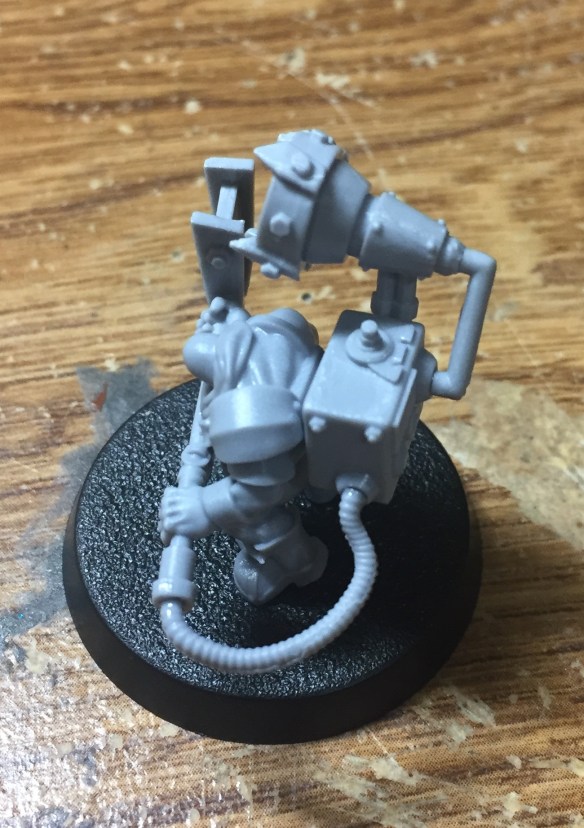
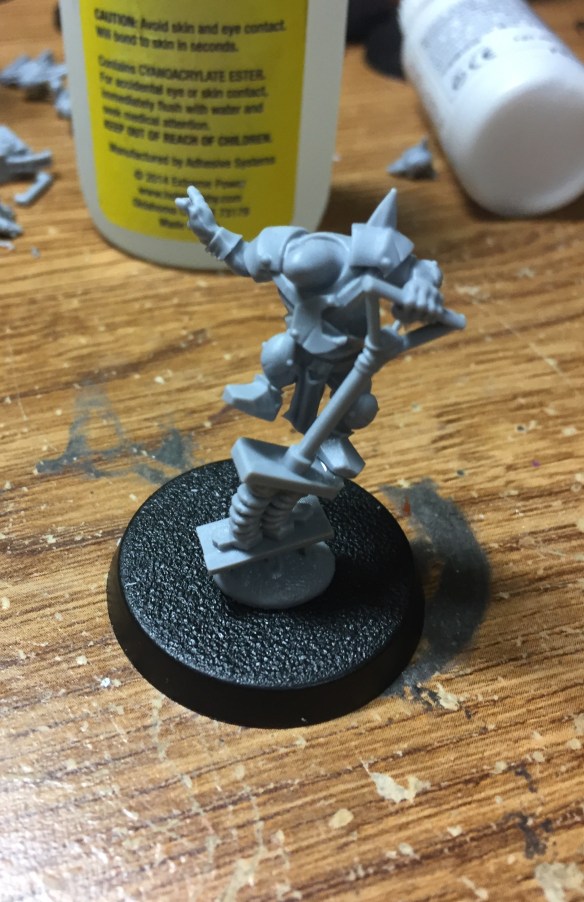
Another easy connection. With just the head left we can call this model done.

Another well designed model that went together nice and easy. My one nit-pick about the design of the model is the head. For a HOOLIGAN I would have expected a more expressive face. While the Mohawk is nice he looks a bit glum instead of a rabble-rouser that he is supposed to be. If you were inclined to swap out the head I don’t think it would be a difficult task at all. Overall though still a fantastic model.
I must say that I am impressed with both sets. The troll is a vast improvement over the plastic one in my opinion. His serious demeanor is lighted by the fact he is wielding a leg as a weapon so he still has a bit of that wacky goblin vibe. The killer kontraptions are all great and I think they are a must for any serious goblin team. I look forward to seeing how the hooligan will affect games. Using his disturbing presence to hamper players that the bomber goblin is targeting would be a great combo. The additional FAME is also a must for the teams hi-jinx on the field. Bring on that pitch invasion!
Lastly I’m going to leave you all with a nice collection of glamor shots of these models stacked up for scale and what not. Hope you all enjoy!


Great review. This troll is soooooo much better then the plastic one.
If forge world/ gw are going one legged stances maybe they can put them on to tabs
LikeLike
Can’t say I had any odd goo on my “Armoured Troll” maybe just some putty to hold the mold together got sucked in or something. Definitely strange whatever it was.
LikeLike
Great unboxing article, James! Love all the pictures and in-depth commentary. That troll does look a lot better than the first. Too bad we didn’t get him in the 2020 box.
The Killer Kontraptions were on my buy list, but alas I probably waited too long. I’ve found decent subs though.
You bring up some good points on some of these minis being a bit less expressive. Especially the Ooligan. That guy should have a crazy face on, for sure!
LikeLike