
With no excuses left it was time to take the plunge into airbrushing. I combed YouTube looking for how-to videos and decided to follow a few techniques in my application. As with most videos on the topic, once I finally got my feet wet and started to use the airbrush I really wished I had started using it sooner!
There was just a handfull of videos that got me going with the airbrush. Obviously I can’t verify that the info provided in these videos are gospel, but they at least got me going into developing my own techniques.
Kenny from Next Level Painting has his “Gangster Gumbo” technique for getting his paints thinned and through the airbrush. I take it that he is using his airbrush on a daily basis so I figure he knows what he is doing. Some of his helpful videos are here and here.
Rob Baer from Spikey Bits learned a bit from Kenny, but his tutorial was a good one to watch. He is the one who sold me on the goose neck water bottle and I’ve adpoted most of his methods for cleaning. His tutorial is here.
If you want to hear a bit more of the science behind the airbrush then I recommend checking out Scott the Miniature Maniac. He offers a lot of tutorials on a wide swath of painting topics. His intro in the basics of airbrushing is here.
Things were sloppy at first
As I showcased before my initial attempt at skin was shooting straight GW paint colors through the airbrush. It was rough and splotchy but it turned out okay at arms distance in a dark room. The colors I used where just Bugmans glow, followed by cadian fleshtone, and then splattered with kislev flesh. It was then washed with a 1:1 mix of reikland fleshshade and lamian medium.
I would like to take credit on coming up with the technique for my skin tones, but all the credit goes to Rob from RobPaintsModels. Now he is a great painter and is leagues above myself. I got into following his videos through his series of Shadespire warbands. In particular his video on five easy skin tones is probably one I’ve watched 50+ times. Essentially each recipe has four to five steps. The basecoat is applied normally, followed by a Zenithel highlight sprayed at about a 45-60 degree angle above the model. Next comes a vertical highlight which is sprayed from about 10 degrees from above. The final step is to cover the model in a wash that is mixed with medium. The medium makes the wash act more like a paint so it doesn’t just retreat to the recesses of the model. This causes the wash to tint the model and blend all the colors together. His colors ran from pale demonic flesh to a dark brown and being a talentless hack I straight up copied his schemes.
Demonic/Pale Skin Tone


Up first was the sickly pale/demonic flesh skin. I followed the recipe exactly as Rob said but I had some issues getting this first color to work well. In my opinion it came out too purply. Being my first go around I was still very much a novice. I ended up redoing this scheme and diluted the wash/filter to tone down the purple color. The recipe from the creator is:
● Base – Bugmans Glow:Violet Ink 4:1
● Zenithal Highlight – Cadian Fleshtone:VGA Pale Flesh 1:1
● Vertical Highlight – Pallid Wych Flesh Thinned
● Wash/Filter – Reikland Fleshshade:Druuchi Violet 1:2
As mentioned I ended up doing about a very watered down wash to keep the purple in check, but I could have made an error on the way so feel free to experiment on your own.
The Classic GW Color Scheme


You’ll notice a bit of variance in these skins even though they used the same colors. I did two batches and as I hope my skills were getting a bit better as I went there was some improvement of the second batch over the first. The recipe for this group is:
● Base – Bugmans Glow
● Zenithal Highlight – Cadian Fleshtone
● Vertical Highlight – Pale Flesh
● Wash/Filter – Reikland Fleshshade
Despite the variances I was pleased with this group. As my go-to colors for skin for most of painting career it was nice to see it done with differently.
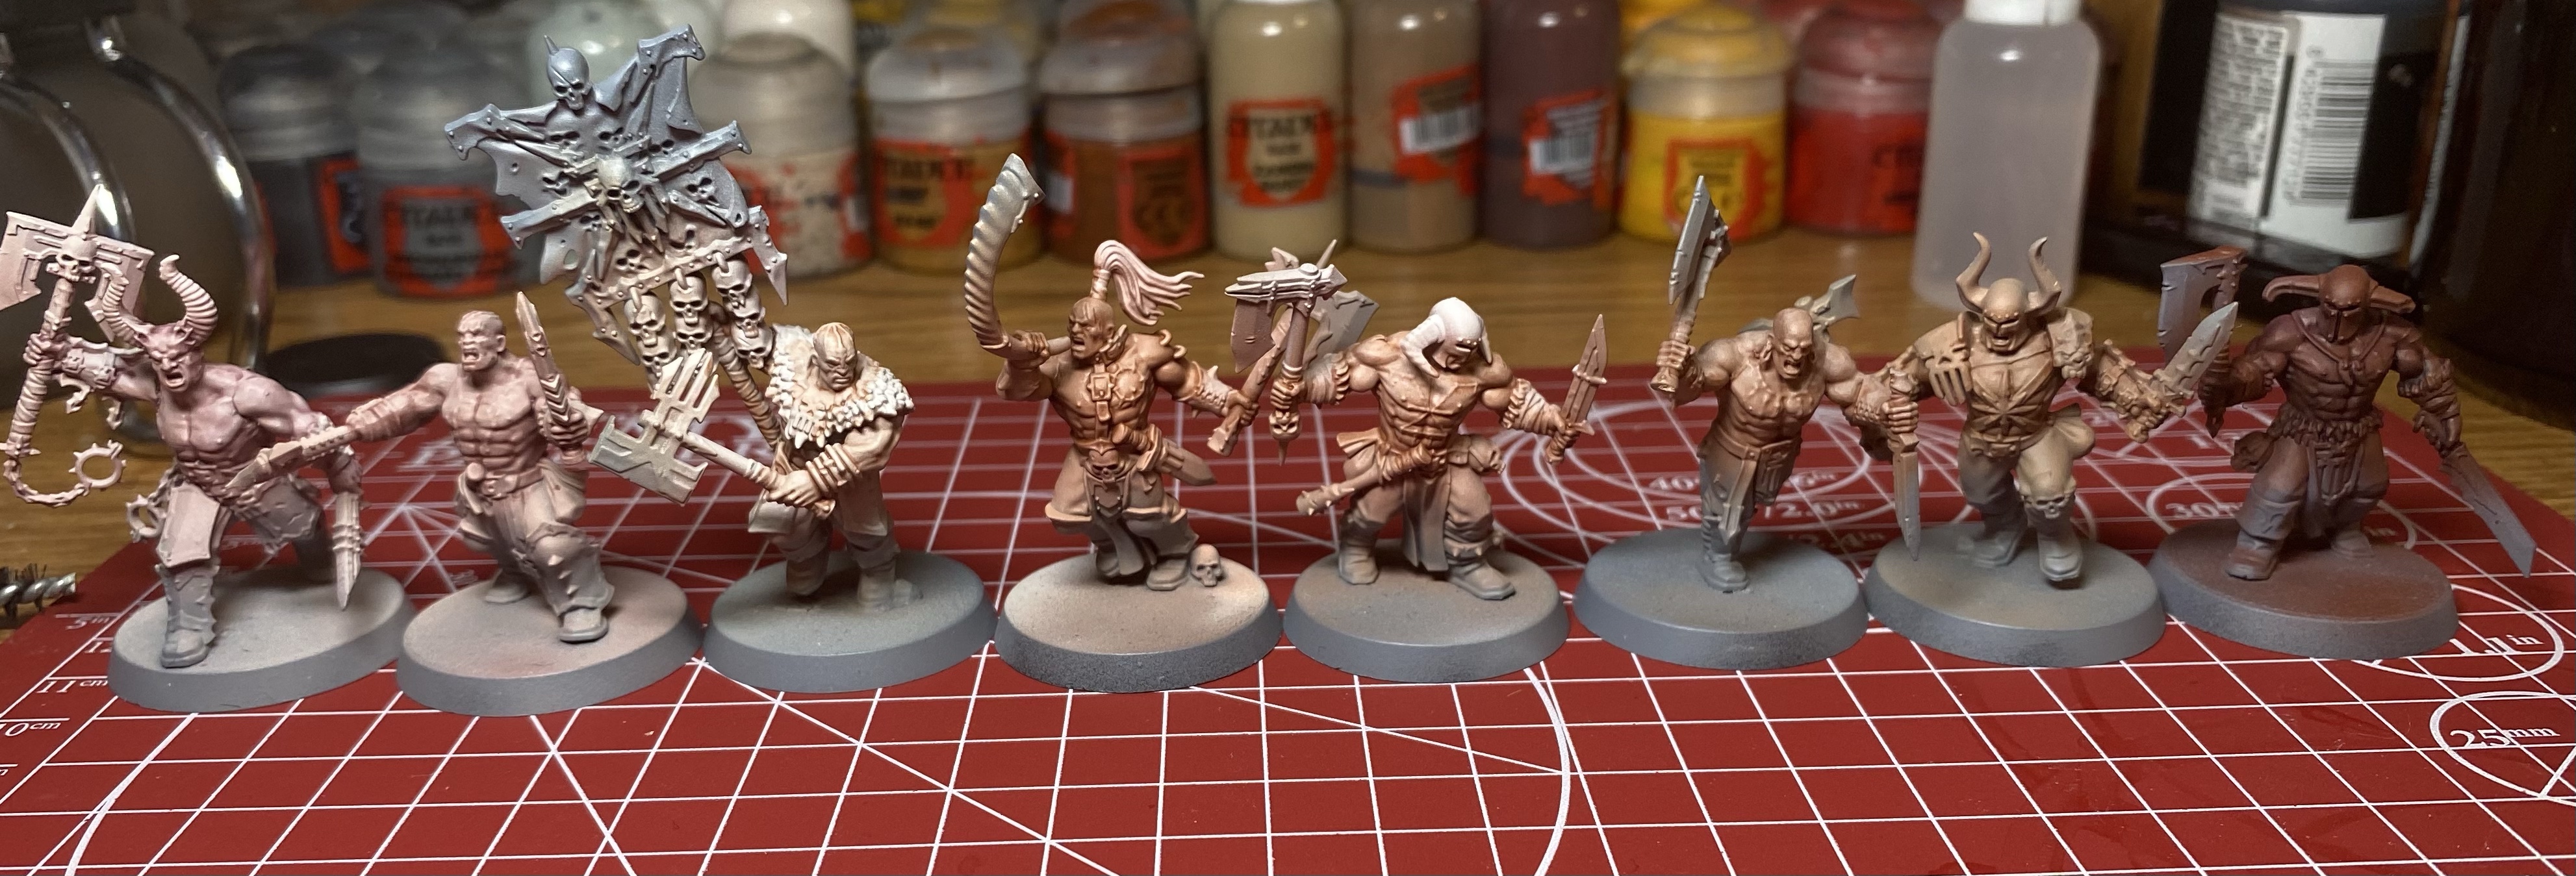
The Middle of the Road


This actually turned out to be my favorite of the skin tones I used. I don’t think it turned out as nice as it did when Rob did his, but I liked my work. The recipe for this group is:
● Base – Bugmans Glow:Steel Legion Drab 2:1
● Zenithal Highlight – Cadian Fleshtone:Ushabti Bone 1:1
● Vertical Highlight – Pallid Wych Flesh
● Wash/Filter – Reikland Fleshshade
As Rob mentioned in his video, Pallid Wych Flesh is a tough color to use. Every bottle I’ve owned of it seems to clump up.
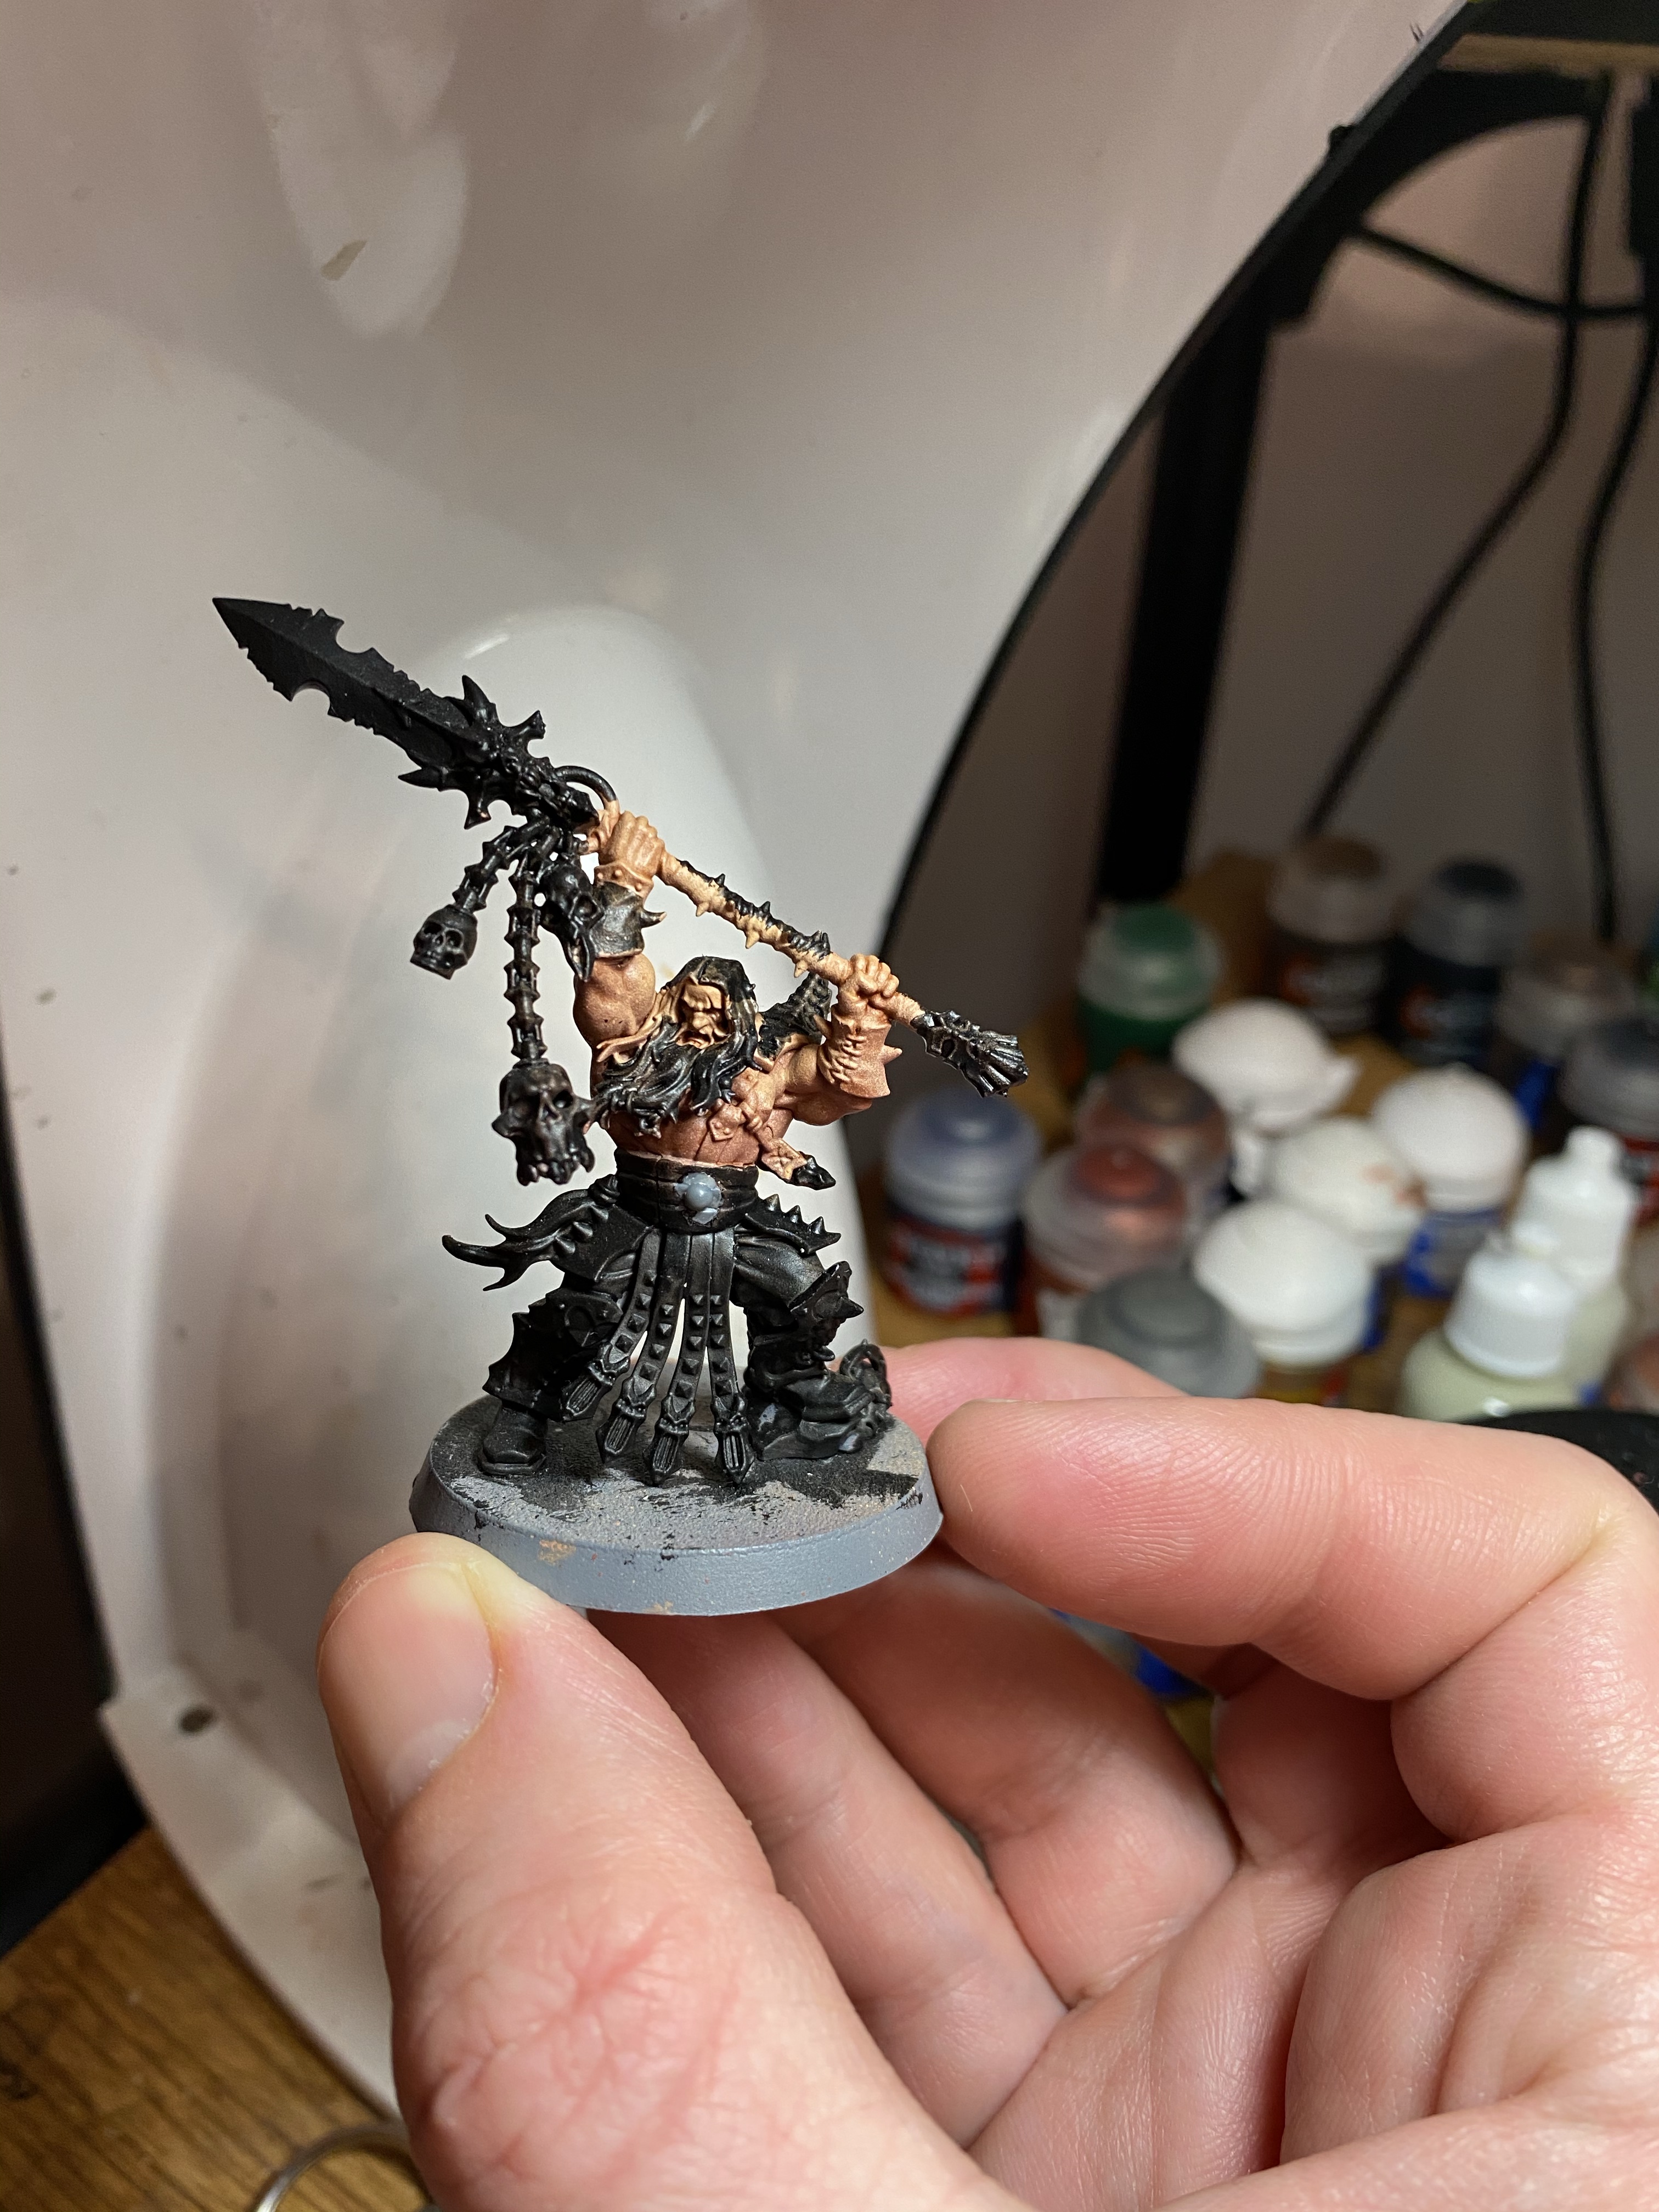
Tanned Skin Tone


This scheme I do like and will continue to use in the future, but it was challenging to get it to look correct. Rob used some spot highlights on the particular Reaver he was painting. I tried to emulate that as best I could but I advise caution as too much spot highlighting can ruin the look. The recipe is as follows:
● Base – Steel Legion Drab:Violet ink 4:1
● Zenithal Highlight – Steel Legion Drab:Cadian Fleshtone 1:1
● Vertical Highlight – Cadian Fleshtone
● Spot Highlight – Ushabti Bone Thinned
● Wash/Filter – Reikland Fleshshade
I wasn’t too keen on this color until I actually took the time fully paint a model that used the scheme. It looked a bit stark until all the colors where on there. On to the last scheme!
Dark Skin Tone


The darkest of the skin tone recipes was one of the most intriguing results. I don’t think it’s what we would consider a ‘real’ skin tone color but I think it is a good one to experiment with. The colors included is doombull brown which is one of my more favorite colors. The shading was also different this time around as it uses a violet wash instead of the orange Reikland Fleshshade. All the steps are:
● Base – Rhinox Hide:Violet Ink 4:1
● Zenithal Highlight – Doombull Brown
● Vertical Highlight – Steel Legion Drab:Doombull Brown 1:1
● Spot Highlight – Ushabti Bone Thinned
● Wash/Filter – Druuchi Violet
As with the previous step it does have a spot highlight so be careful with its application.
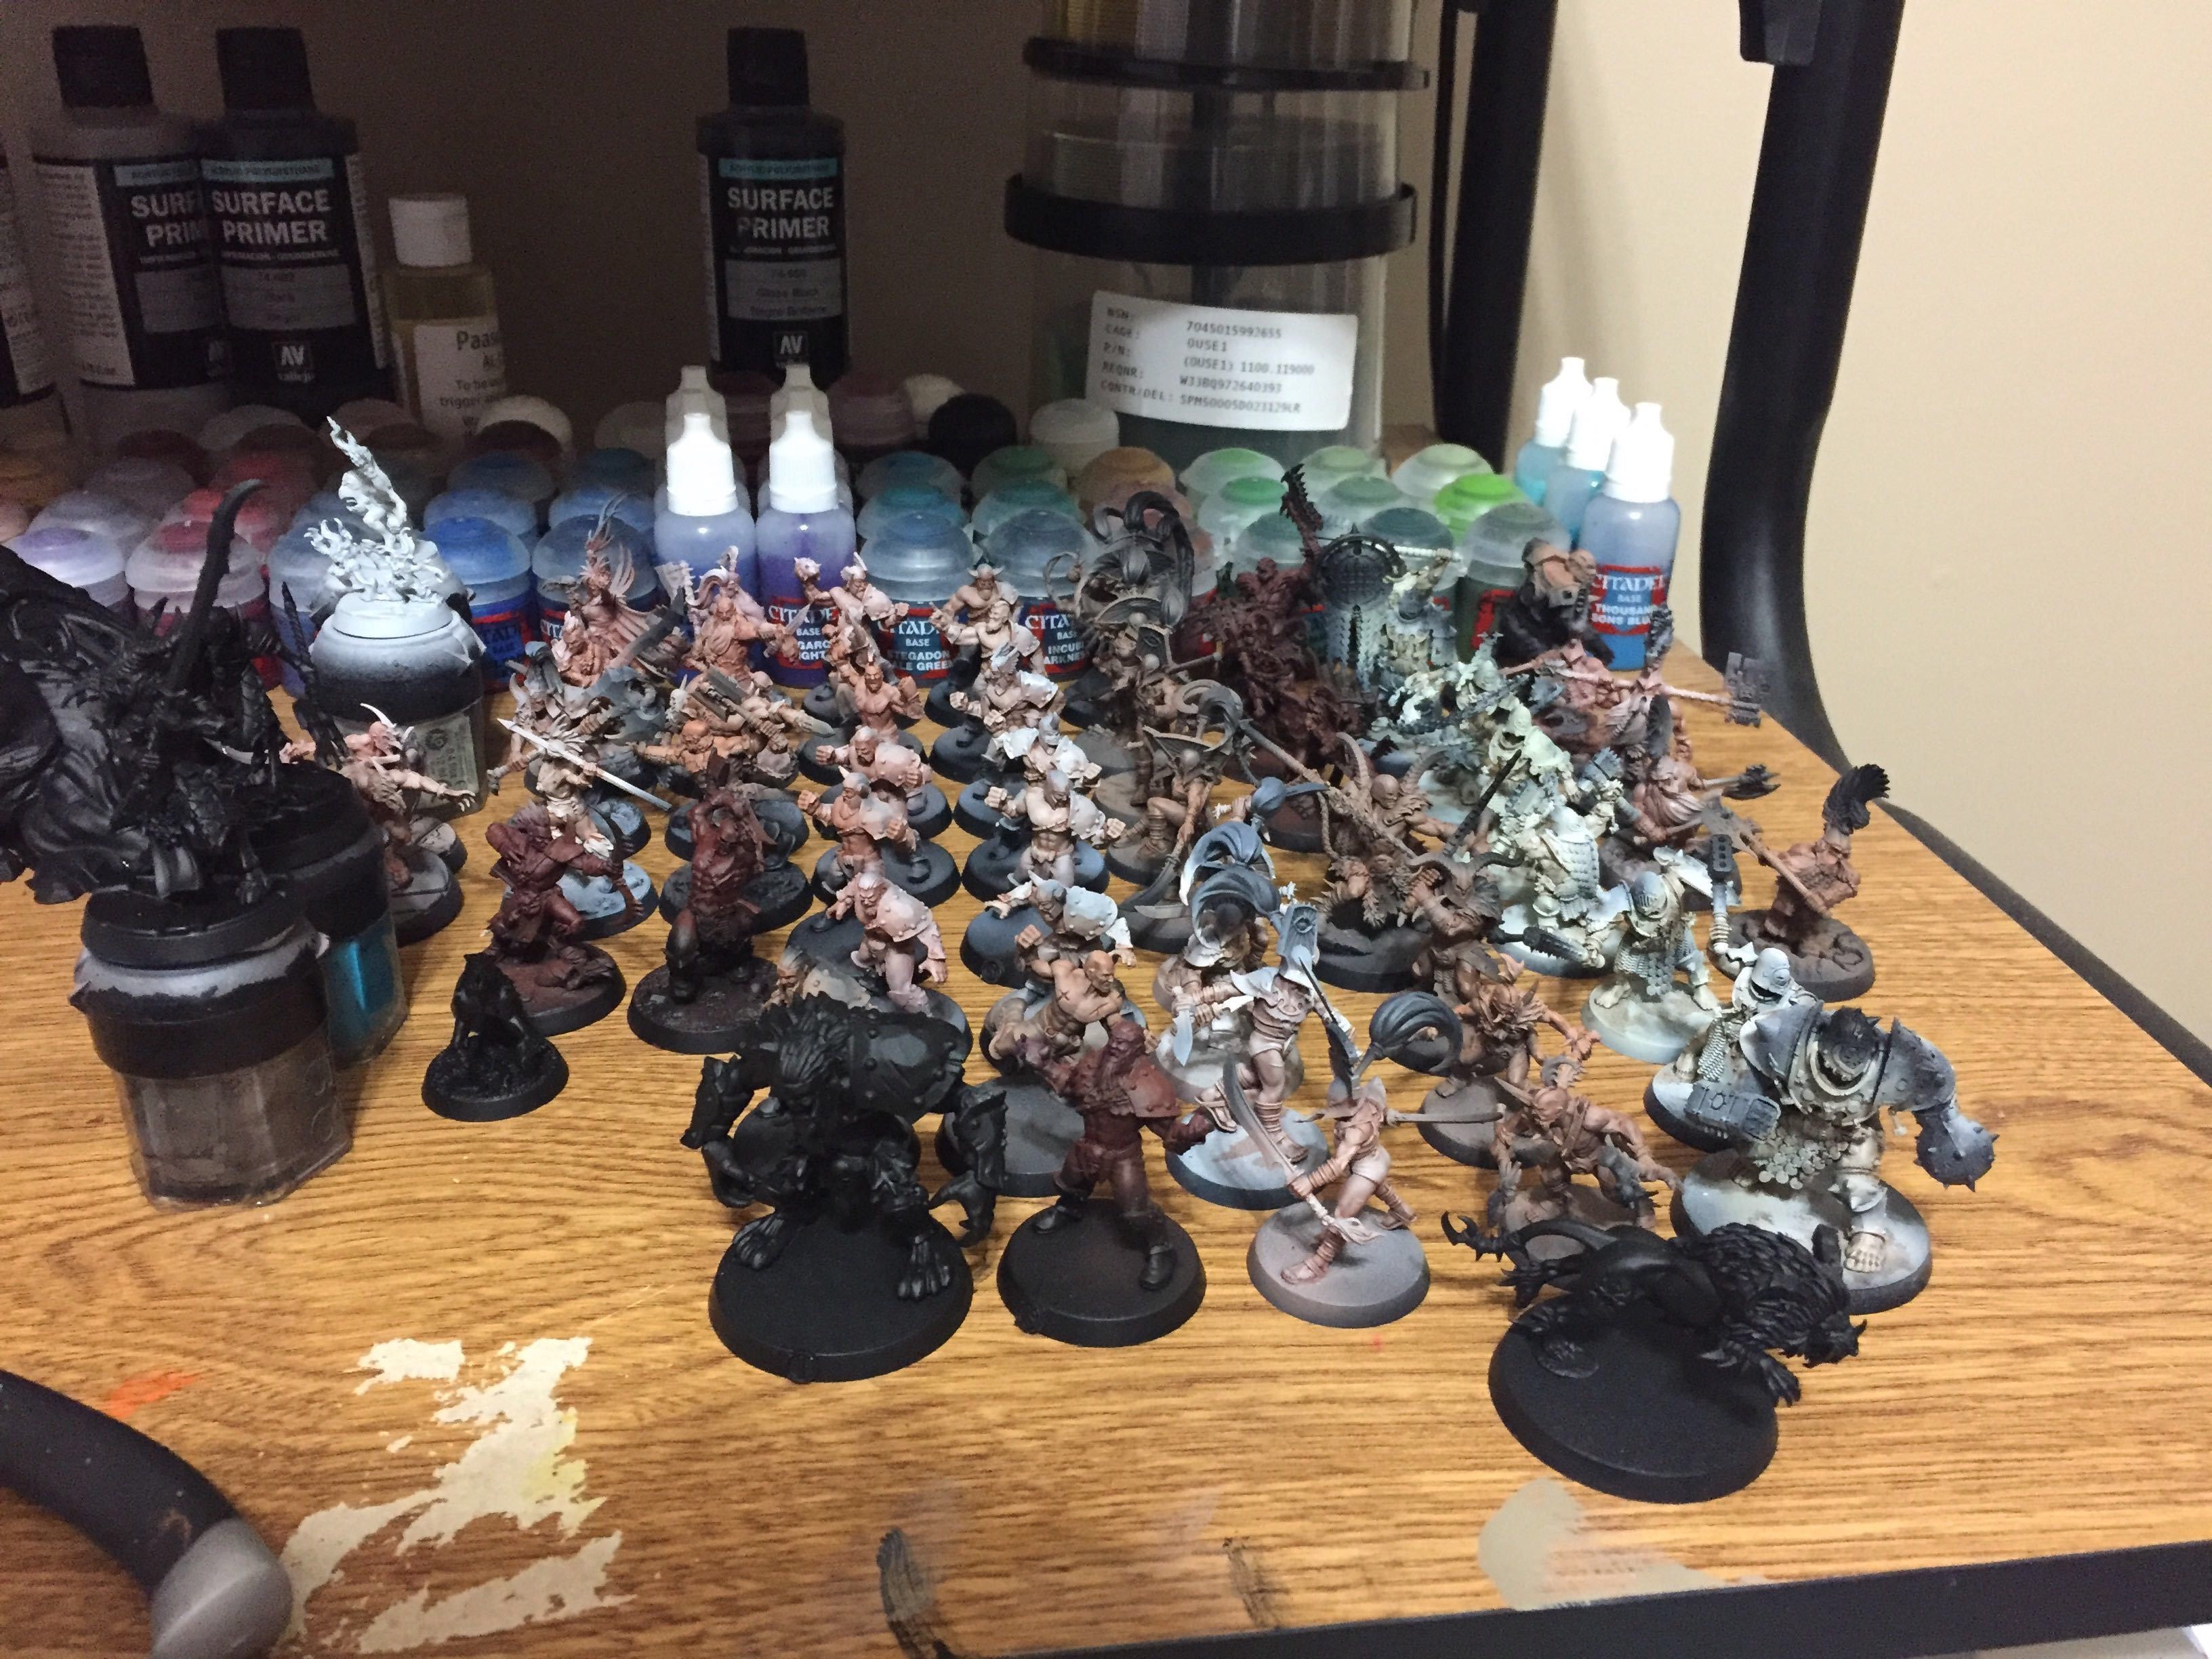
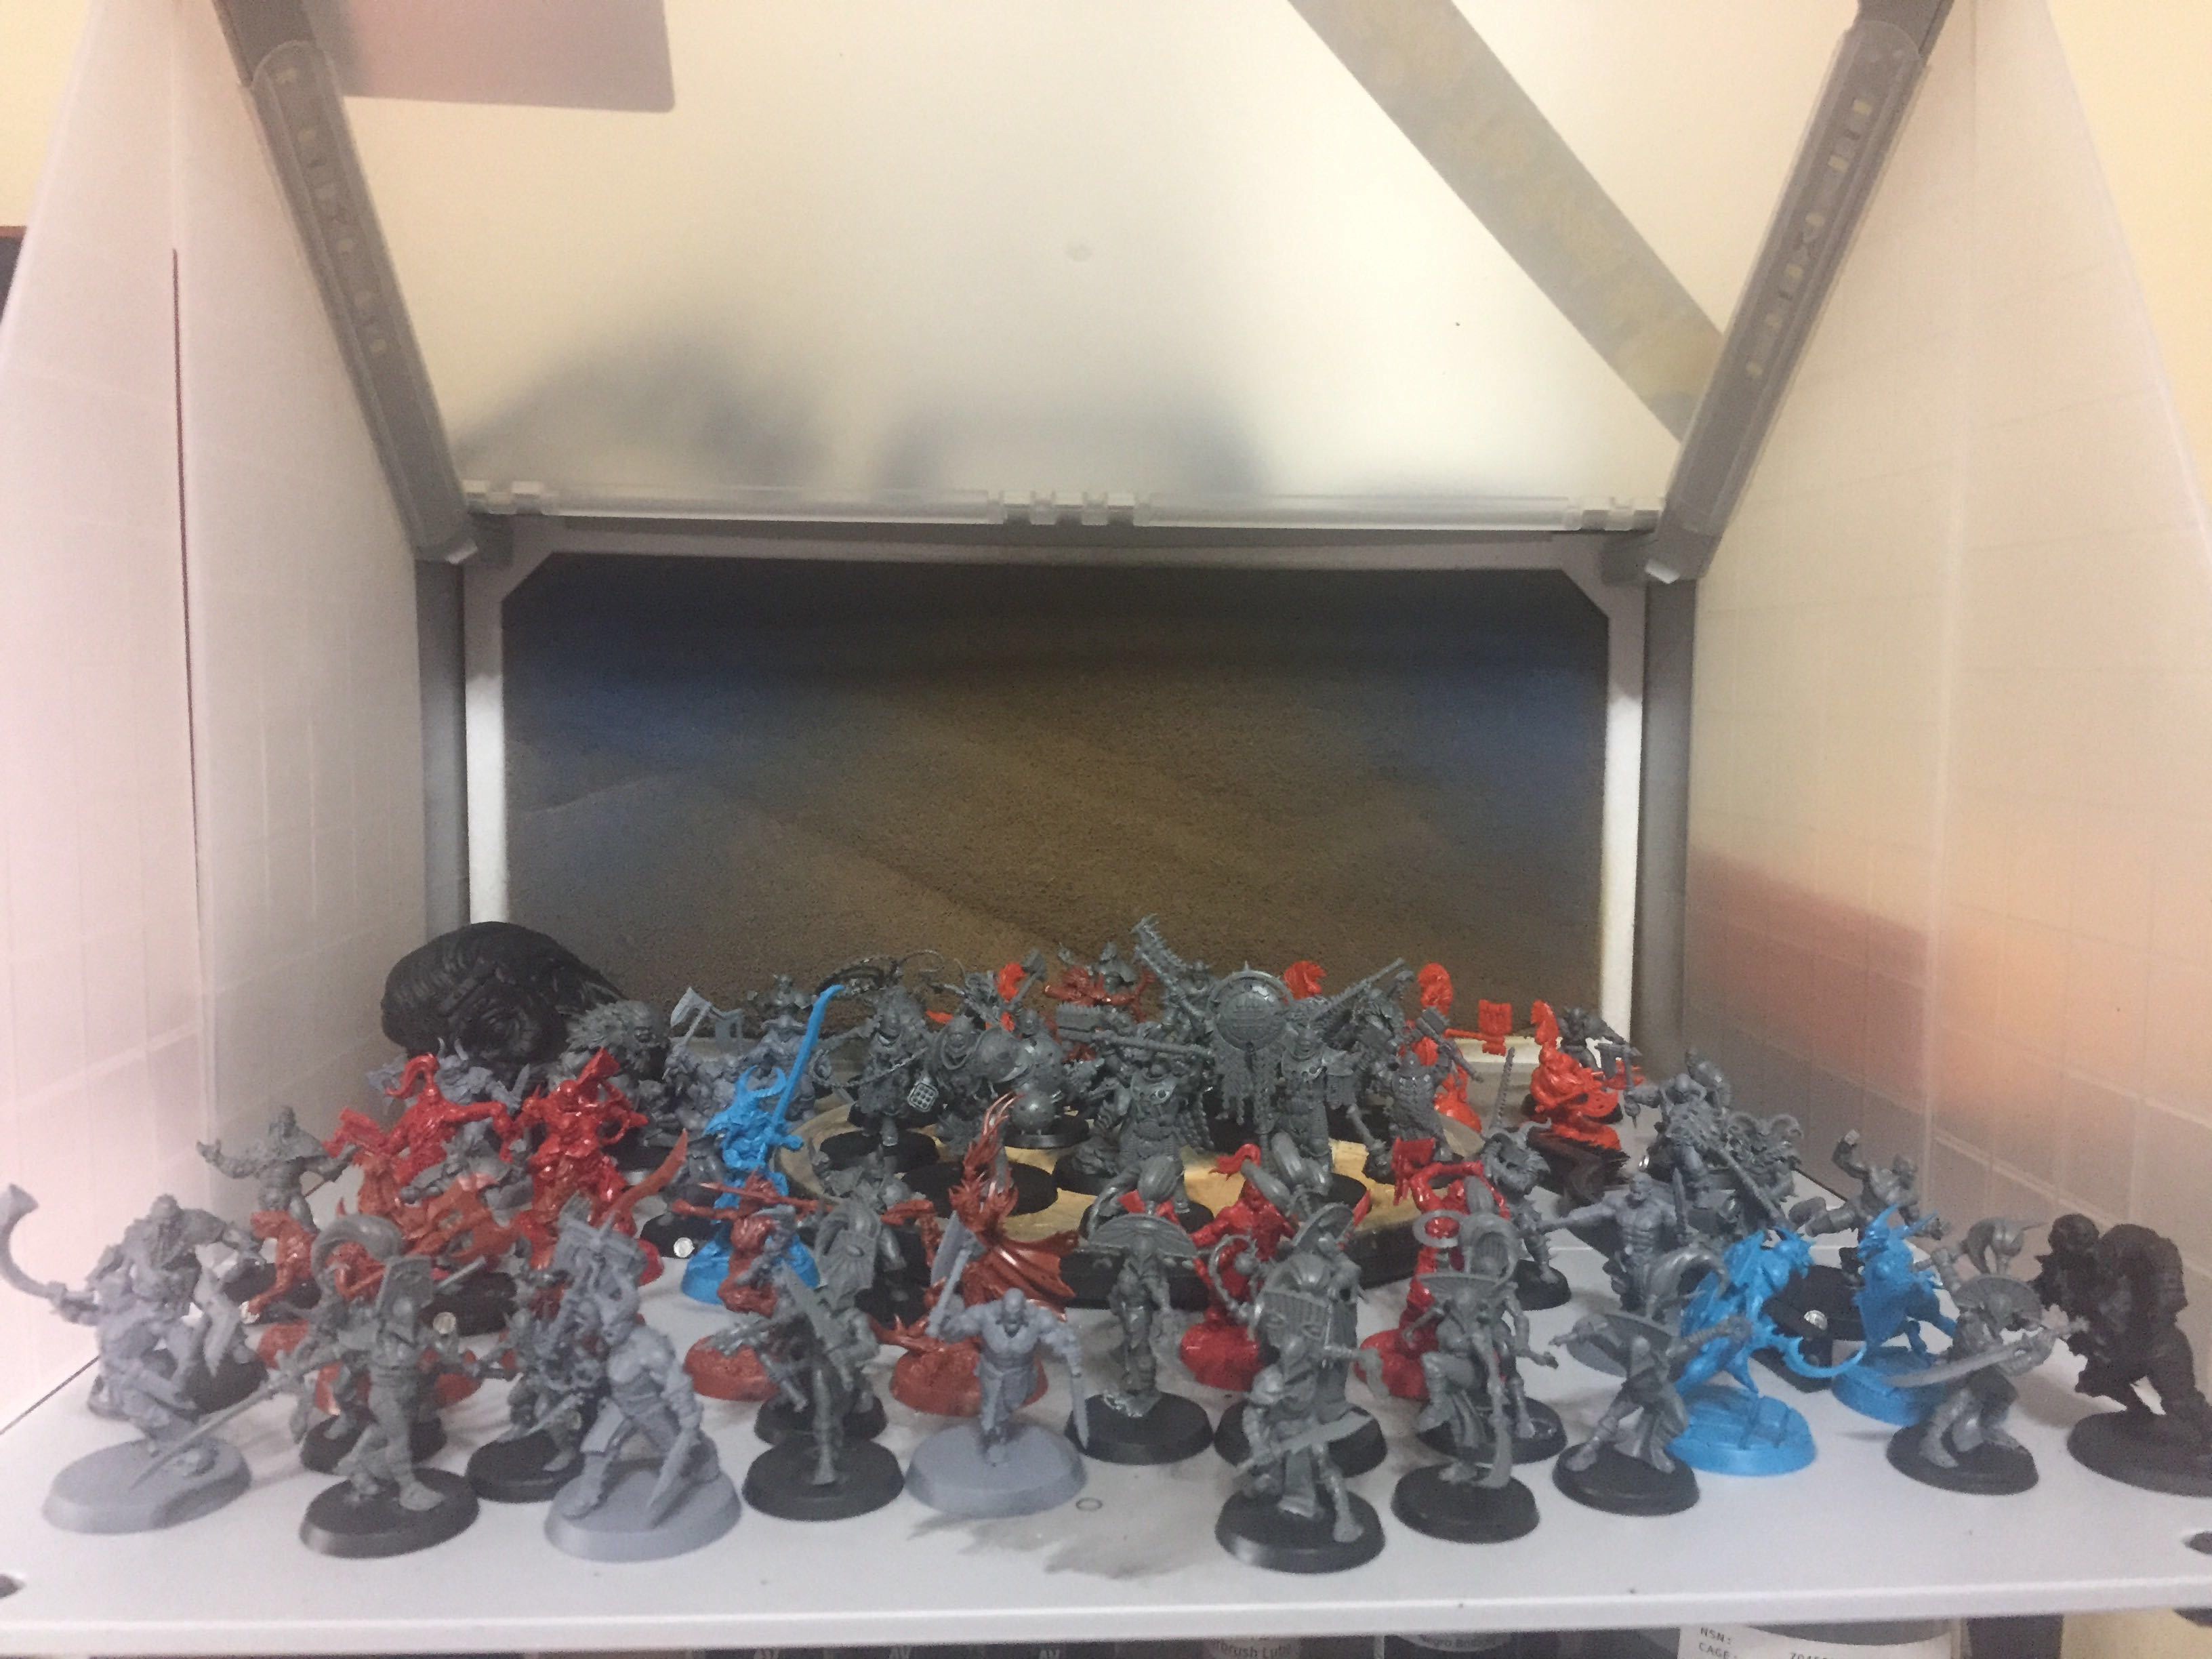
As you can see I was able to knock out a lot of work with this project. It did seem a bit daunting at first when all these models where piled in the spray vent, but now that they are finished I’ve gotten a good leg up on some projects. I messed around a bit with some Warcry Iron Golems getting their skin finished as well but it doesn’t look anywhere as good as the stuff Rob came up with. In total knocked out the skin for: 1x Blood Bowl team, 3 x Warcry Warbands, 4 x Shadespire Warbands, and a smattering of random models I had laying around. Looking back I’m not sure how I was able to get so much done, but I think it goes to show how faster you can accomplish things with an airbrush. Moving forward you should see some of these projects working their way onto the blog as I get around to knocking them out. As with all gamers though I’m sure there will be an endless supply of new projects to work on.
I’d like to give credit for this technique to RobPaintsModels on YouTube. Unfortunately due to work requirements he rarely makes new content these days, but the videos he has are some great works. His ability to paint aged leather is just fantastic. I highly recommend checking out his work if you can.
Well that wraps it up for the latest rambling. If you are on the fence and have the resources to try out an airbrush, I highly recommend you do it. Take care and enjoy some hobbying!

Pingback: Taking the Plunge into the World of Airbrushing, Part 2 | Wyrd Stones and Tackle Zones
Those are some very nice, and smooth too, skin tones. You’ve really got to grips with it quickly.
Cheers,
Pete.
LikeLiked by 2 people
Thanks Pete. I still feel there is a lot to learn but some did turn out really nice.
LikeLiked by 2 people
That is freakin amazing. Seriously, my mind is a bit blown right now. It’s funny, my first thought was “bet I could knock out a Norse team in no time!”. Which is actually one I wanted to get done for my son, as he likes playing them. So, thanks to you, I think they are jumping the queue. Should be a fun experiment.
The only thing I’m wondering about, is usually I paint the flesh last, in case of any mistakes. But I guess it’s also the hardest. So I guess just be really careful when painting near the skin. Are you using any of the Citadel Air paints or just thinning the regular ones?
It’s hard to believe you just got an airbrush, the results are looking like a pro!
LikeLike
Oops, one more question, where are those Norse from? That’s going to be an amazing looking team!
LikeLike
You actually saw them on the site a long time ago when Mike did an unboxing. They are from Hungry Troll and you can see the unboxing here: https://wyrdstonesandtacklezones.com/2017/09/11/the-norse-are-here/
LikeLiked by 1 person
Ah, my memory fails me again!
LikeLike
Thanks for the compliment. I will admit that it does make for painting around the flesh a bit more stressful. I have had a few mistakes that I’ve tried to clean up after. It is difficult to match the colors you need to correct the mistakes. Of the mistakes I’ve made and tried to correct I don’t think they are noticeable to the untrained eye. Still, I highly recommend you fully look over a model before you move on to the next coat with the airbrush. I’ve had spots under the pecs get missed and I’ve not noticed until I’m applying the wash.
LikeLiked by 1 person
Cool..very cool….you have a lot of patience. Keep up the good work,! Sheryl. Skm9503@gmail.com.
LikeLiked by 1 person