Found something cool last night…

…that I wanted to share with other terrain builders. The wife drug me out to Joann’s, which I also knew as a “fabric store.” Well apparently, while I was not paying attention (which is most of the time, really), Joann’s became a “craft store” and started carrying things other than just fabric. Most of the things were standard craft and hobby items, but I saw something that grabbed my attention. Craft popsicle sticks without the usual rounded ends, that were already slightly beveled on the edges. These things are almost tailor made for terrain building. Just cut them to length and glue them in place! I’ll probably still shave them a little to give them a more rough hewn look, but for people just starting out, these would be awesome. Below are pics of the packaging and the sticks themselves…

IMG_1986b

I guess the brand name is “Woodsies.” They come in a bag of 75 for about $4. They are a little more expensive than the ones I usually get, but those have LOTS of really warped pieces that I end up tossing because they’re worthless to me. These sticks are all completely straight.

IMG_1987b

I tried to get a pic of the beveled edges, but it really just does not translate in the image.

IMG_1988b

Anyway, just wanted to pass the info along. I hope someone out there finds it useful. And stay tuned, the next part of my terrain tutorial should be coming in the next few days!

Mordheim Terrain Tutorial – IV

I really did not expect to have another update quite so soon, but after working on the piece for a while last night and tonight, I realized that I had done enough work, that I should probably go ahead and make another update. What prompted this update was simply looking at the terrain piece yesterday afternoon and realizing that I had not done NEARLY enough detailing on this terrain piece yet. So I got busy last night and I really like where I am at now.

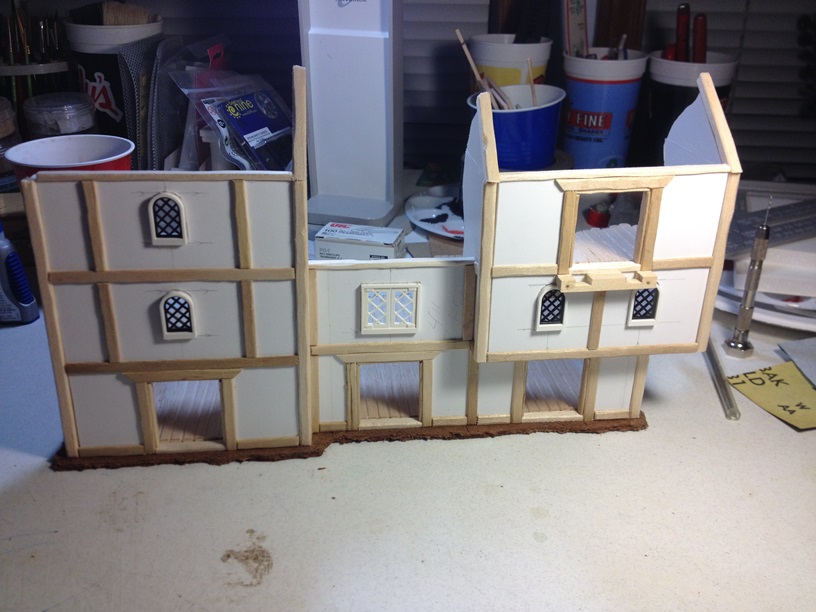
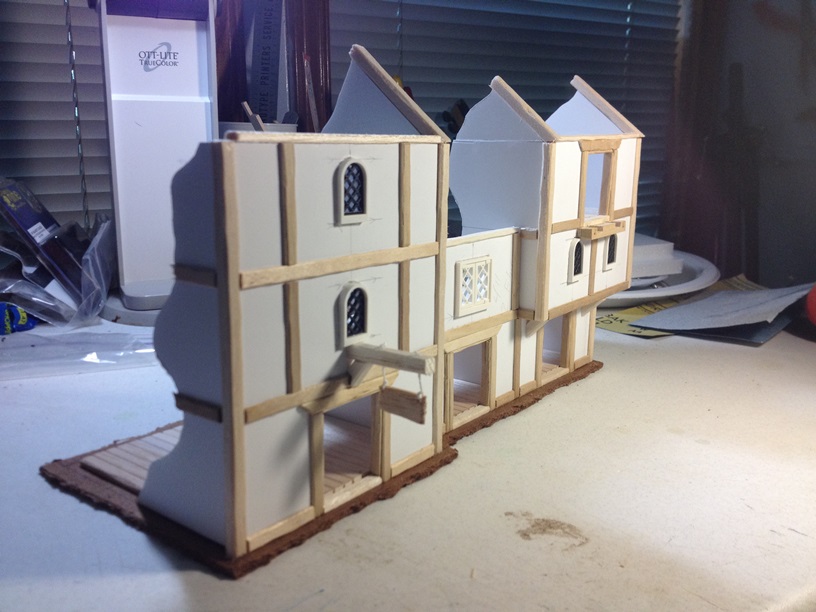
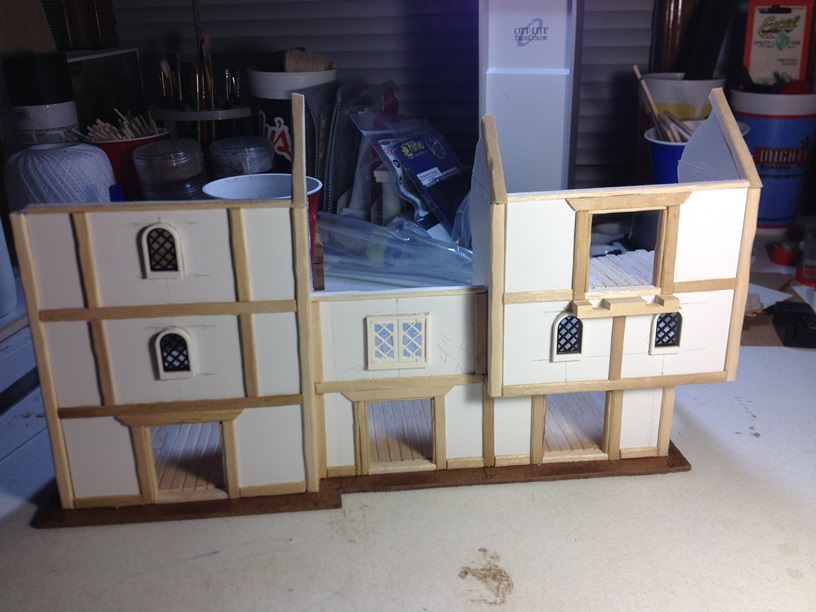
To start, here is the piece as it was at the end of the last update.

IMG_1806b

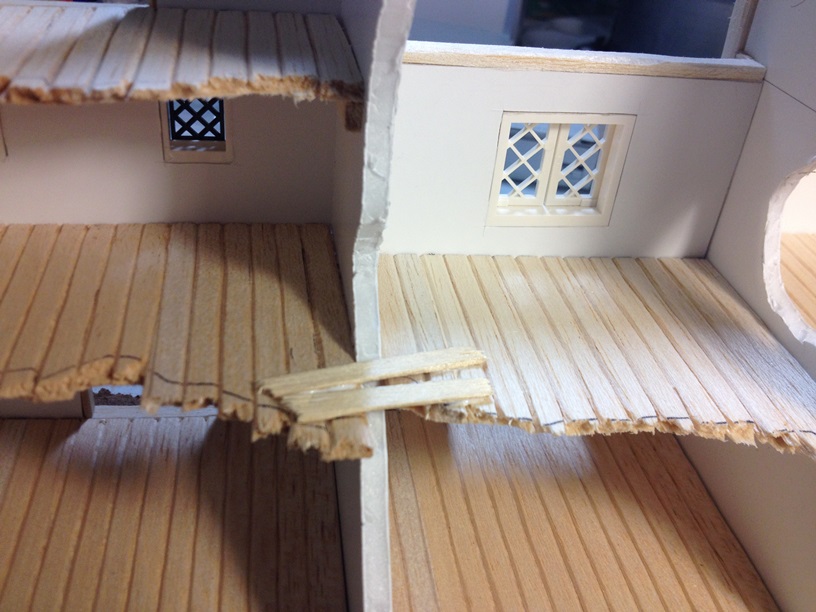
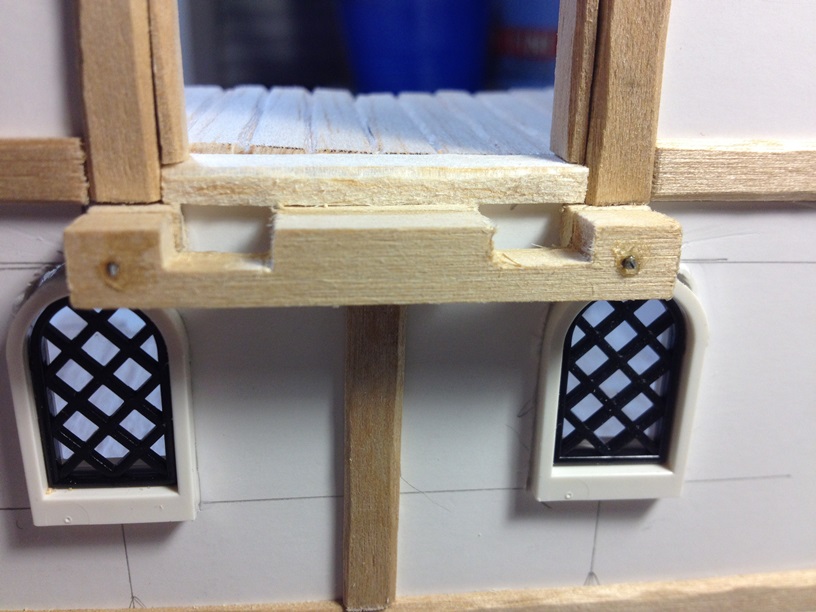
It is starting to look good, but it is still a bit bland… We REALLY want terrain to come alive to add to the atmosphere of the game, so we need to grab some balsa strips, and a hobby knife, and get to work. First we need to add some supports to the underside of the second floor of the building on the right.

IMG_1814b

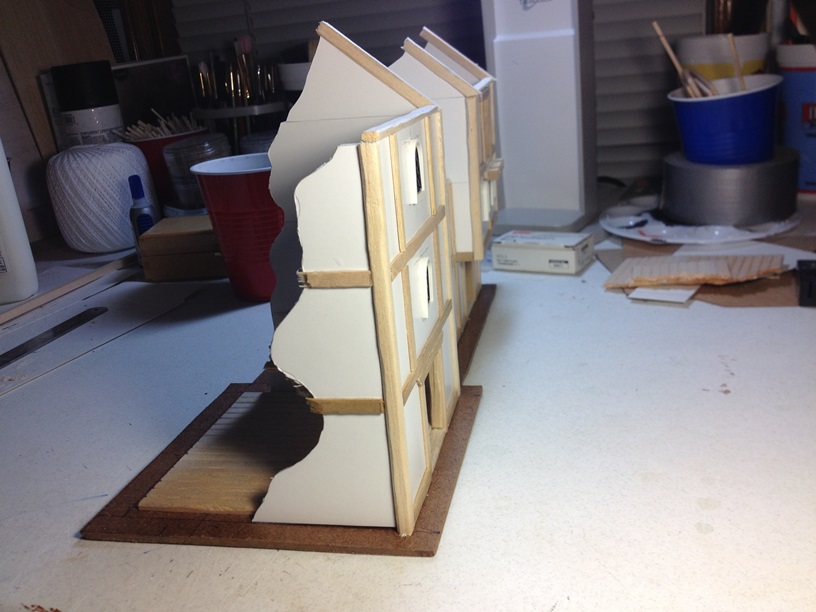
It is really easy to do. Cut a few pieces to length, shape the sides, and glue them underneath. Next, we should add some angle pieces for a little character…

IMG_1825b

IMG_1829b

IMG_1830b

As you can see, these little pieces go a long way towards really taking things to the next level. A lot of people make ok terrain that you find on gaming tables, but I like the saying, “Go big or go home.” I can apply that saying to a lot of aspects of life, and it definitely applies to making terrain.

*Quick tip*

If you are like me and do not have a hobby sized miter box, use a carpenter square, if you have one, to make sure that you get good 45 degree angles on your cuts, and cut nice and SLOW to make sure everything is straight. If your cuts on angled pieces is not straight, it is very difficult to make things fit right.

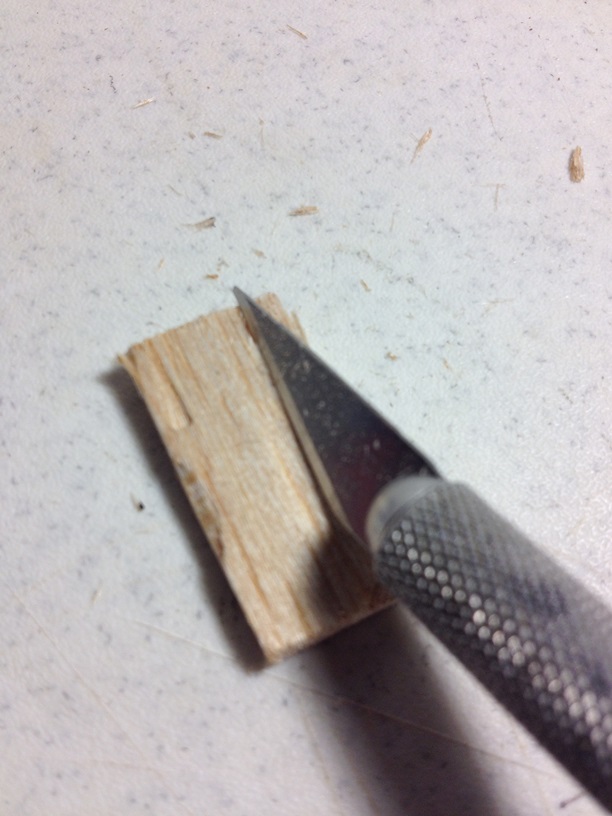
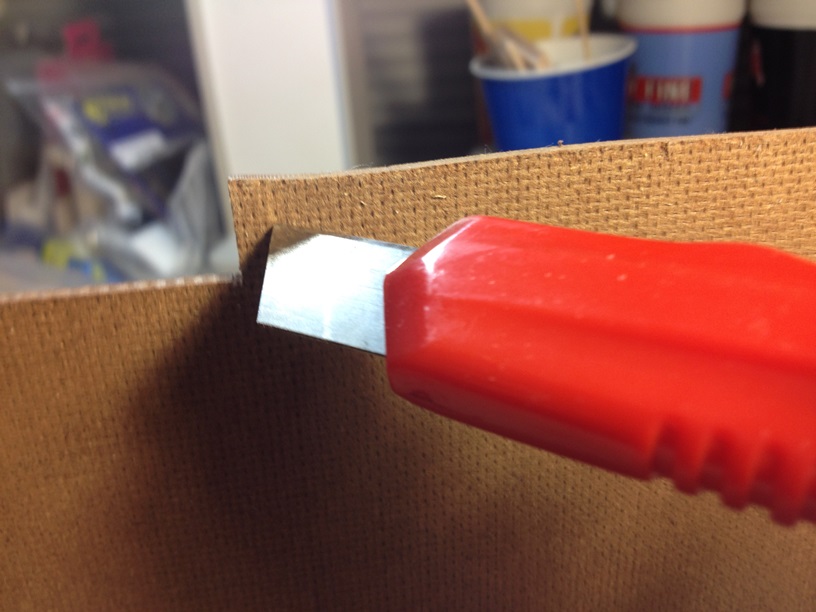
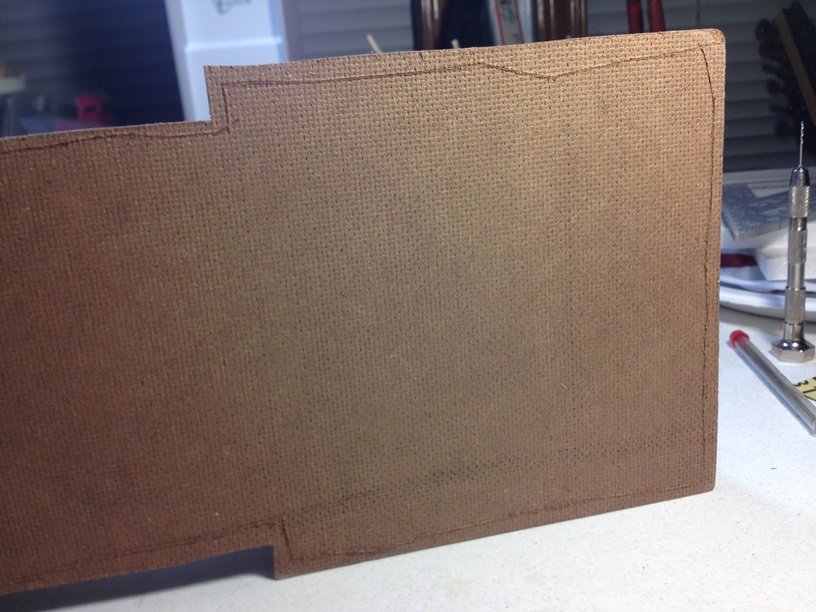
Next, I decided that I wanted a hanging sign in front of one of the buildings. These kinds of details are a little risky because they break off easily, but they look SO good. I had to have one on this piece. First, we just want to take a piece of sheet balsa wood and cut out a small rectangle. I believe I cut mine at one inch by half an inch. Then we will take a hobby knife, and simply scrape away at the edges of the rectangle to give it an appropriately worn look.

IMG_1816b

IMG_1815b

I also broke off a very small piece on one corner to give the sign a slightly uneven look. It worked out well.

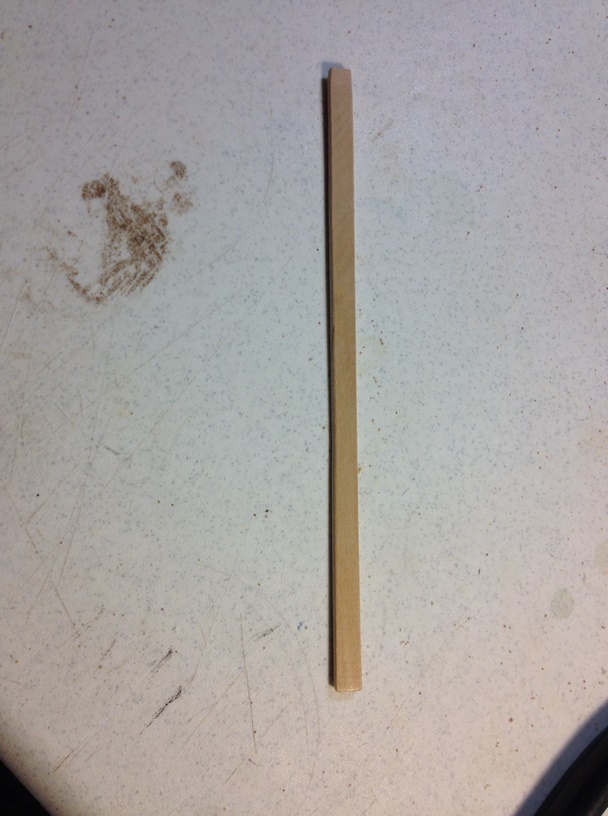
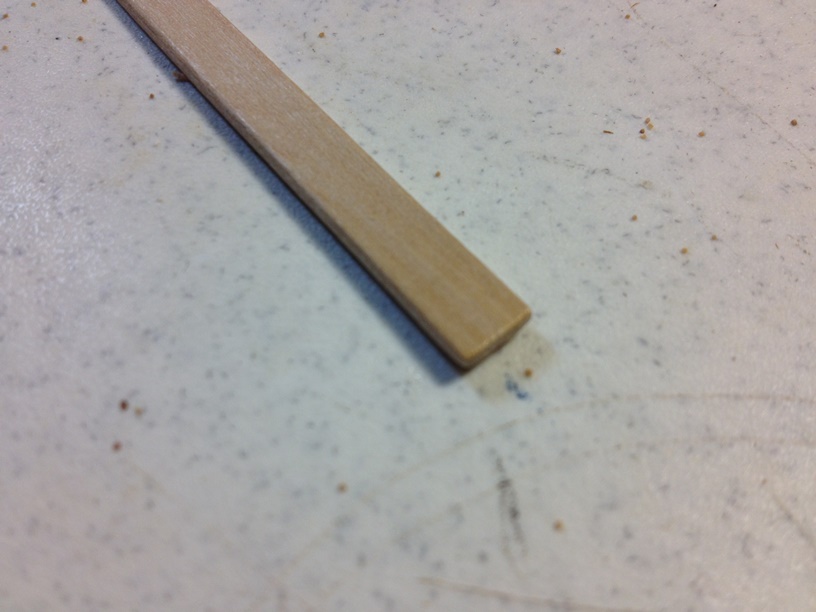
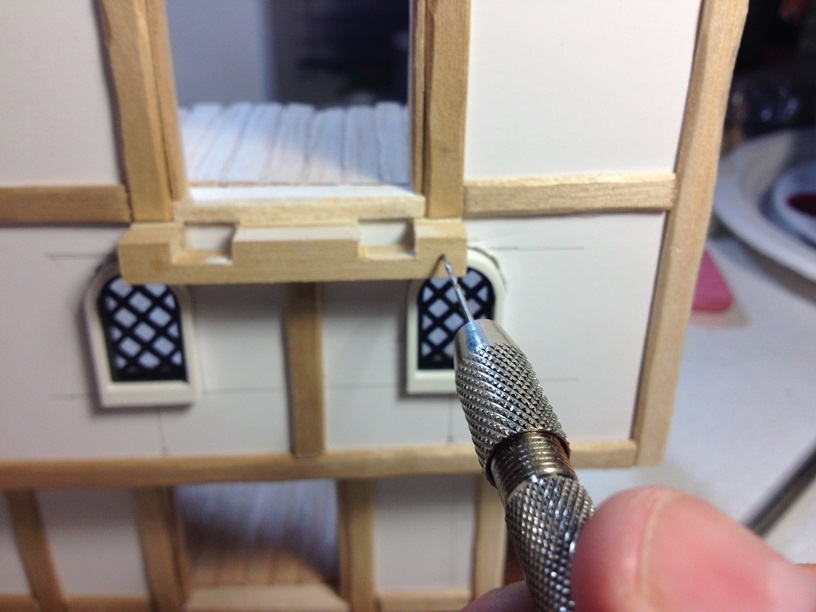
To hang the sign, we will cut a strip of 1/4 inch x 1/4 inch balsa about an inch and a half long. There are a couple of different ways to hang something like this, the way I chose to do it, was I used my pin vise drill to drill two holes in both the sign and the sign post itself. I then drilled a hole all the way through the wall, and pinned the sign post to the wall. (Sorry, no pictures.) Then I used some small string to run through all the holes, and hang the sign to the wall.

IMG_1817b

If you use this method of hanging a sign, you will want to add drops of super glue to the top of the string so it does not get pulled through the holes of the sign post, and more drops to the knots on the sign itself to make sure it does not get untied. Now, assuming we are all on the same page… We simply need to trim off the excess string and our sign looks more realistic.

IMG_1818b

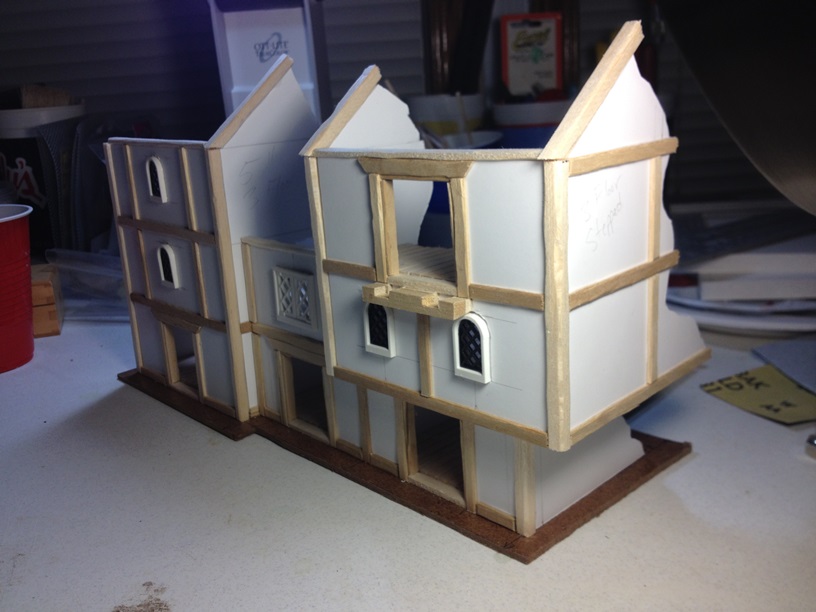
Now, this looks good, but it is unlikely a sign post would simply stick out from the wall like this. It needs a support, so we need to add one. We just cut another angled piece just like we did for the floor supports already and glue it to the bottom of the sign post.

IMG_1819b

One more quick step to finish off our sign… I have found that simply spray painting string with a black base coat and dry brushing it makes it fuzz up really bad, and it does not take paint well. We need to “seal” the string a little so it holds it’s braid a little more. This is a simple, but important step. We need to put a small drop of white glue on a finger, and smear it around.

IMG_1821b

Then just rub the glue on the string. And we are done with the sign…

IMG_1822b

(sorry for the blurry picture.)

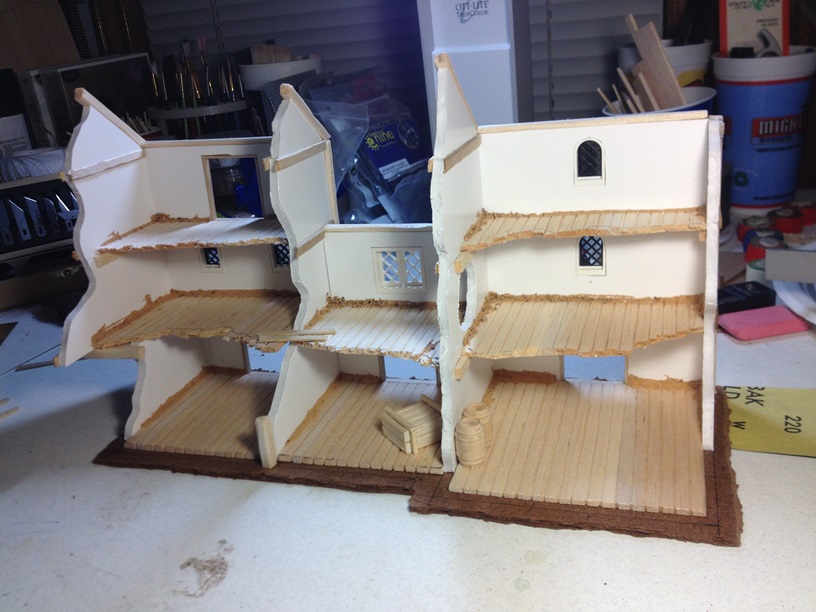
The rest of what I have for tonight is pretty much just simple detailing. So I will just show the pictures…

IMG_1824b

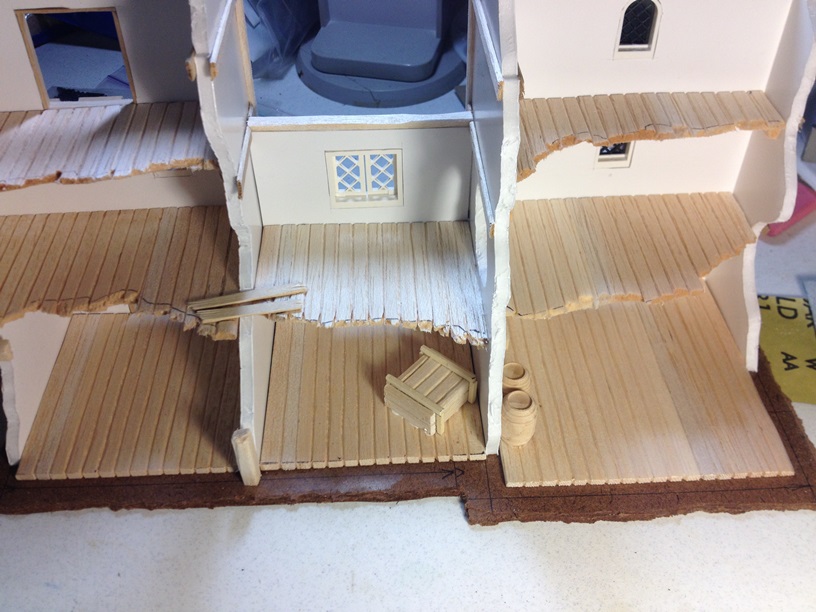
A makeshift bridge spanning a missing wall section.

IMG_1828b

IMG_1827b

IMG_1826b

IMG_1831b

Some nice repurposed Hirst Arts pieces.

IMG_1832bIMG_1833b

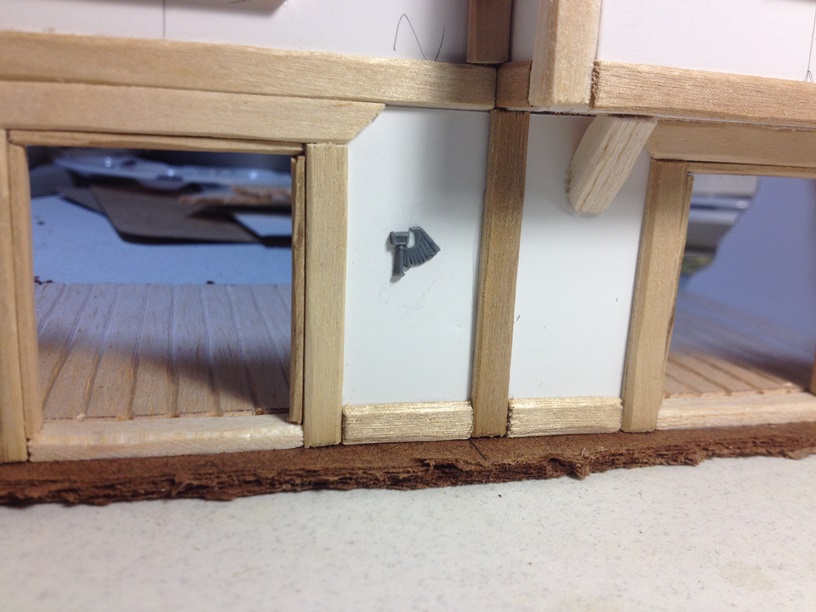
A few Warhammer Fantasy plastic shield emblems.

IMG_1834b

A quick, homemade crate, and couple of CHEAP doll house barrels. I get them for $1.49 for a pack of NINE barrels. They are not super detailed, but they paint up very nicely.

IMG_1835b

IMG_1836b

IMG_1837b

Then I added a little sand around the base of all the walls to simulate the accumulated crap floating around Mordheim that you would expect to pile up in corners.

That is it for tonight. I said in the last update that I hoped to have the piece finished by the end of the weekend, but I forgot that I will be taking the family on a nice vacation all next week, so the finally installments will have to wait until we get back. I MIGHT squeeze in another update before we leave Friday night, but honestly, I doubt it. Until next time…….

Mordheim Terrain Turorial – The Third! (AKA, It’s About Frikkin Time!)

Ok, so it has been, what, two months since my last update on this tutorial? Yeah, I know, I REALLY suck at this blogging thing… Anyway, I have some real life things that kept me very busy lately, and so the terrain piece just sat on my table gathering dust… until now. This update will be kind of quick, mostly because I did not get a too much done tonight, but I still want to post what I did finish to hopefully motivate me to finish this bad boy. Here we go…

IMG_1806b

At the end of part two, we had just started detailing the piece. Now, the only real rule on detailing is that there really is no such thing as too much. I stopped where I did in order to not make things too complicated for this tutorial, but I could have easily gone much farther with the detailing. It really is the details that make the difference in terrain, and really take things to the next level. I will probably still do a little more embellishment with plastic bits once I have added the roof sections. Maybe I will even whip up one or two scratch built goodies. As I have said before, I never plan too much because I like to be a little surprised by the way things take shape as I go.

Anyway, the construction details basically consist of cutting lengths of popsicle sticks and gluing them all over the place. I glue strips along the bottom of each floor, around doors as door frames, and in random spots here and there to simulate support framing. Just glue them everywhere… Once the piece is textured and painted, it will look really cool.

IMG_1793b

IMG_1794b

IMG_1795b

One thing I like to do that might seem trivial, but I think adds a lot to the piece, is I also glue strips on the INSIDE of the doors as well, completely framing out the door. I did not always do it that way. when I first started, I would just glue the frame piece to the outside of the door, then texture on the inside pieces, but I think doing it this way looks much better. This is what I mean…

IMG_1804b

It may seem simple, but it’s all these simple things that add up to make really big things.

Now, you might also notice, in the bottom of that picture, the mount piece for my modular bridges. The mounts are actually really simple. I make them from two different sizes of bass wood strips. 1/4 x 1/4 inch, and 1/4 x 1/8 inch. I mark the length of the 1/4 x 1/4 strip to the same length as the door frame, specifically, two inches long. Then I cut a one inch piece and then two 1/4 inch pieces from the 1/4 x 1/8 strip. I glue the 1/4 inch pieces to the ends of the 1/4 x /14 section, and the one inch piece to the center. If measured correctly, that should leave a 1/4 gap on either side of the one inch piece. Cut 1/4 inch notches out of the 1/4 x 1/4 piece where the 1/4 inch gaps are, and the mount is done. All we need to do is glue it to the wall, nice and centered on the door. Once it is glued to the wall, we are going to put a pin through it for a little added strength. On the back side of the wall, I used another piece of bass wood as a support for the floor. Usually, I would use balsa wood since the floors should not ever need to support much weight, but since I knew I was going to put a bridge mount here, I used the bass wood for extra support. First, I drilled a hole with my pin vise drill.

IMG_1796b

Once the hole was drilled all the way through, I used a straightened paper clip with some super glue on the end for my pin. Here is the finished product.

IMG_1797b

It should be good enough to support the bridge and hopefully not come apart with casual table bumping.

The next step could, and honestly, probably should be done much earlier, but I always just seem to wait until the last minute to do it. We need to roughen up the edges of our base. It is really simple to do with hard board. Just turn the piece upside down, and use a utility knife to score line around the underside of the piece. The line does not have to be straight, in fact, it is probably better and more natural looking the less straight it is.

IMG_1798b

IMG_1799b

Once we have our score all the way around the base, we will just take a pair of wide pliers, I like kleins personally, and bend the outer edge upward. this creates a nice, rough, layered edge that looks pretty natural.

IMG_1801b

IMG_1802b

Once we have done this all the way around the base, the piece will really start to look like something.

IMG_1803b

IMG_1806b

Well, that is about it for today. My intent is to make roof sections, do finishing details and texture the piece in the next few days. Hopefully, there will be an update but the end of the week, and I might even be able to paint and finish the piece by the end of the weekend. Only time will tell!

As always, comments and criticisms are always welcome.