OK folks, I am back with my Mordheim Terrain Tutorial – Part Deux! If anyone missed Part 1, you can read it here. Since I am laid up in bed with massive neck pain, I figured I would use the time to write another installment in this tutorial… that and watch Big Bang Theory on blu-ray. 🙂
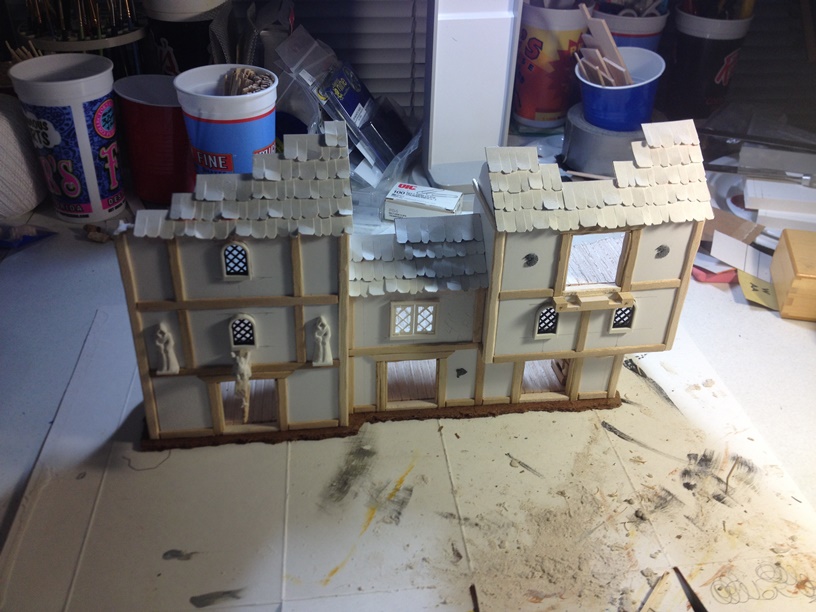
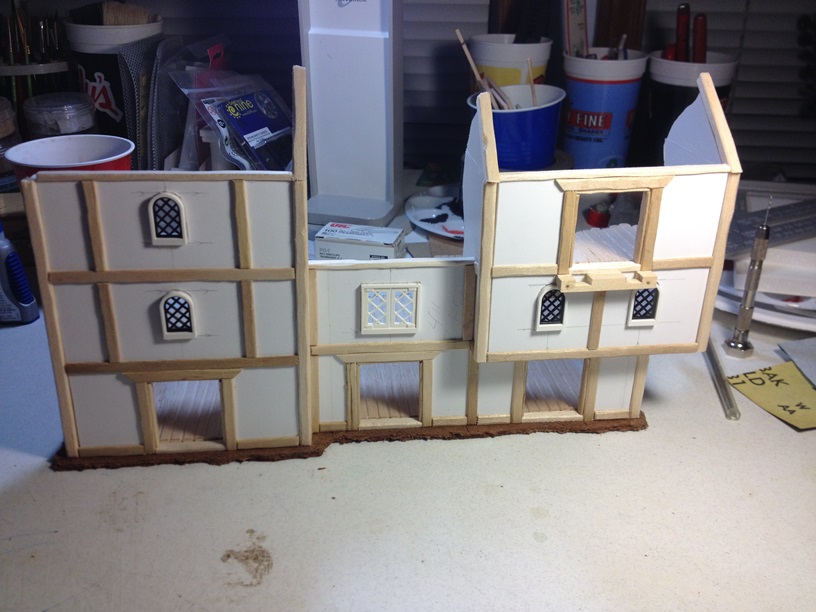
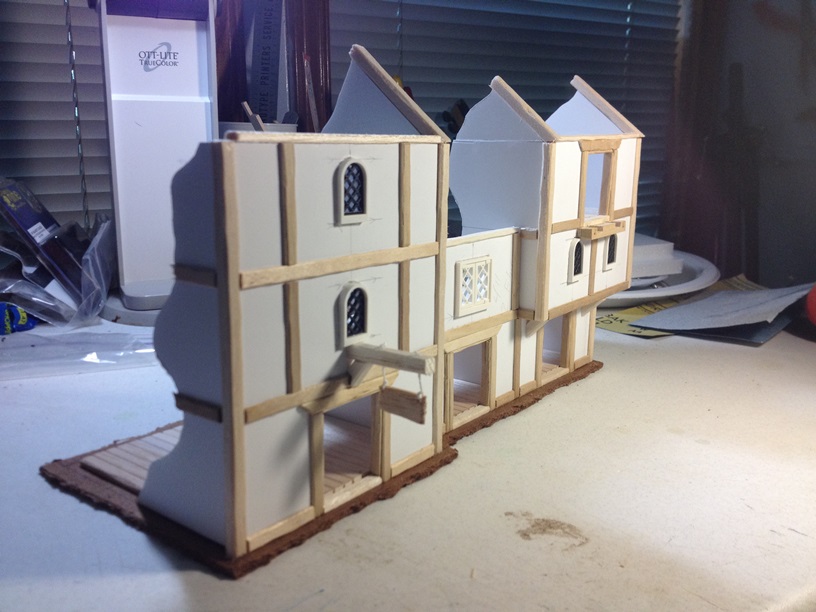
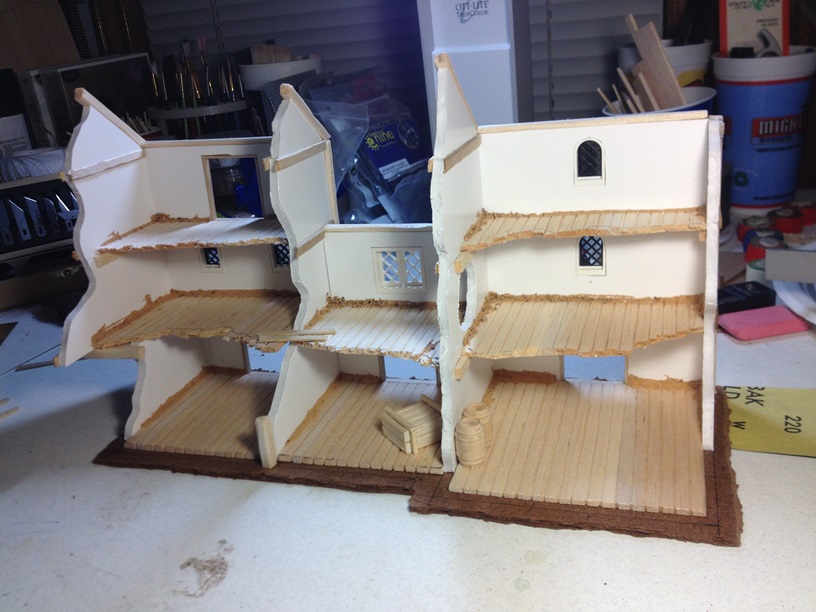
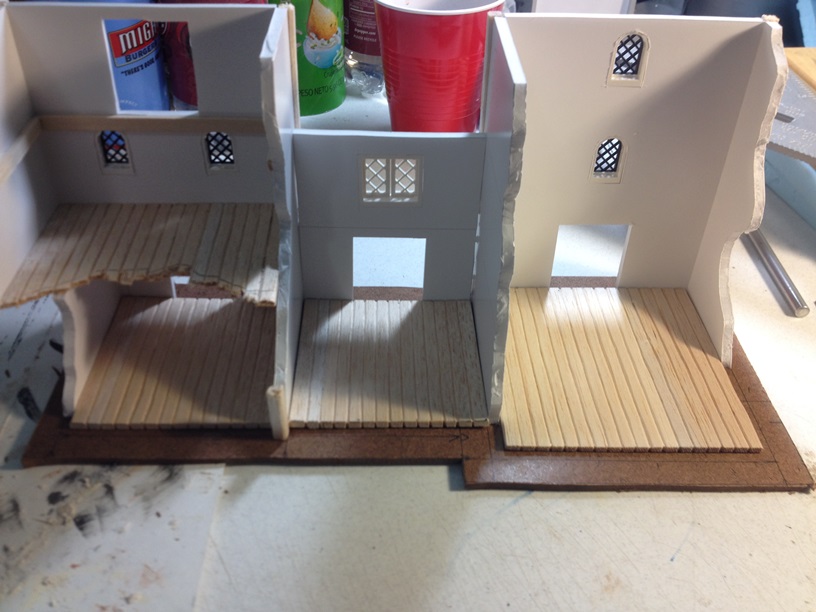
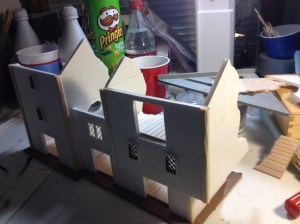
So, we ended Part 1 with gluing our wall sections together. Here is a shot for a reminder:
The second and thrid floor of the section on the right overhangs the first floor, but since the wall piece on the left, which forms the right wall of the center piece, stretches to the ground, it can support the weight of the upper floors without first adding a floor under the overhang. If your piece overhangs all the way around, you will need to support the upper floors first. Also, we will not worry about any small gaps in the seems of our walls at this point. We will address those later with detailing pieces and texture before painting.
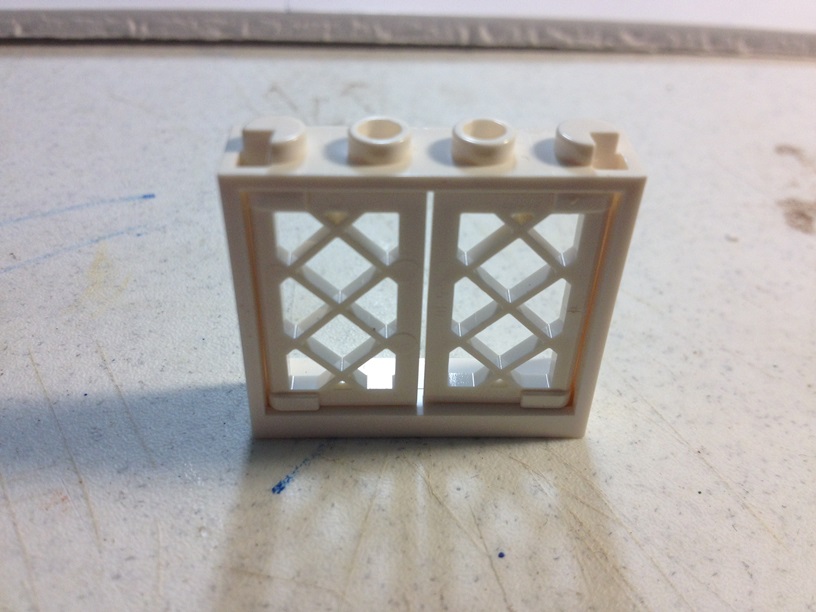
Now, at this point, lets go ahead and prepare to insert our Lego windows. When we first get our Lego pieces, they will look like this:
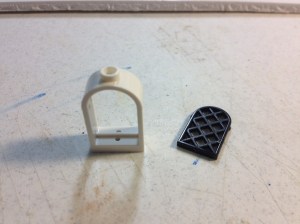
And this:
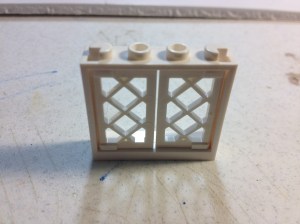
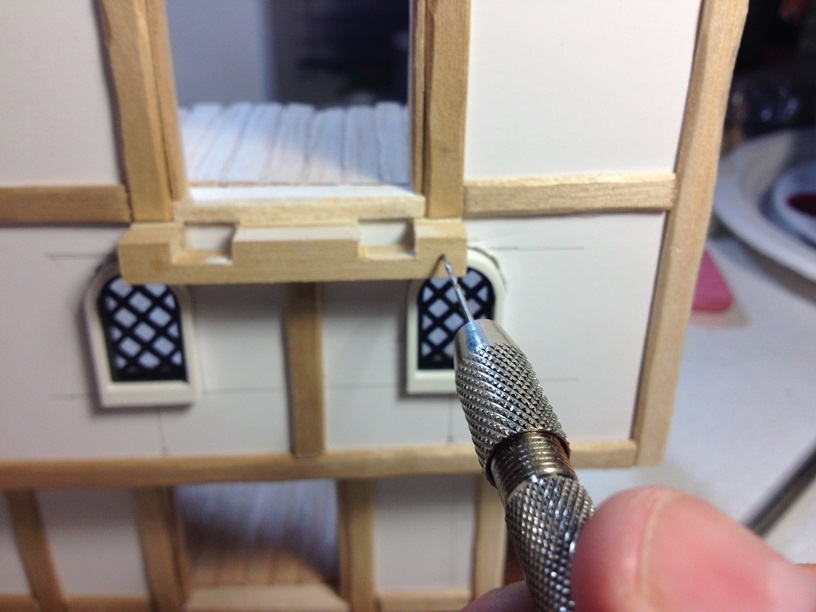
What we need to do in order to get the windows ready to add to our terrain, is remove the pieces on top that allow Legos to connect to each other. We can cut them off with a hobby knife, file them off, or do use my favorite method, fire up the dremel! A dremel, or any other rotary tool, with a sanding drum attached will make very short work of the connector pieces, but be careful not to remove too much. Unless we want to reate a really damaged look to our windows, we want to be sure not to change the shape of the window itself. When done, our windows should look like this:

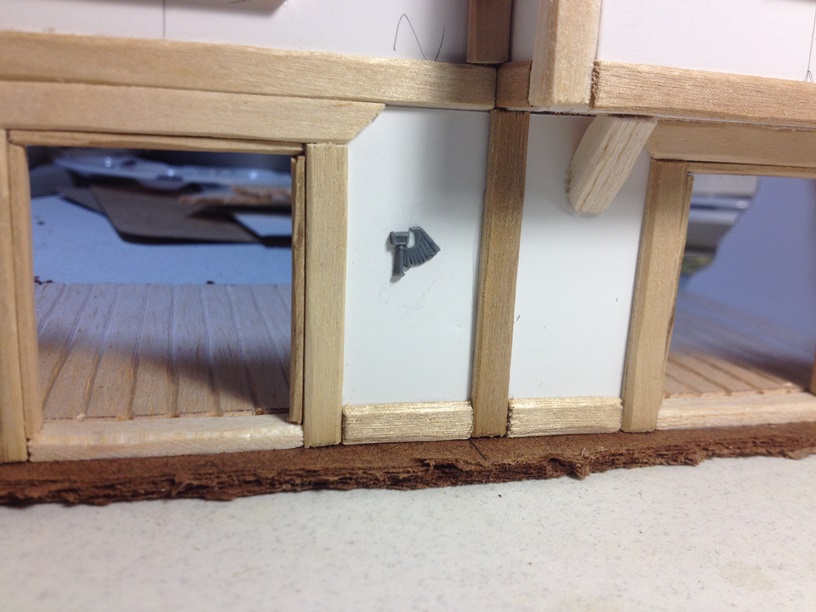
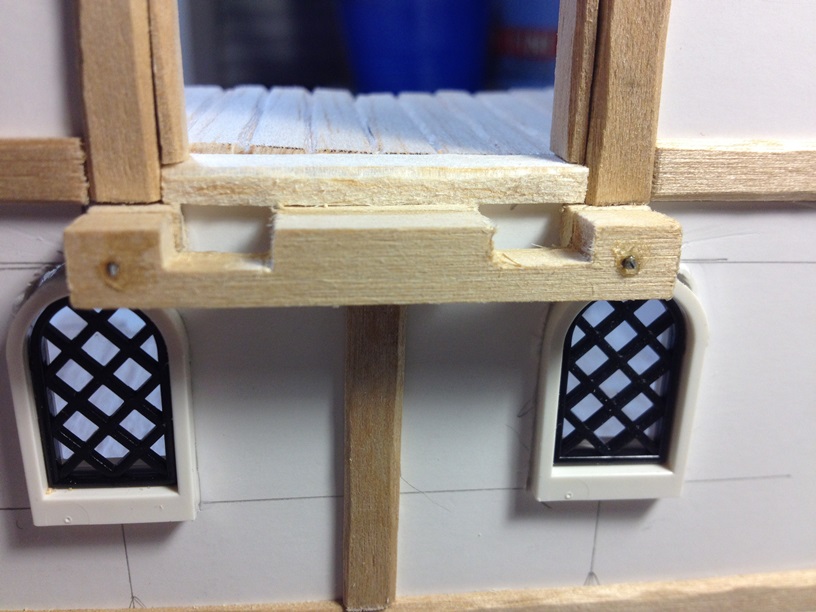
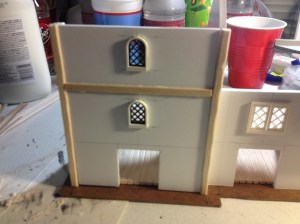
Now our windows should just slide straight into the openings we already cut:

Add a little white glue and our windows are in for good.
Now we can start adding floor sections to the buildings. Over the years, I have trried numerous methods of making wooden flooring for my buildings. I think the absolute BEST looking method I have found is using individually cut, shaped, and glued craft popsicle sticks about 1/4 inch wide. Unfortunately, that method takes for freaking EVER, so I gave it up a fw months ago.The method we are going to use for these buildings is MUCH faster, and while the results are not QUITE as nice, they still look good. We are going to use 1/8 inch thick sheet balsa wood. You can get it from most craft stores for a few dollars. We will start with the bttom floors as they will be full squares.
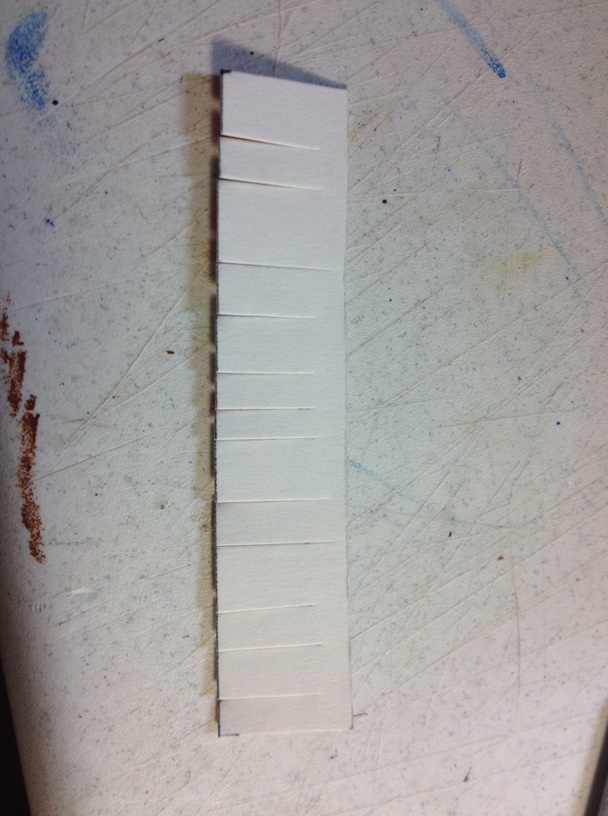
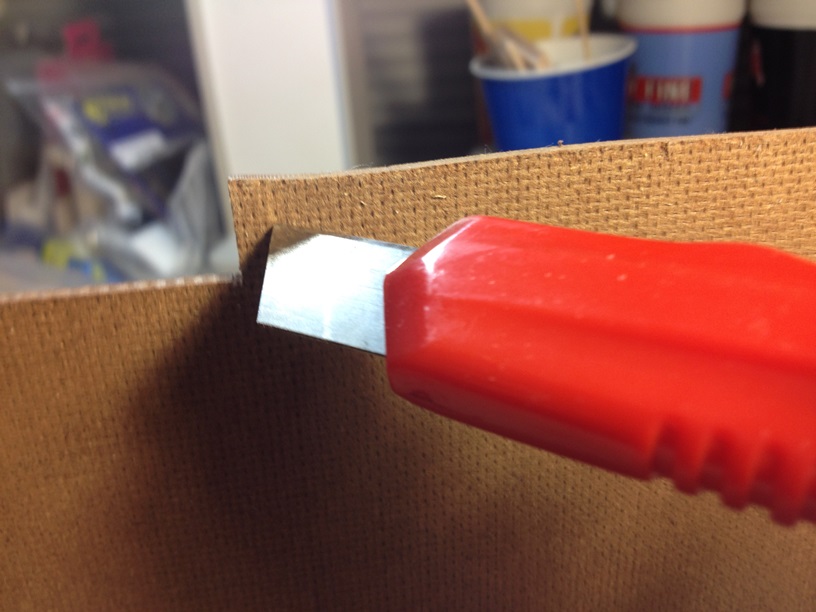
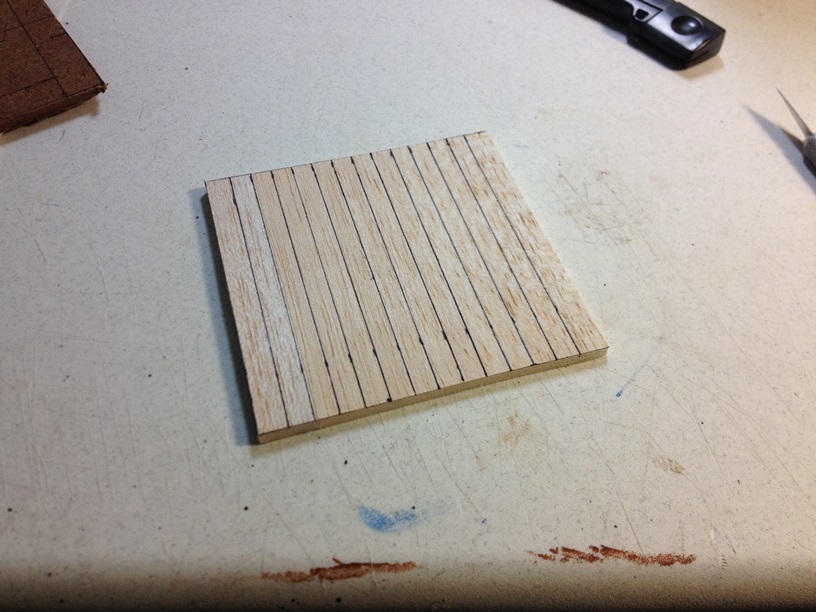
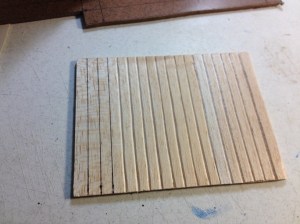
First, we have to measure our INSIDE dimensions for our floor sections. If we use the outside dimensions, our floors will be 3/8 inch to long and too wide. Once we have our measurements, we can cut out the sheet balsa with a hobby knife. Then we measure out 1/4 strips to serve as our “individual” boards, and draw them with a fine point marker:

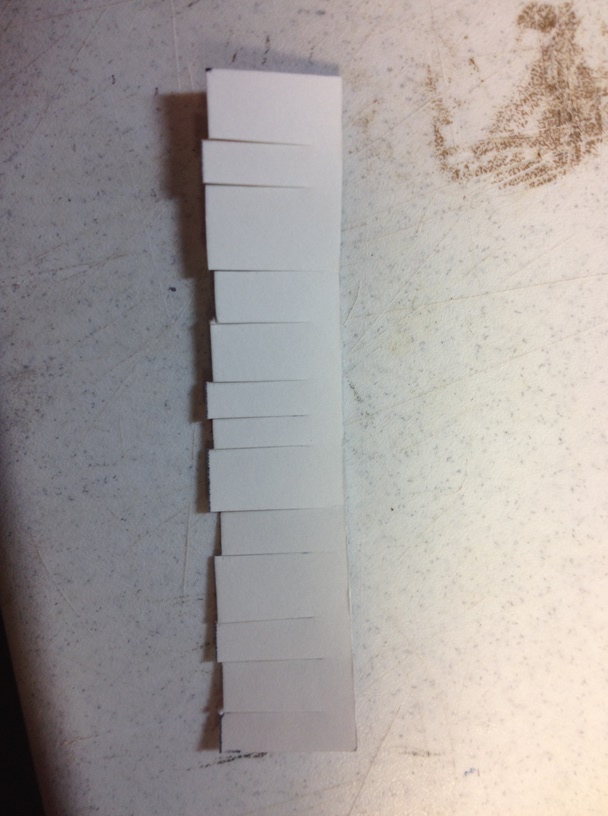
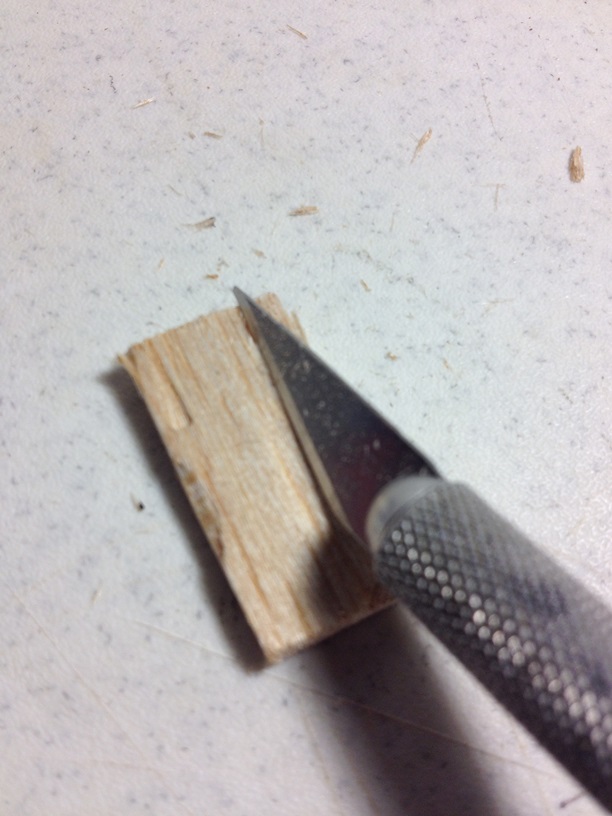
Once our lines are drawn, we can do two things. We can simply go over the lines with a ball point pen, pressing harder each time to create indentions into the balsa, but I find that once you start to add paint, the balsa soaks it up and swells just slightly making the lines a little less defined. What I prefer to do, is take a hobby knife and make angled cuts from two directions to remove a “V” shaped section where my line was. This way, there is no wood left to swell back out, leaving our “individual” boards more defined.
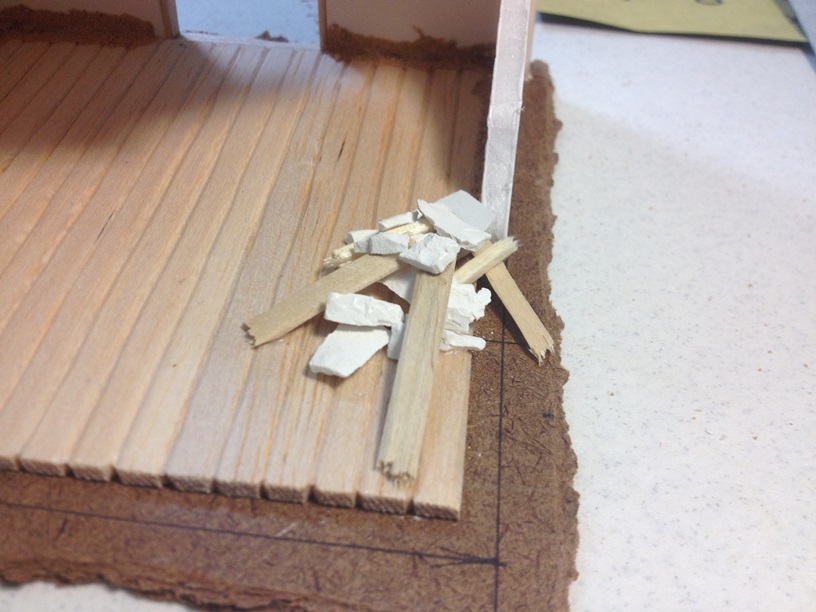
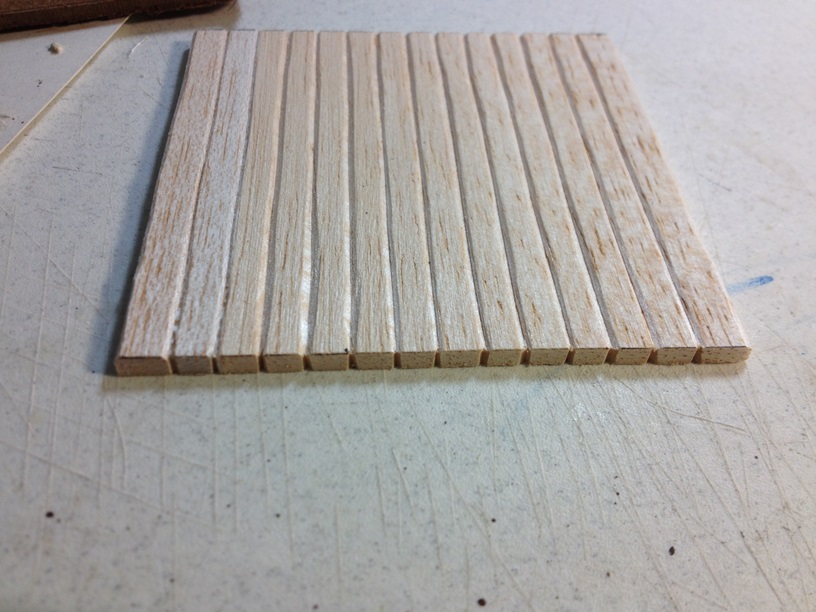
In progress shots:
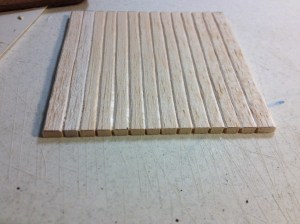
As can be seen in the above photo, any edge that is not concealed by a wall section, I also like to notch the piece on the end. This continues the illusion that each floor board is seperate. As the saying goes, the devil is in the details.
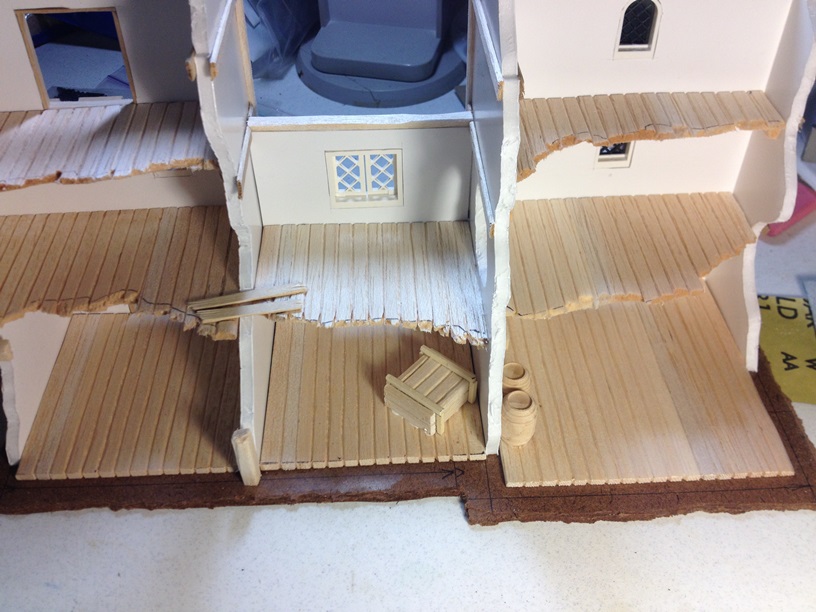
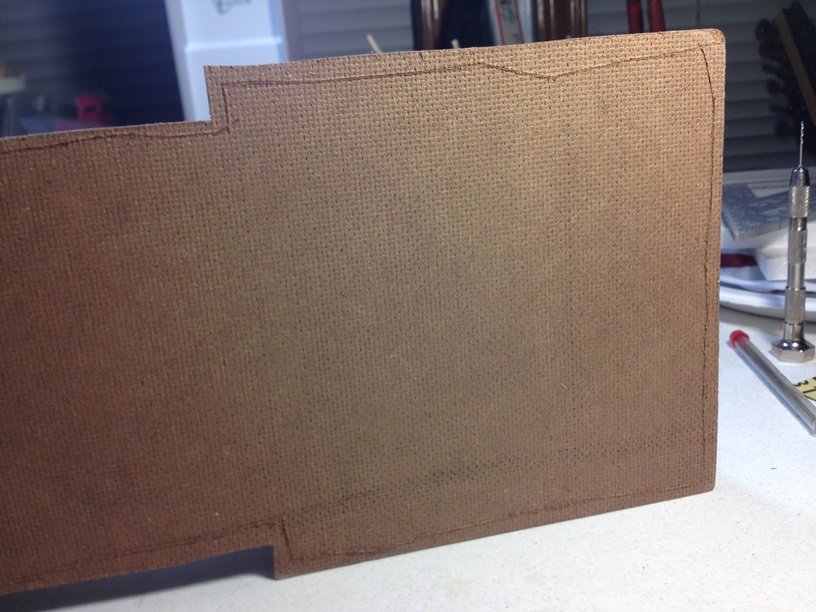
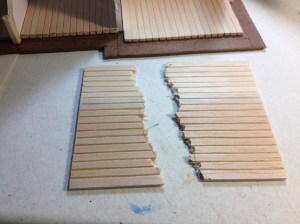
We can also go ahead and make the floor for the stepped sectioned of our right side building. This piece will keep our upper floors squared and support the weight of the rest of the building. We basically start the same way. measure out a nice square piece and cut our “individual” boards. Then, since the building is partially destroyed, we will go ahead and decide how much of our floor to break off to simulate building damage. I use the length of the wall sections to gauge the floor dimensions, and since we went ahead and measured a full square, we have some extra left over for any other section that have the same dimensions:
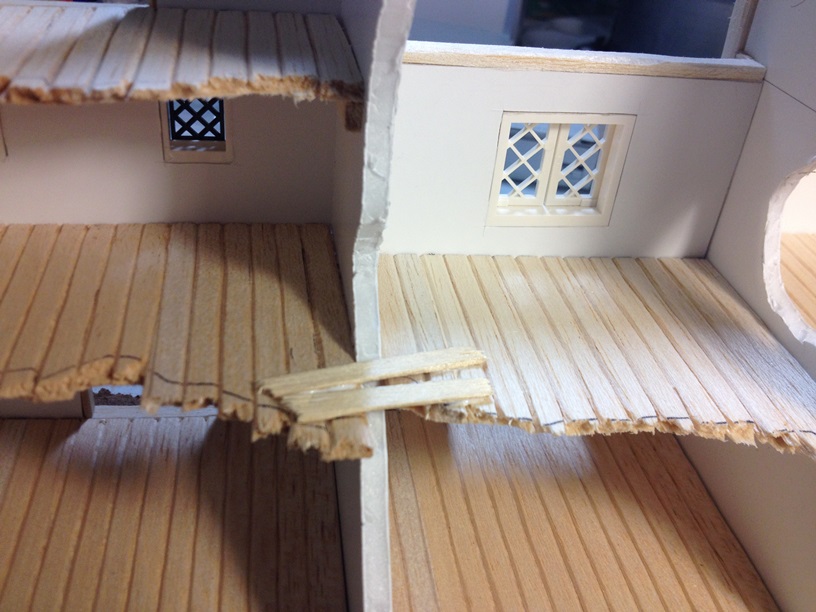
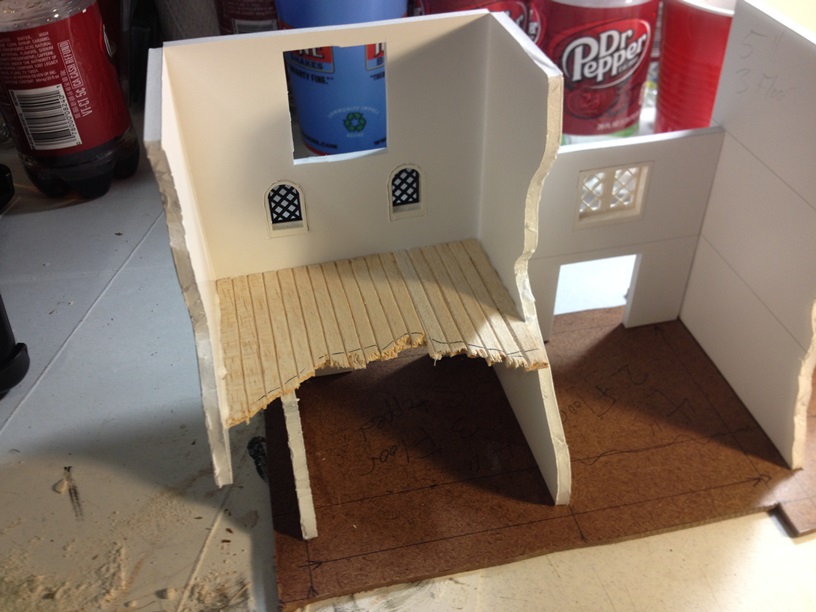
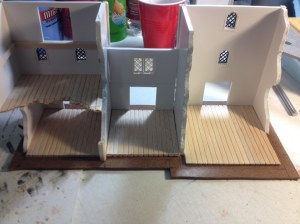
To add the floors to the terrain, we start by simply gluing down the bottom floor squares. Then we move on to the lower floor of the stepped section. All we need to do, is glue the edge of the floor piece where it is flush with the bottom of the wall, and everthing should line up perfect. With other upper floors, we will just use some balsa strips glued to the walls to support the floors themselves. Nice and easy peasy:


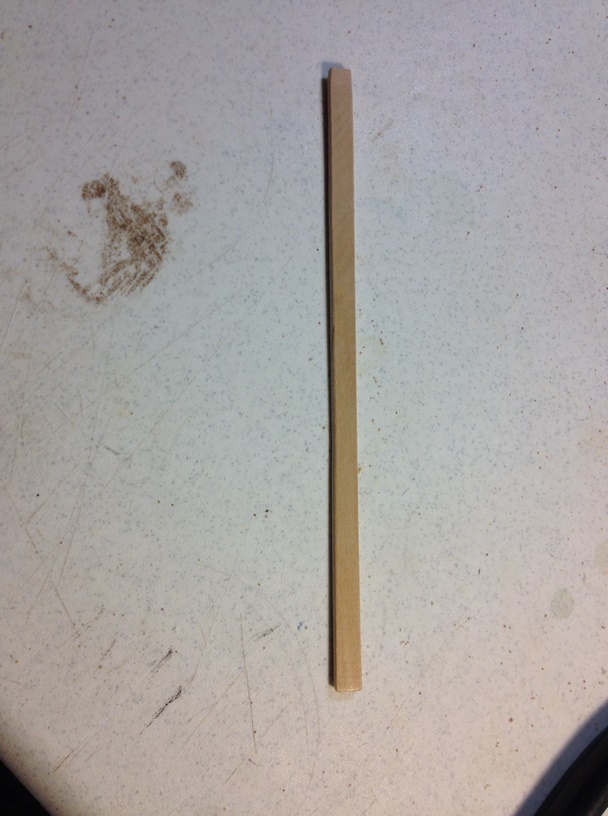
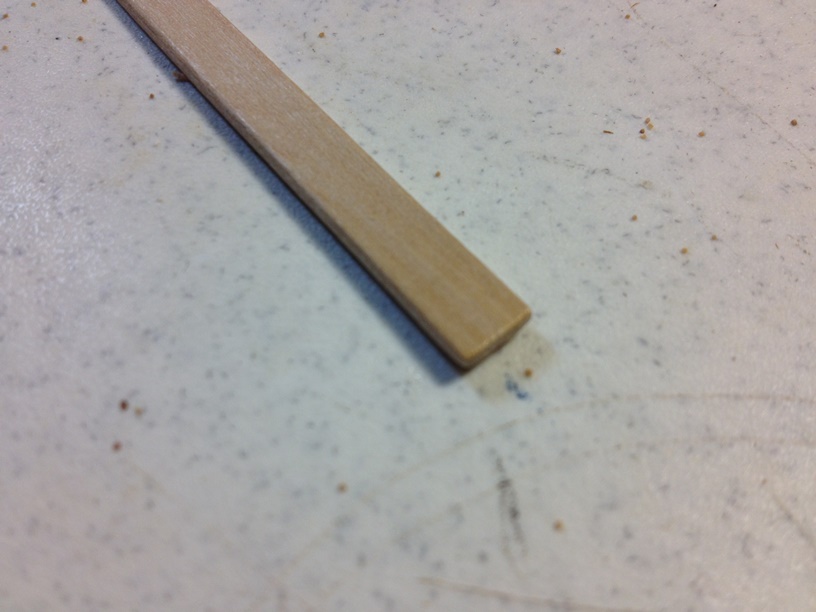
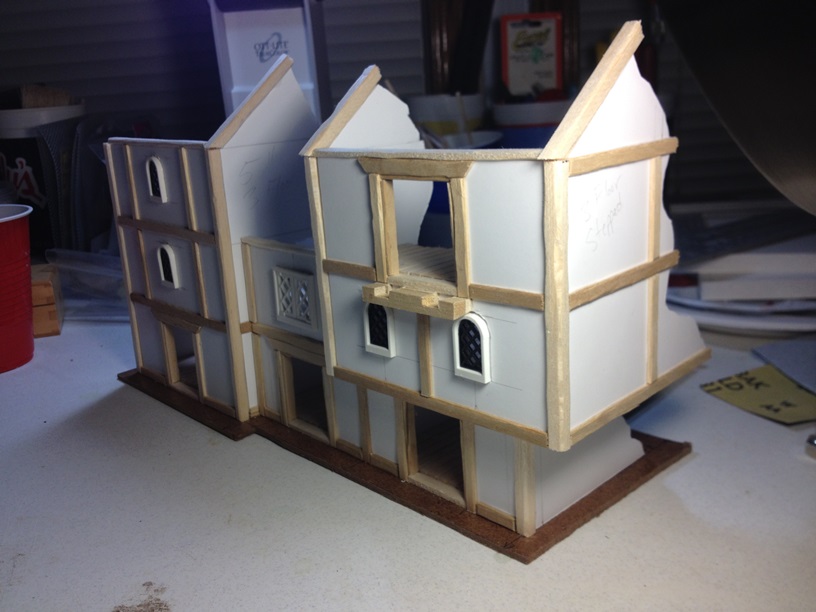
Now it is time to add our corner beams. Because we only partially cut through our foamcore walls, and folded them around, we obviously have a gap where our corners folded away from each other. 1/4 inch square balsa strips fit PERFECTLY into those gaps. First we cut them to length with a hobby knife. At this point, our balsa strips are the right length, but they are a little too perfectly square for the period we are trying to capture. We really want a more “rough hewn” look here, so what we are going to do, is we are going to take our hobby knife and slightly shave off three side. The fourth side will be left sqaure because it will be hidden within the wall gap. Leaving the third side square also increases surface area for gluing. Once shaped, our corner pieces should look something like this:

This paints up REALLY well.
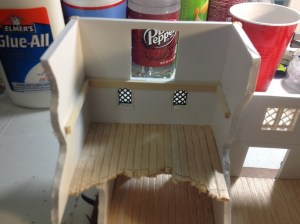
When our corner braces are cut and shaped, we simply need to glue them into place. That leaves us with this:
On to the next piece!
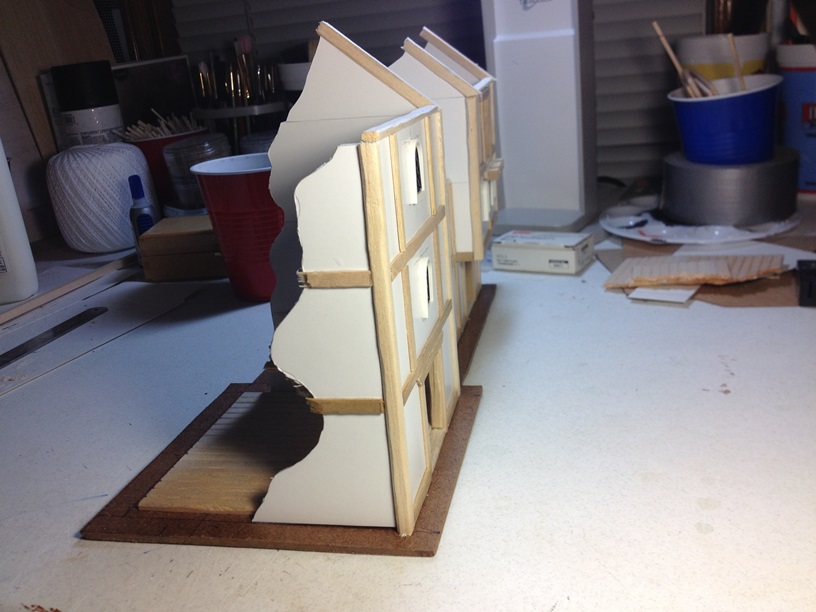
Since our roof will not be flat, we need to make some angled wall sections to hold the roof up. Now, you CAN do this when originally drawing out the wall sections, but I seem to ALWAYS forget to do that, so we are adding them now. Do not judge me… 🙂
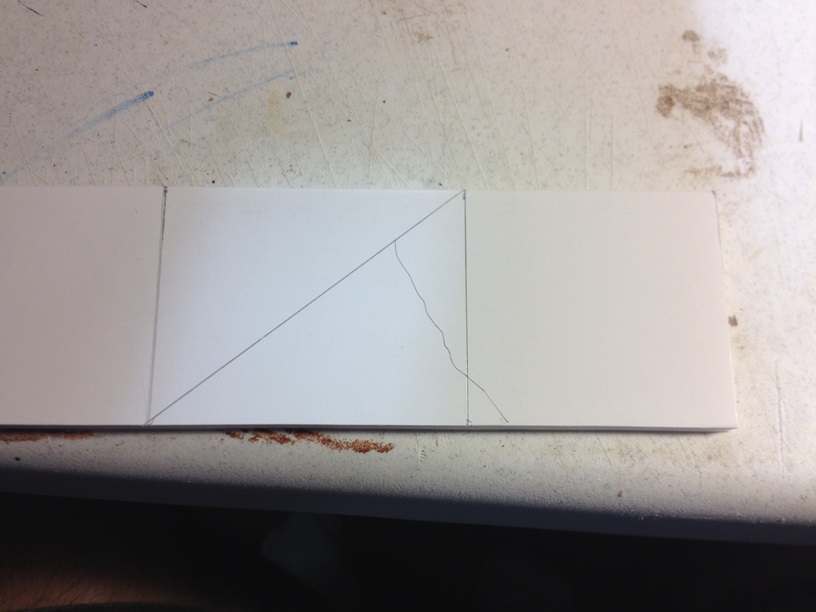
This is pretty easy, we can just use a piece of cutoff laying around to lay the angled pieces out. We can just use the normal floor height of two inches, measure out half of length of the wall section, and draw a diagonal line across to establish our roof angle. Like this:

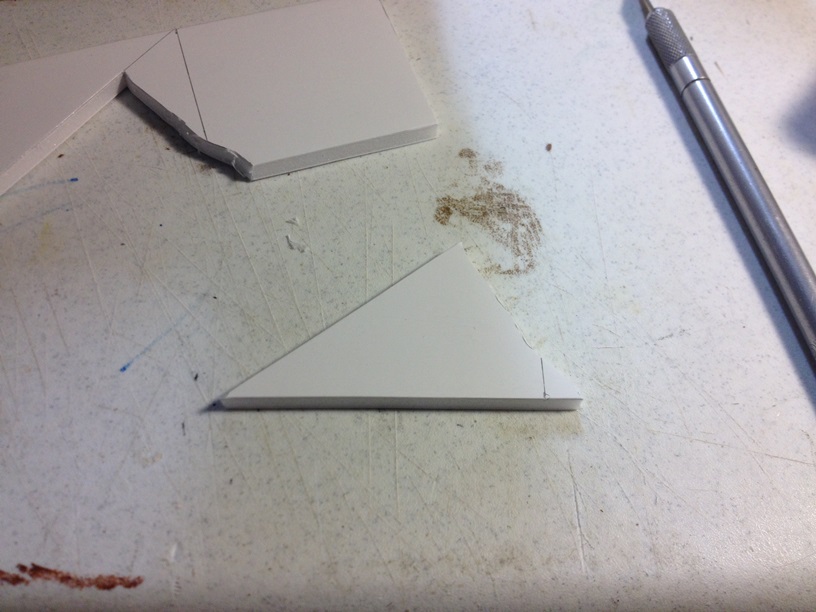
We just draw a jgged line, as shown to simulate our building damage, and cut the piece out with a hobby knife:

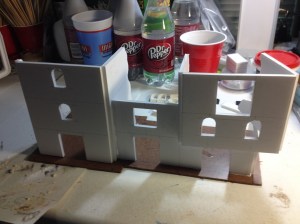
Rinse and repeat for the two end building wall sections that will support roof pieces. For the building in the center, we will just use balsa strips to support the roof sections. Glue them in place, and BING!
Do not worry about the slight seems created by gluing on the top pieces. We will cover those with detailing and texturing later.
Now come the funnest, and most time cunsuming part of the project. DETAILING! For me, there is one simple rule to detailing. There really is no such thing as too much. Seriously.
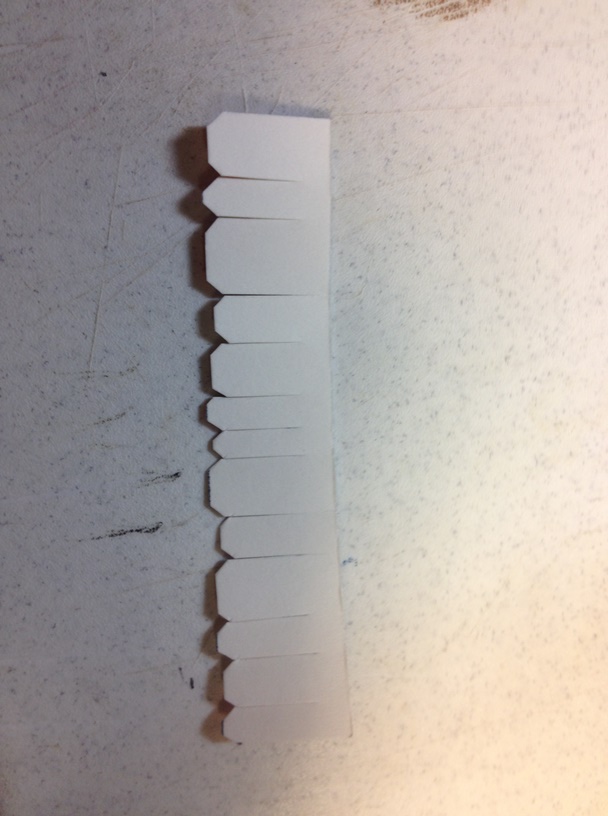
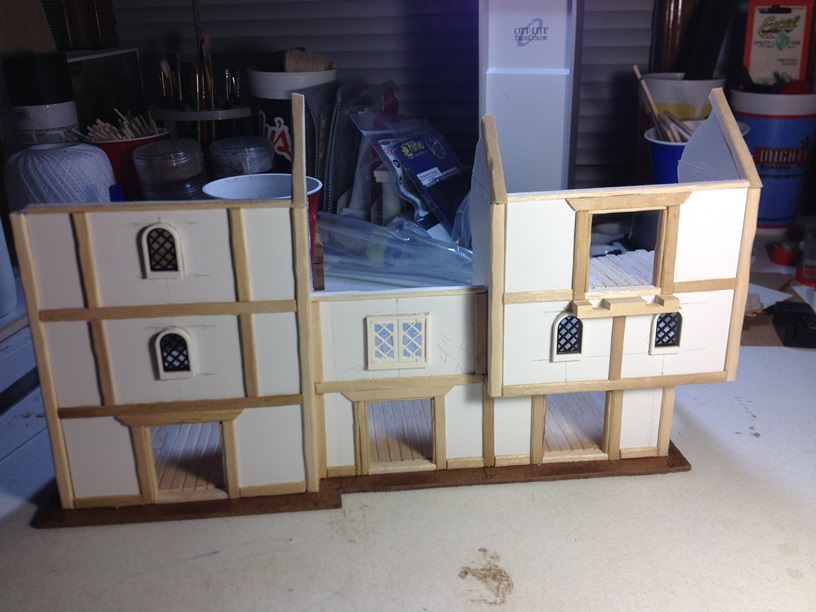
We will start with craft popsicle sticks:

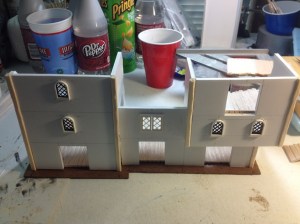
We use these to give the buildings a real “Tudor” style look. We can add them all over the place. The more the better. Again, we want a real rough hewn look, so we will shave down the edges of the sticks with a hobby knife after we have measured, and cut them to length. Then it is just a matter of gluing them everywhere:
Since I have a LOT more detailing to do still, we will end this part of the tutorial here. I hope to have detailing and texturing done by the weekend. If so, then I will also post the next part of the tutorial.
Again, feel free to let me know what you think of my tutorial in the comments.
Thanks

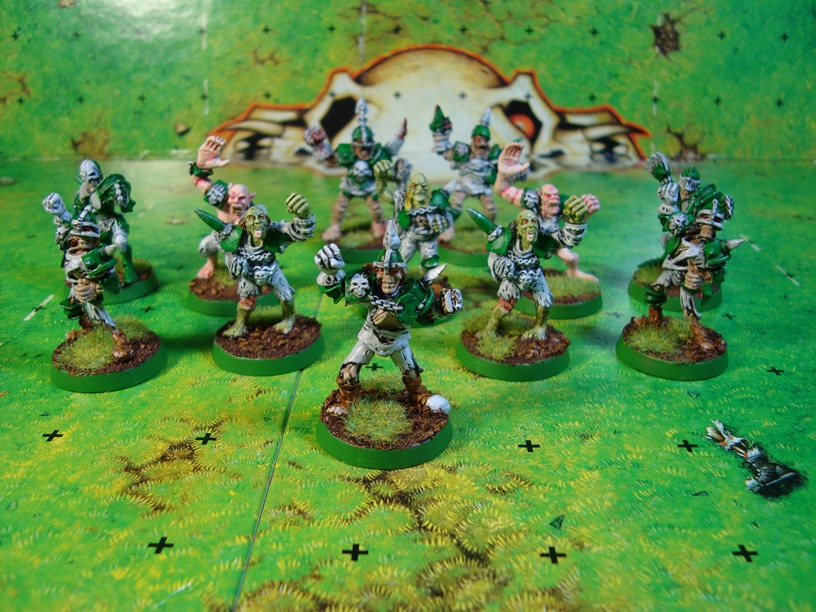
 OK, so it has only been two weeks since I made the drive up to Oklahoma for Critter Bowl IV, but I have already made plans to return next month for Orclahoma Bowl/Spiky Cup. this is a two day, two tournament Blood Bowl event hosted by Scott and Steve of the Both Down podcast. I had a great time at the last tournament, but Orclahoma Bowl/Spiky Cup is their “premiere” tournament event and so I am going to brave the five and a half hour drive again. At least I will not be going alone this time, as a whole group of coaches from Austin are all piling in together.